


Legendary Nura – Ready to paint and her base is as impressive as the miniature itself.

Primed and Ready – Always grey for me, allows for more light and dark areas on the miniature, plus I find it easier to make out the detail than with just black.
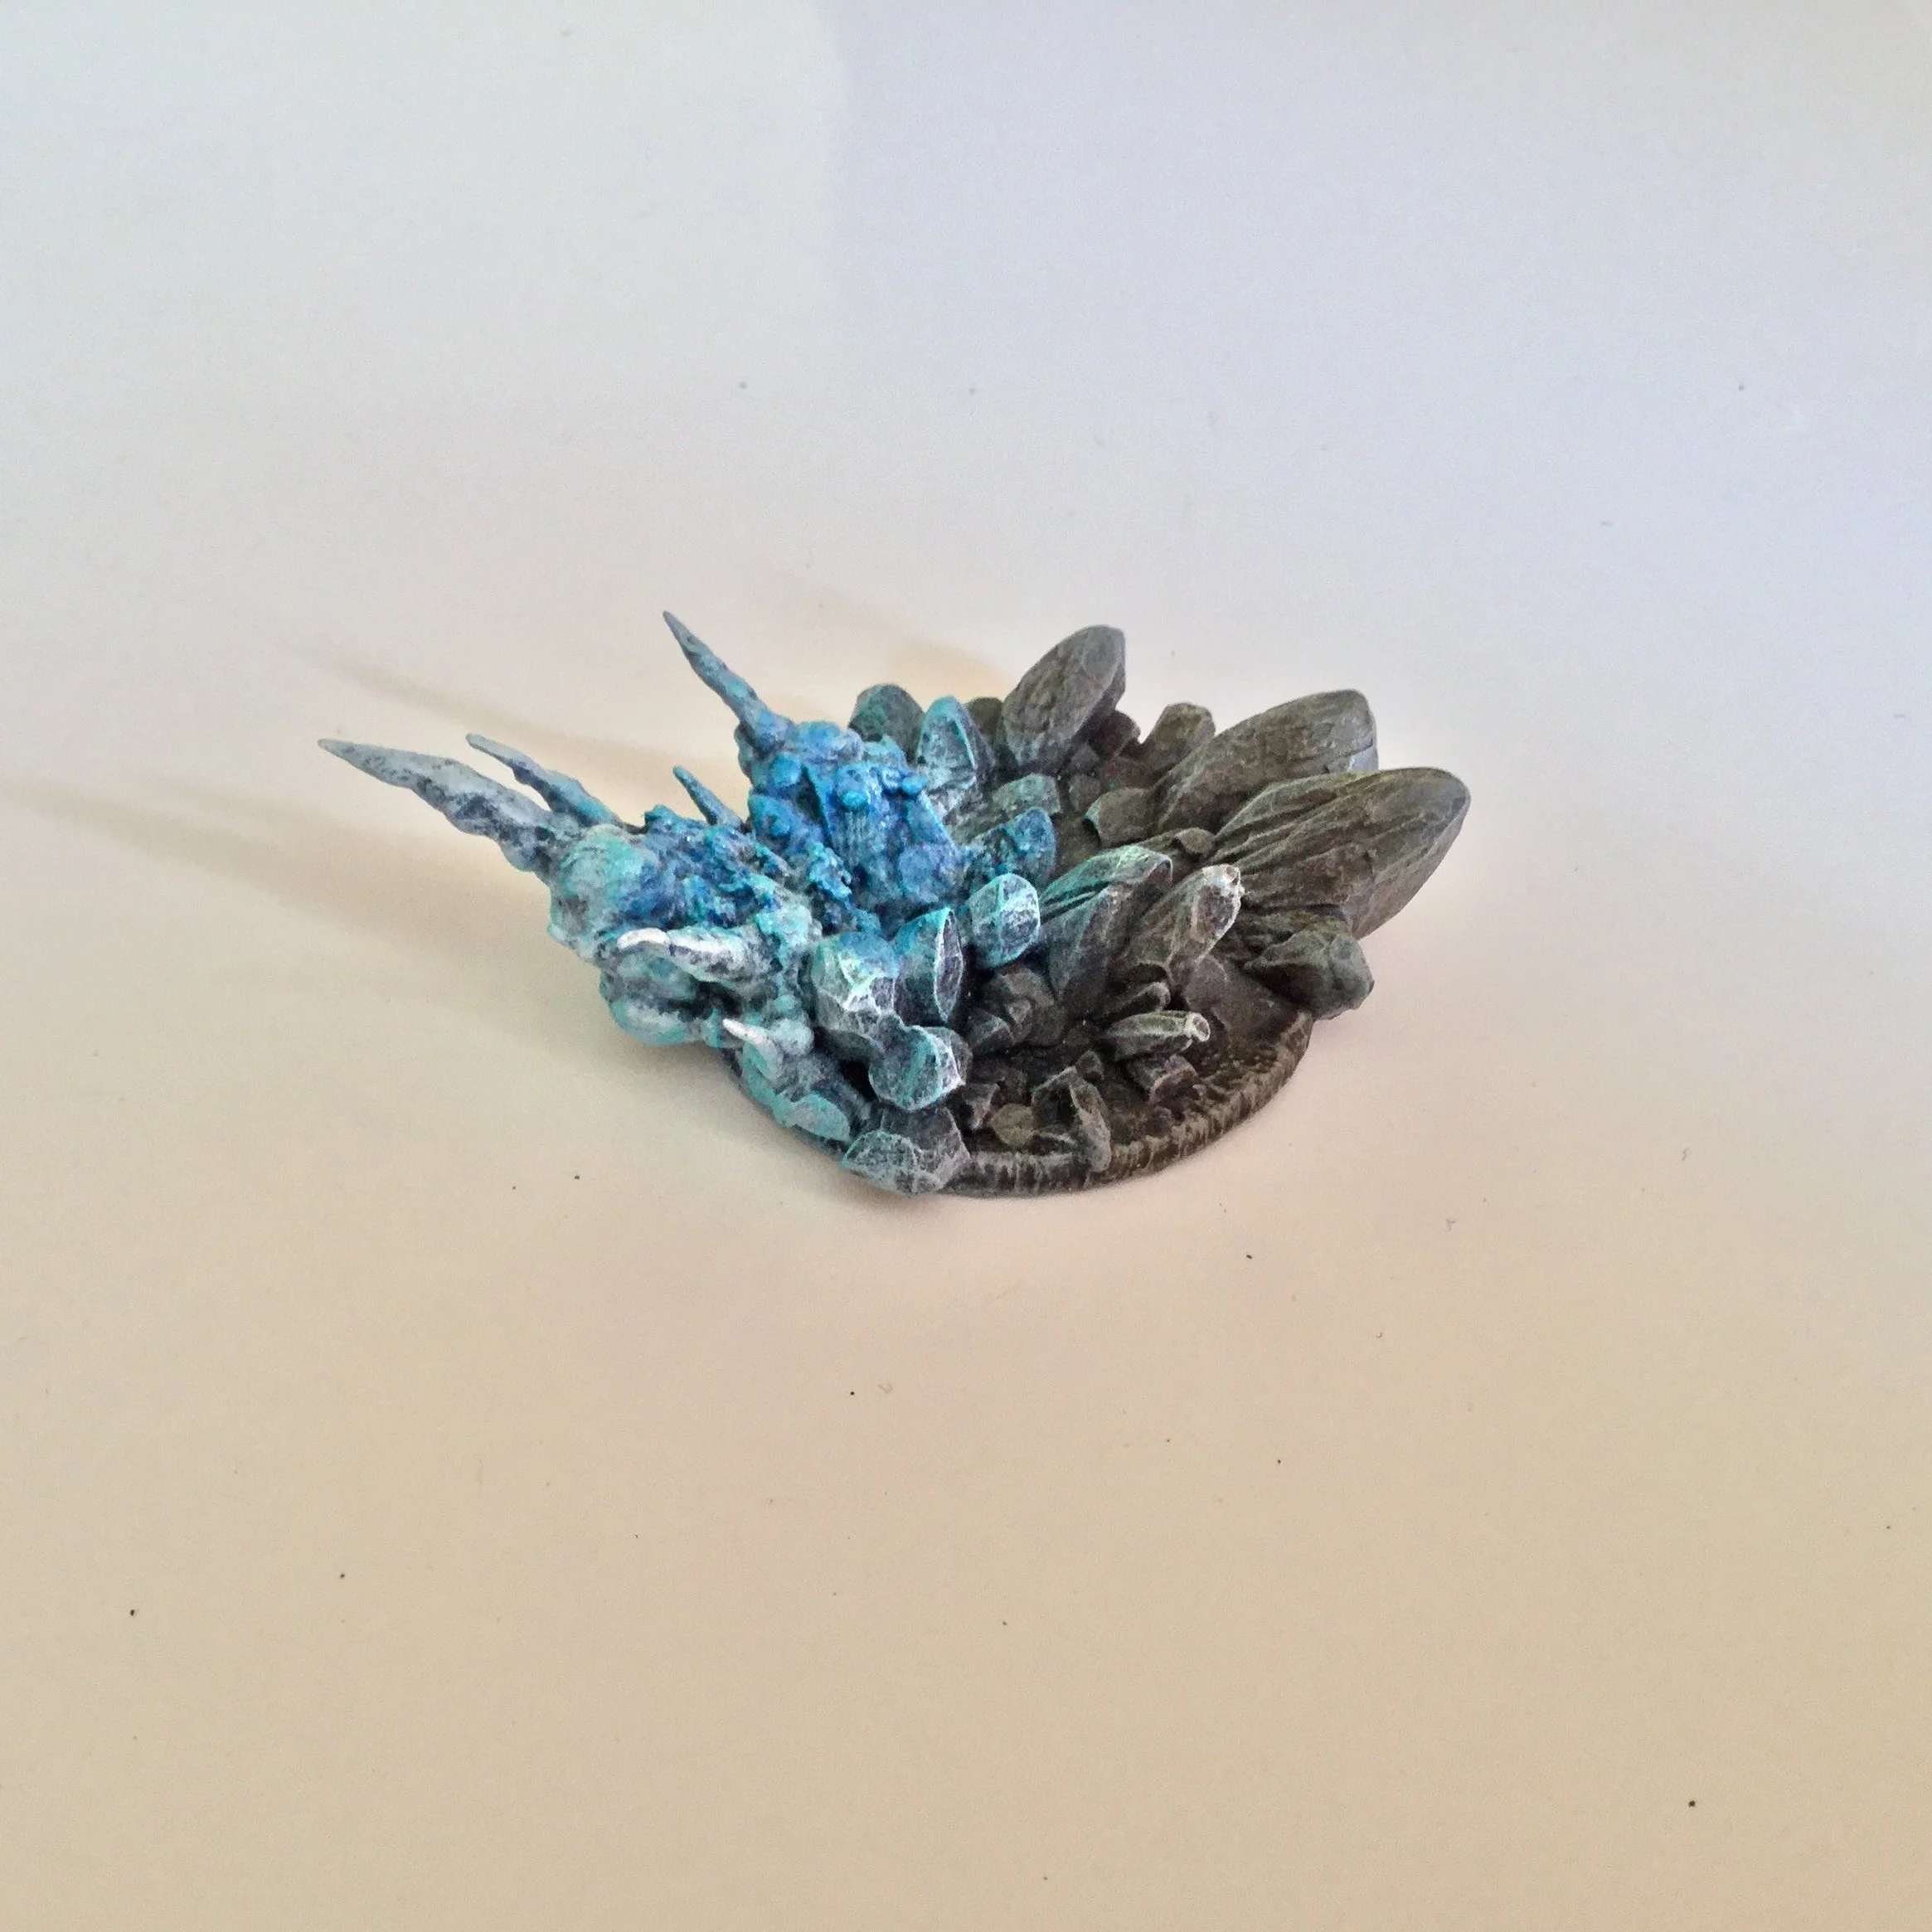
Electric Mist – Building up the layers with washes, glazes, dry brushing and the use of varnish in certain areas to give a sheen and more of an iridescent feel to the base.
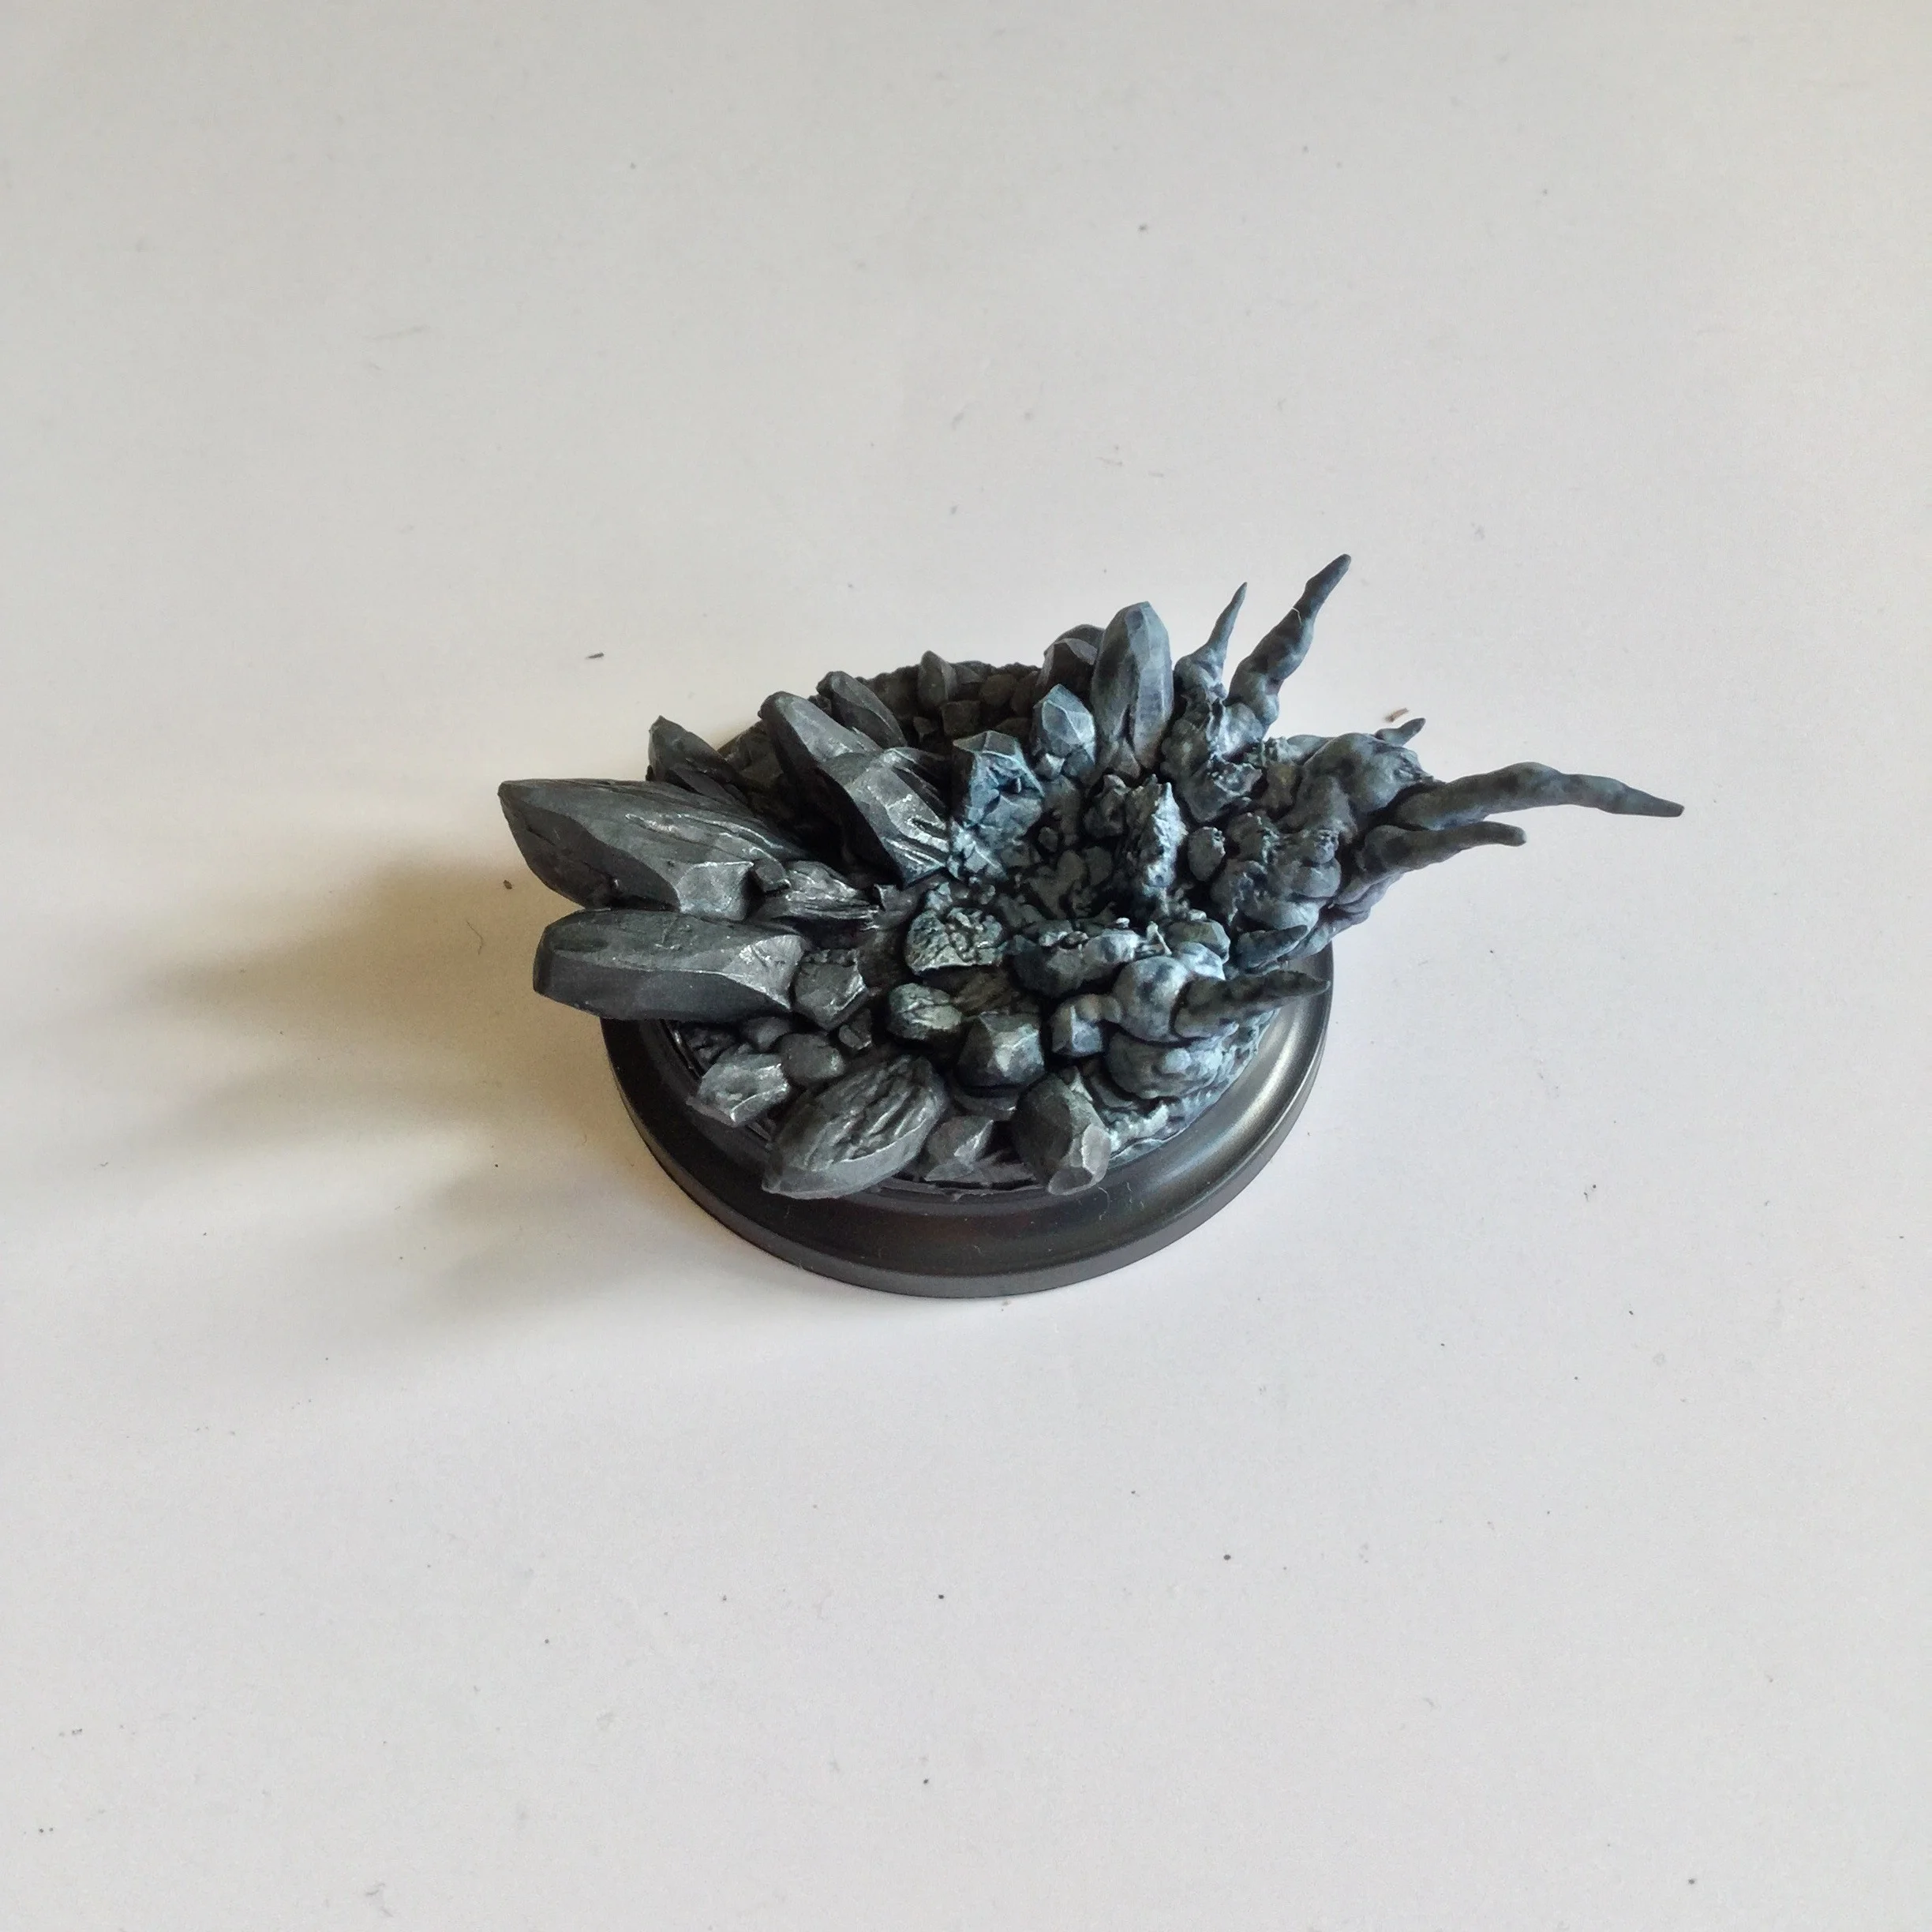
Rocks and Powder – I always like to start with the base when painting Legendary miniatures. Washes have been added and the first layers of dry brushing.
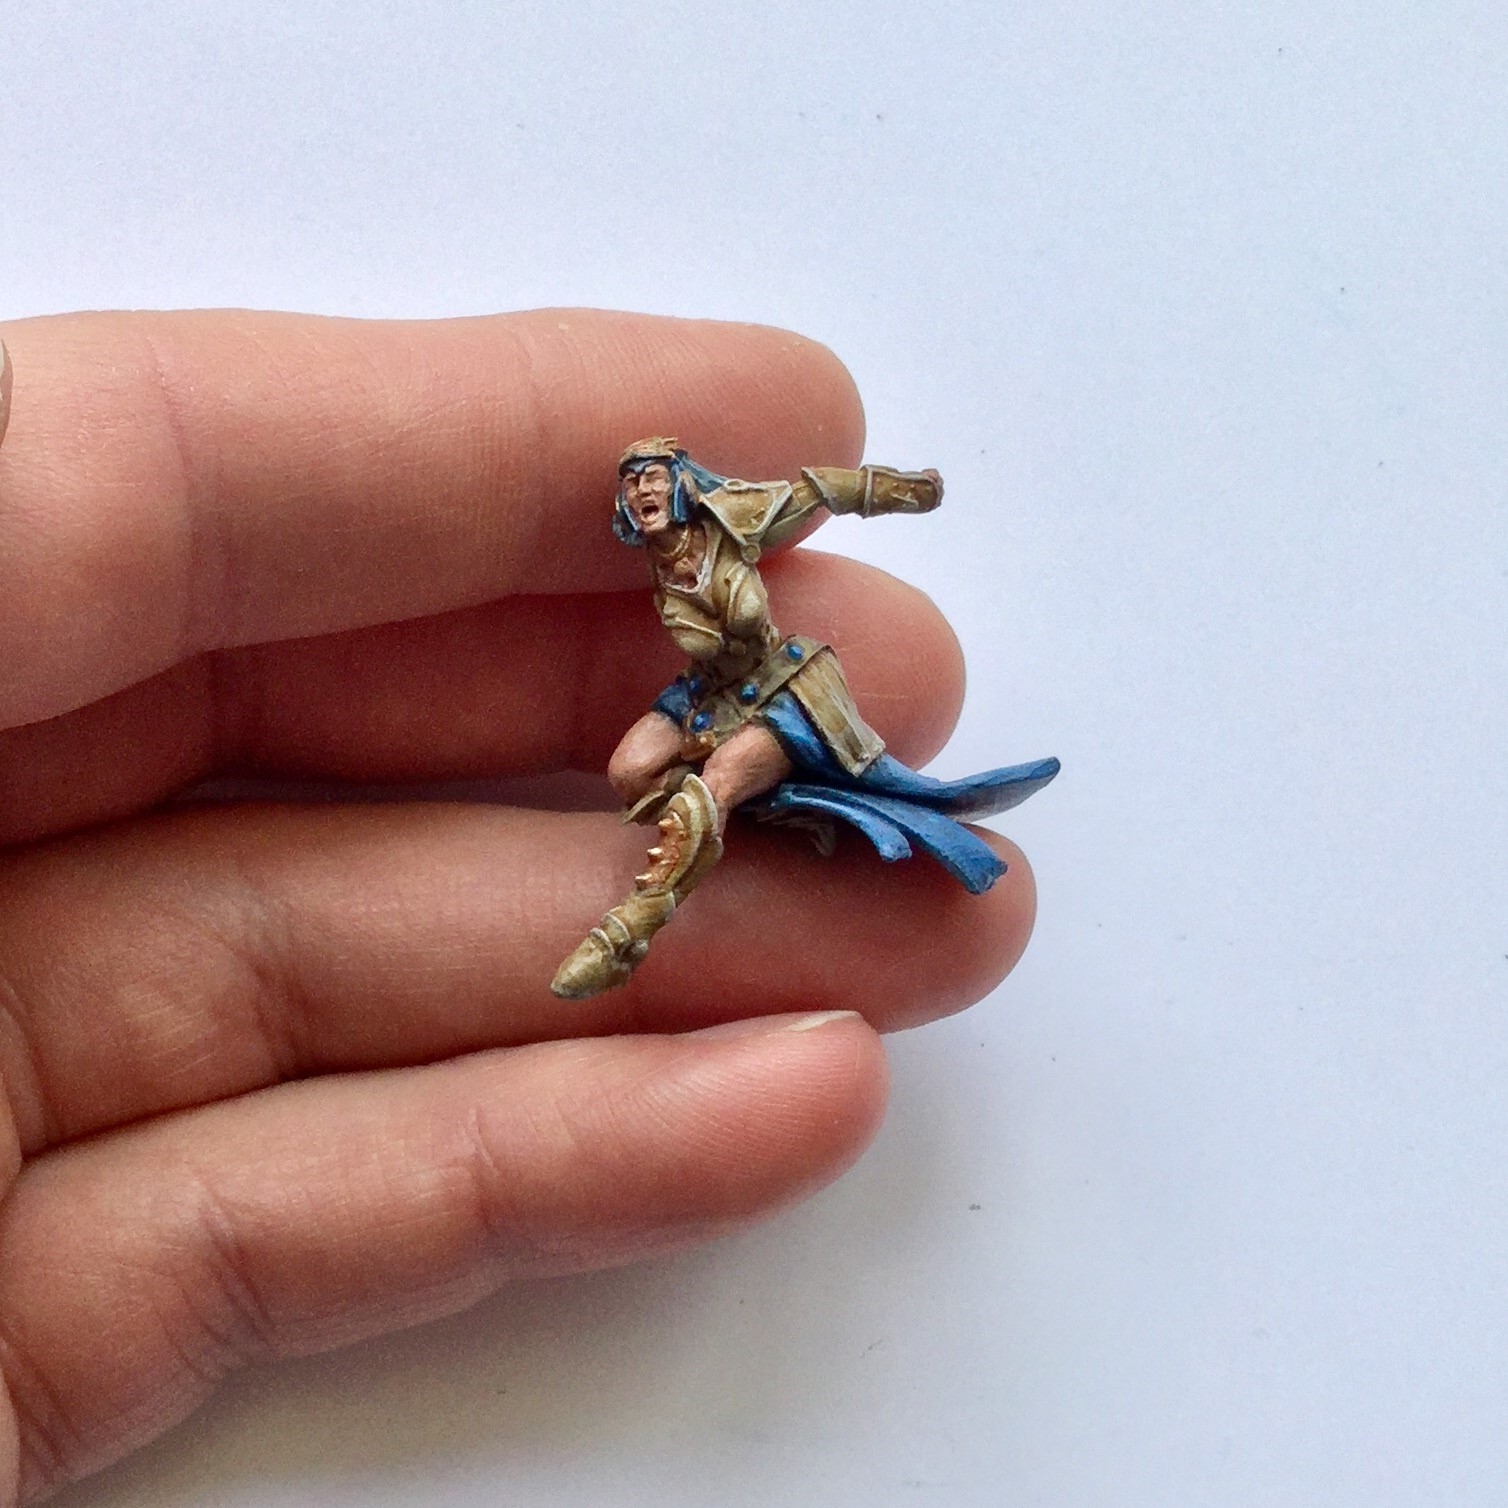
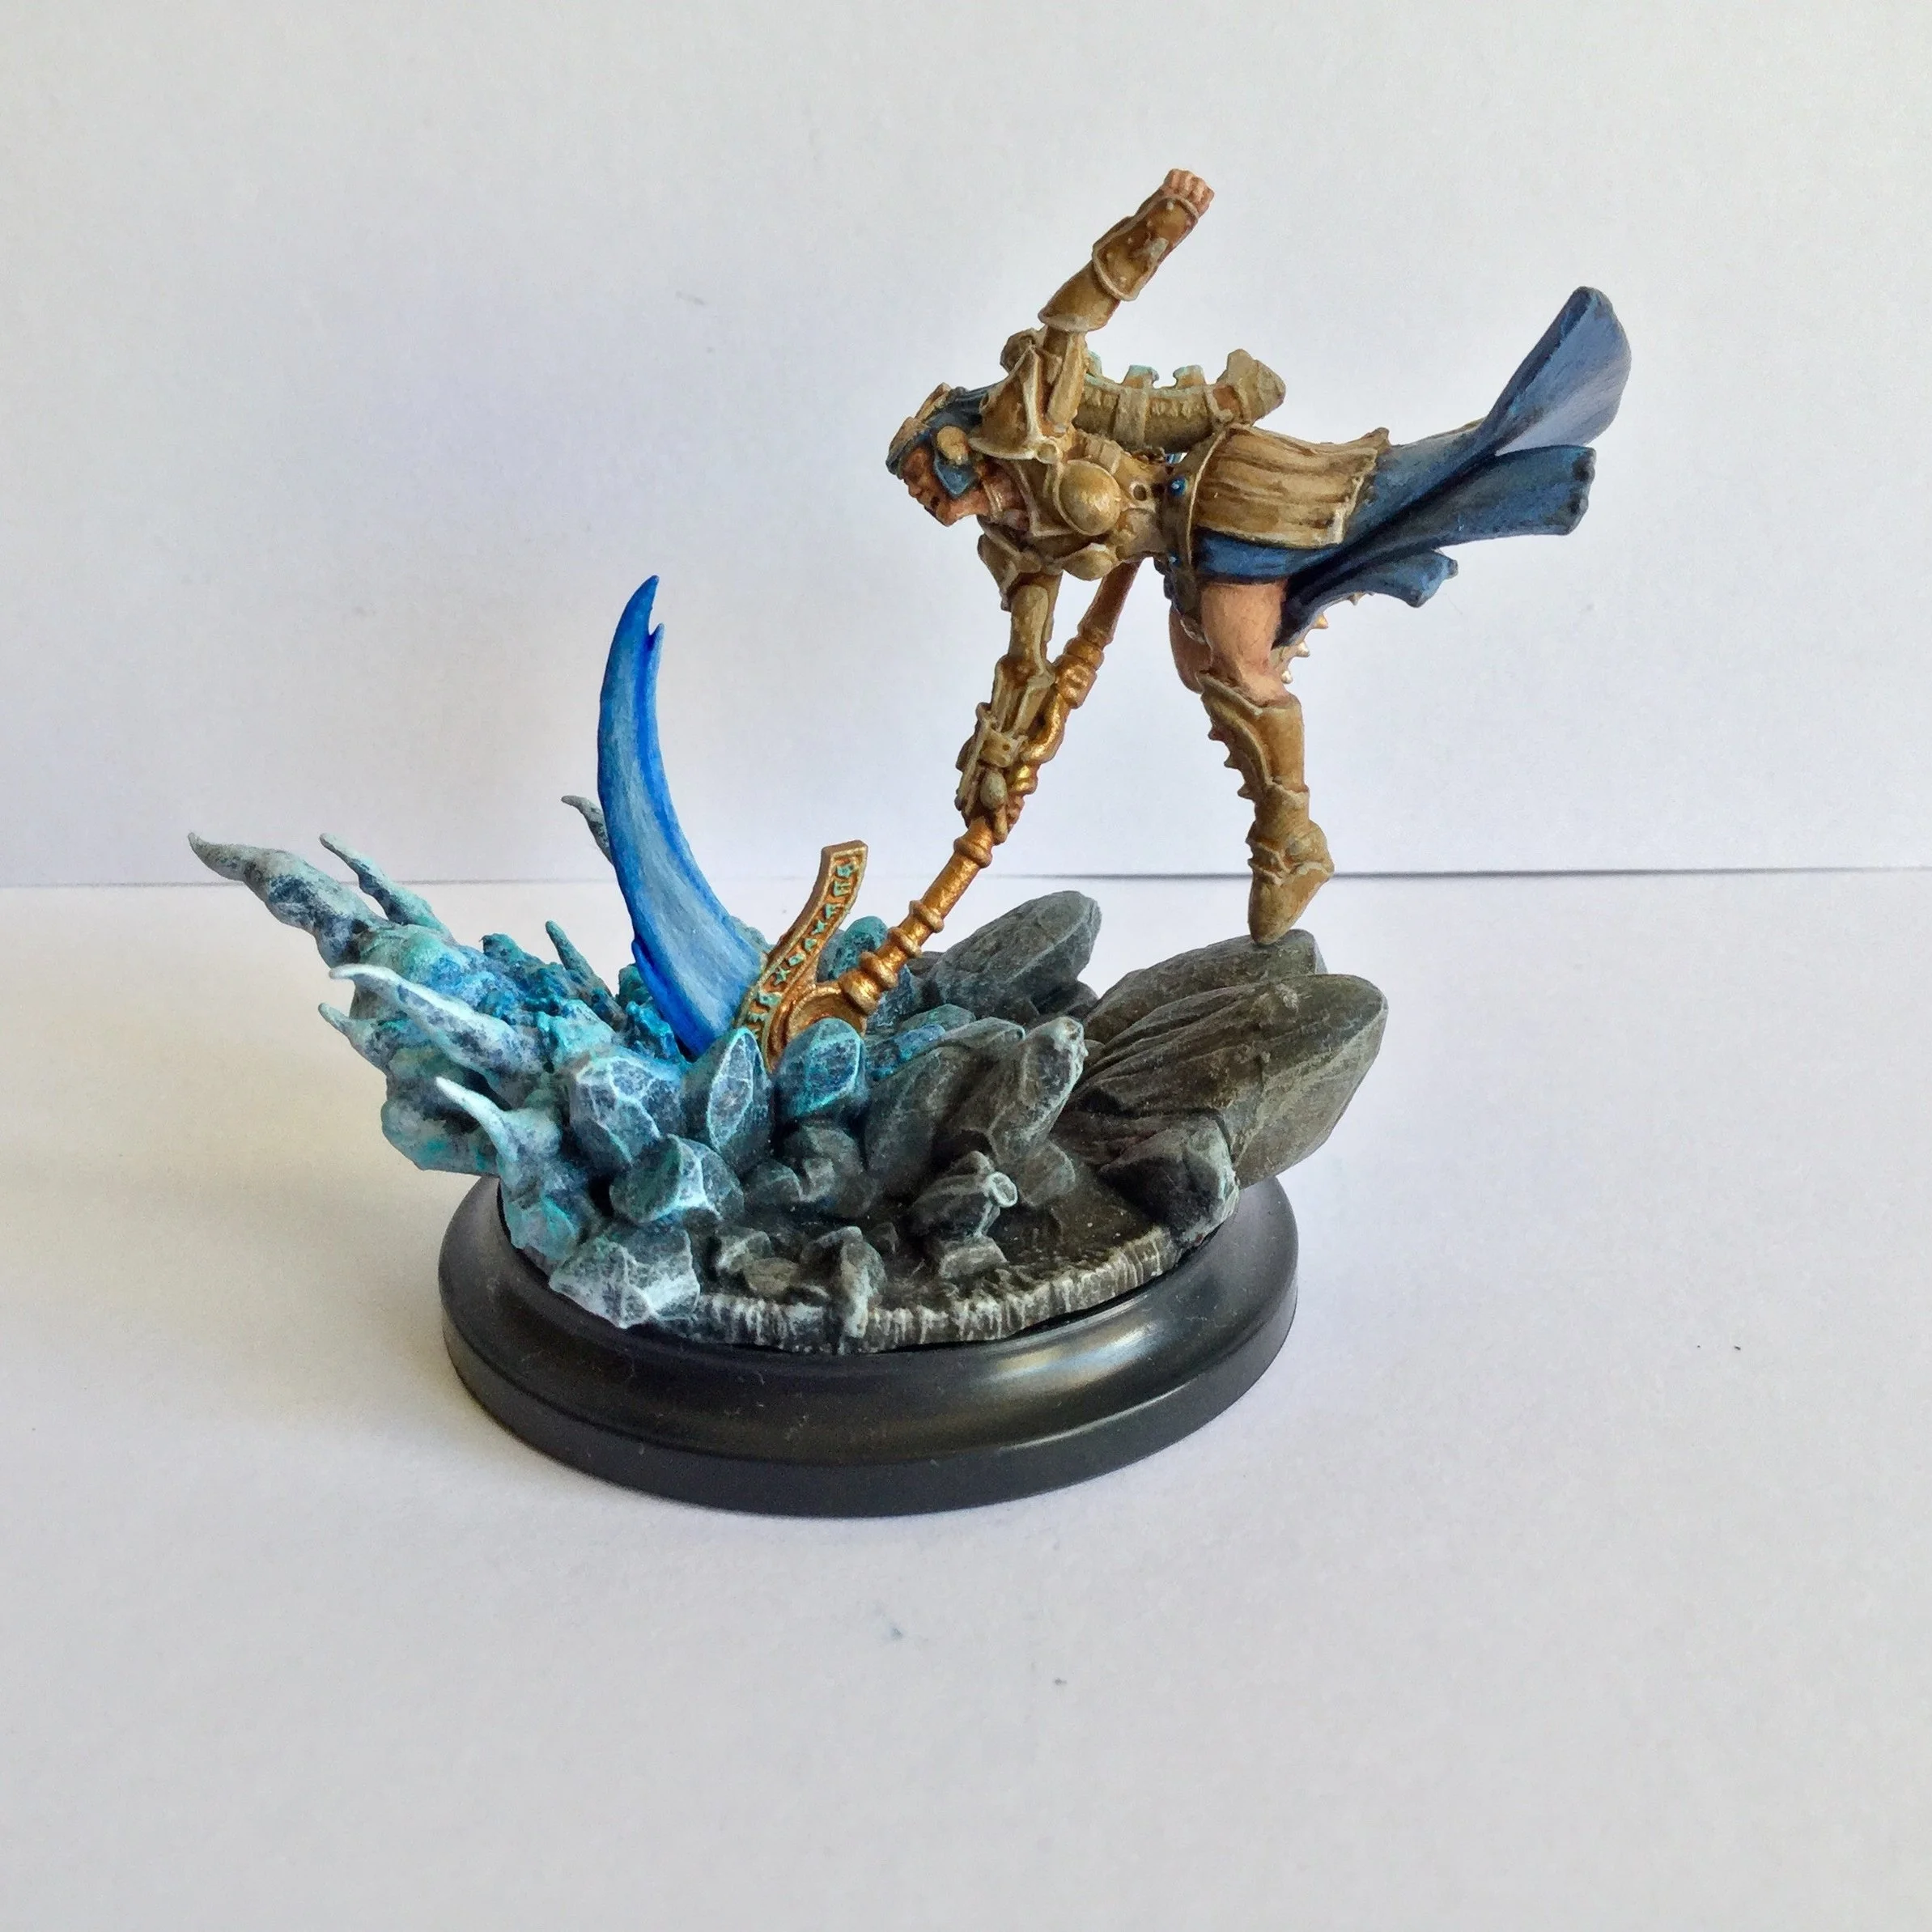
Body Wash – Washes are now showing up some of those recesses to add some more depth to Nura, hopefully allowing for more depth in the colours as I build up the layers.
Nice and Simple – I always try to keep my colour scheme to a minimum in the hope that it gives a more cohesive feel to the miniature in the end.
Bolder and Richer – Further highlights and washes blending with glazes gives a much bolder and richer feel to the colours.
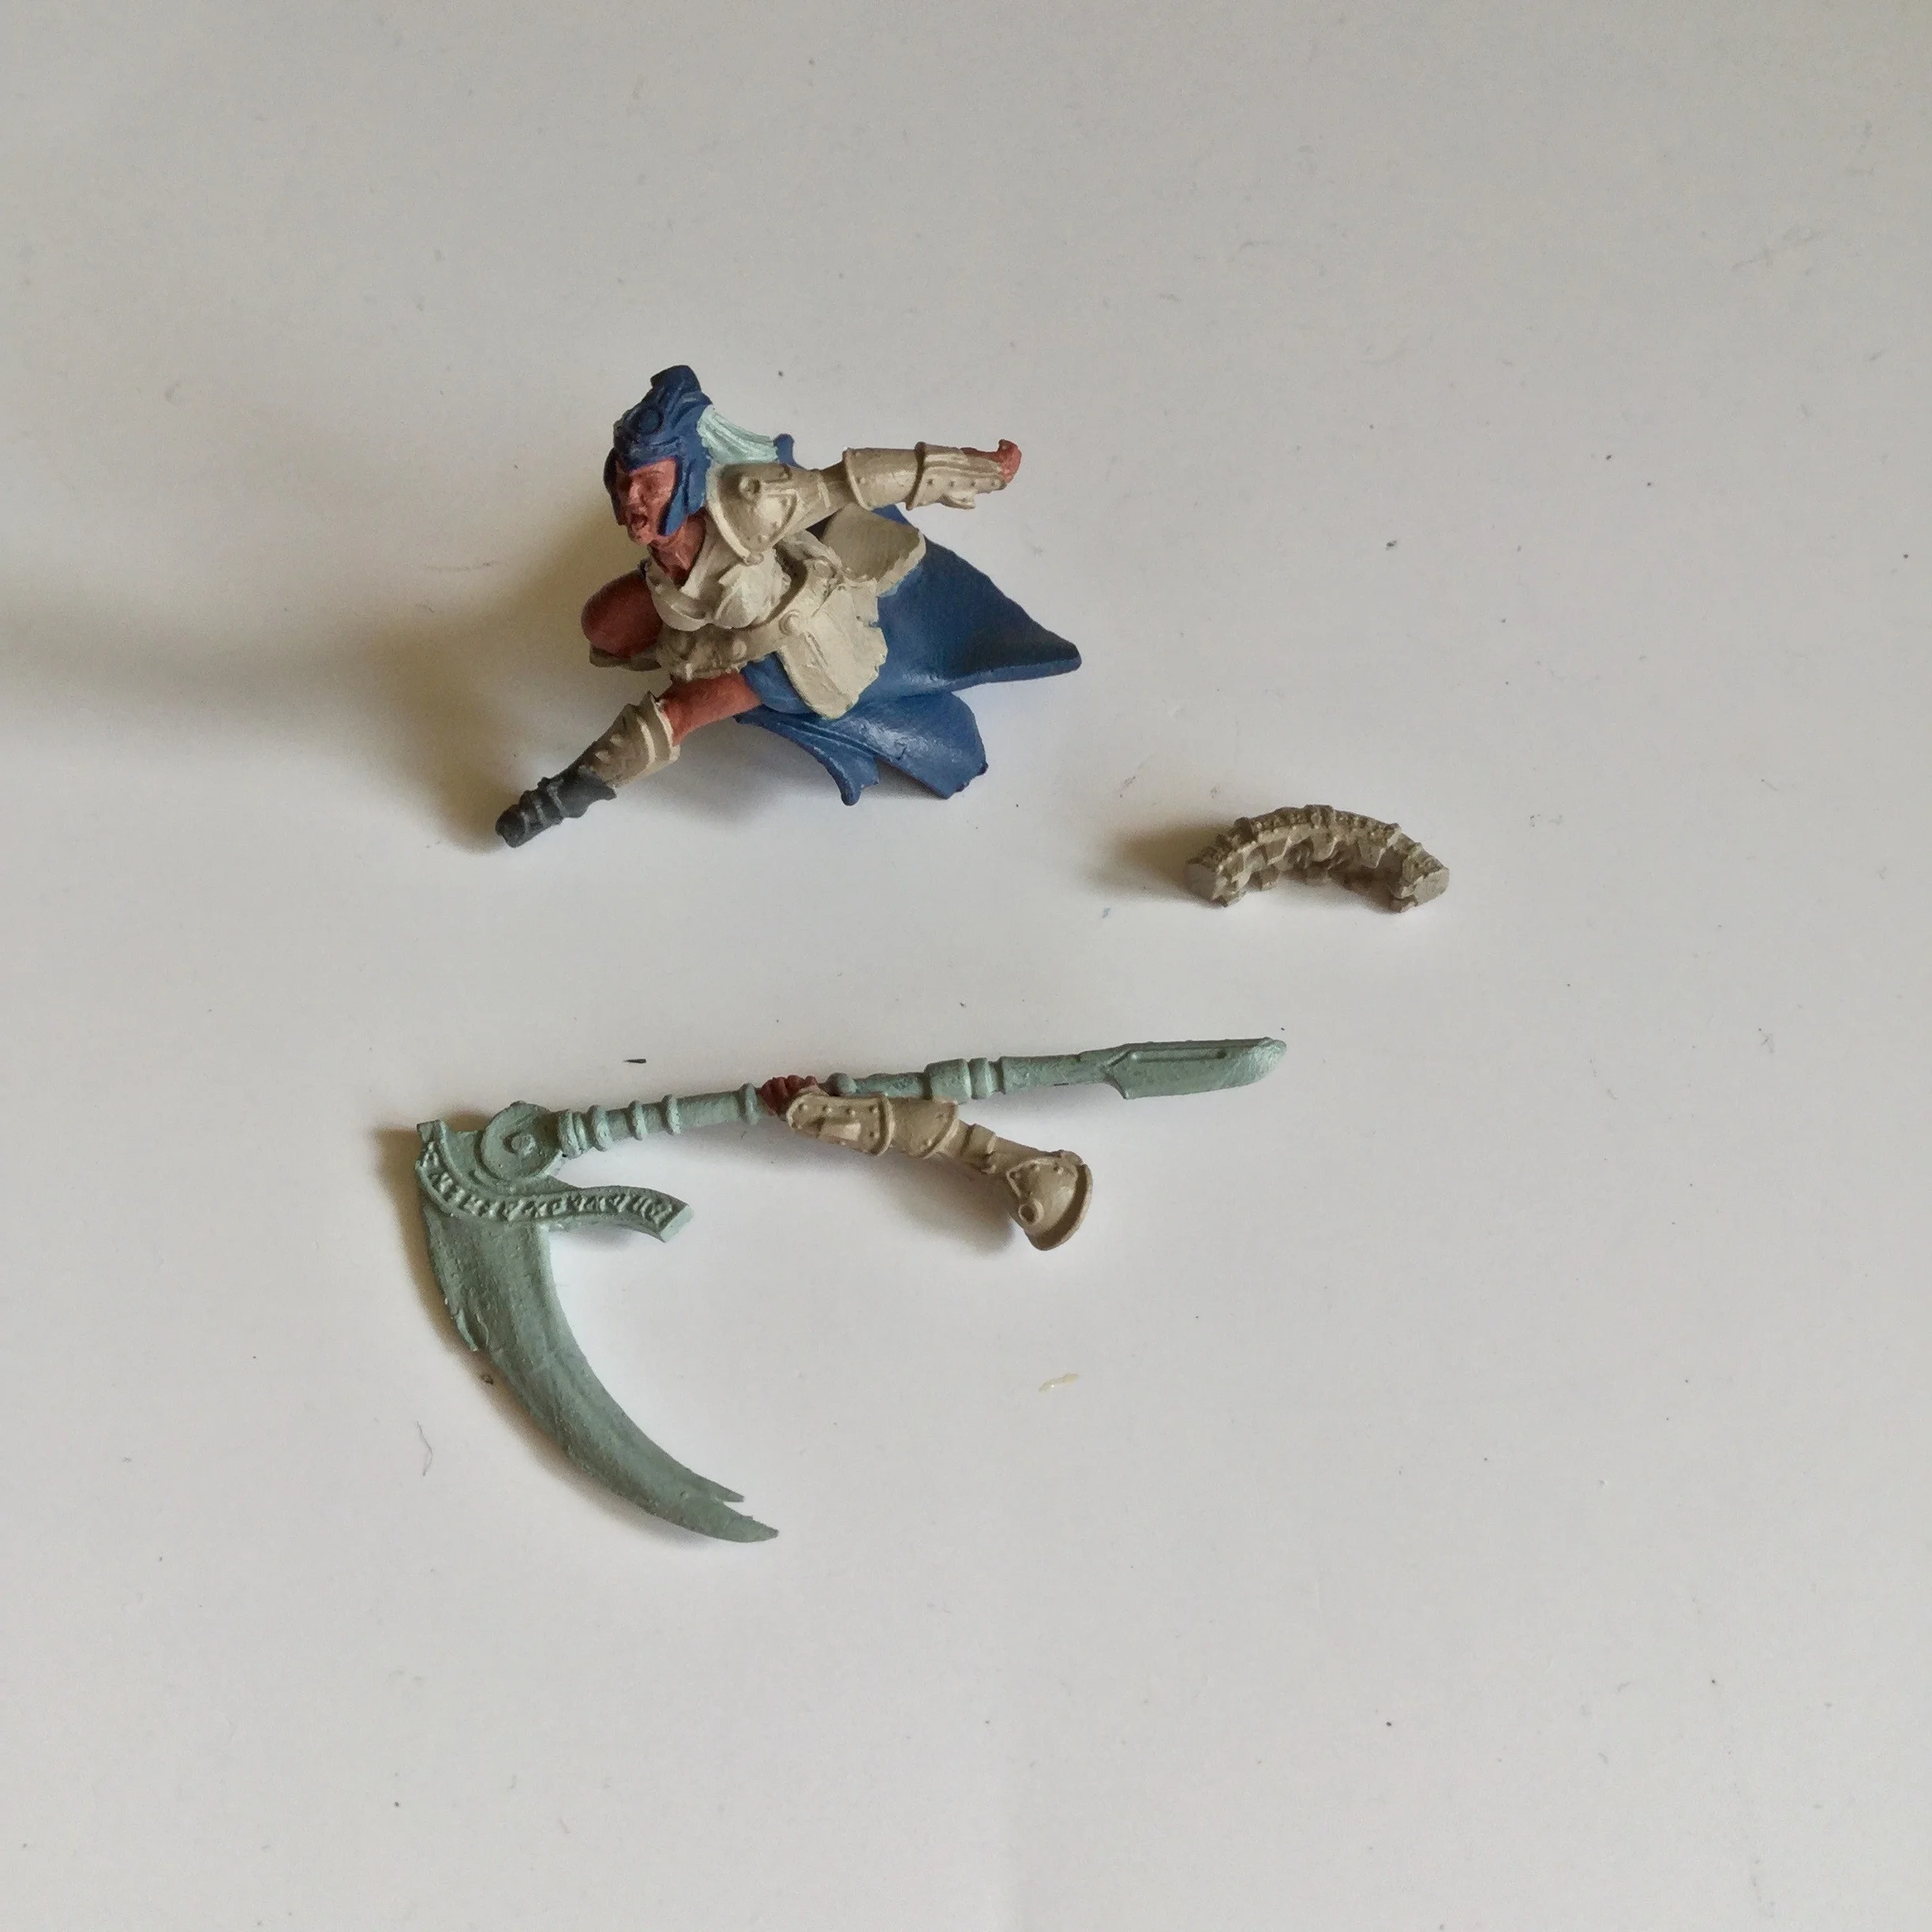
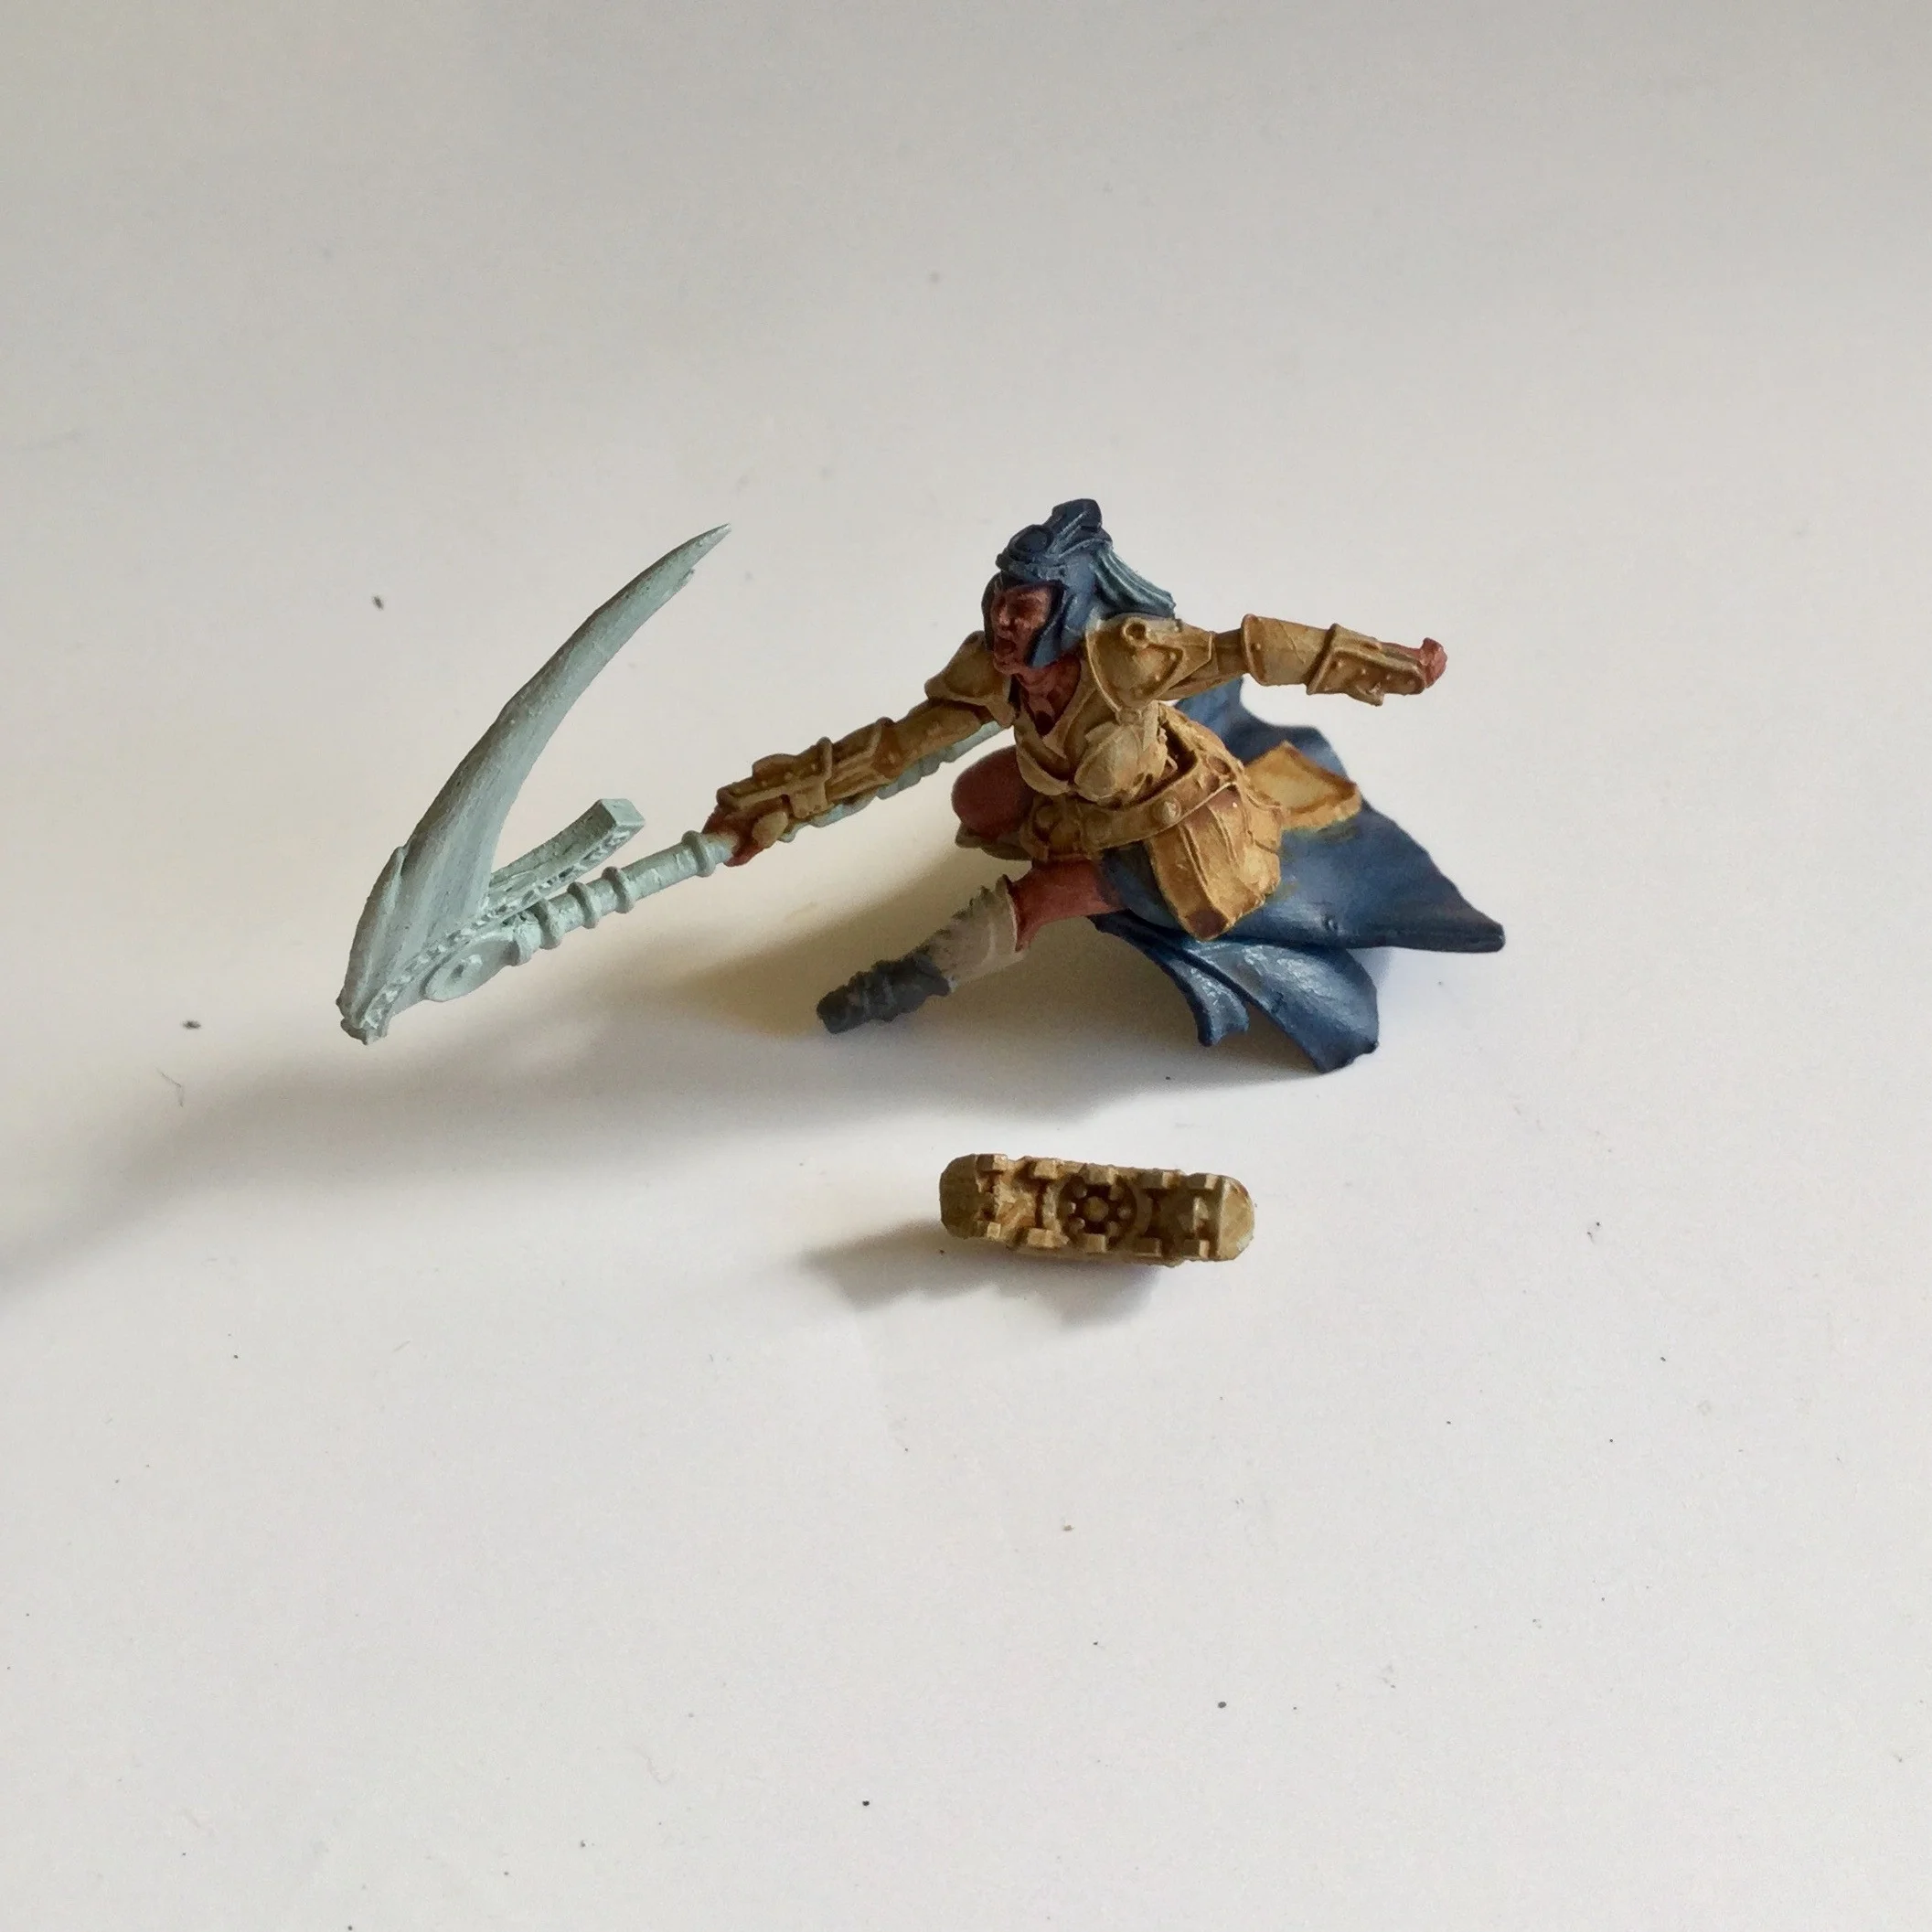
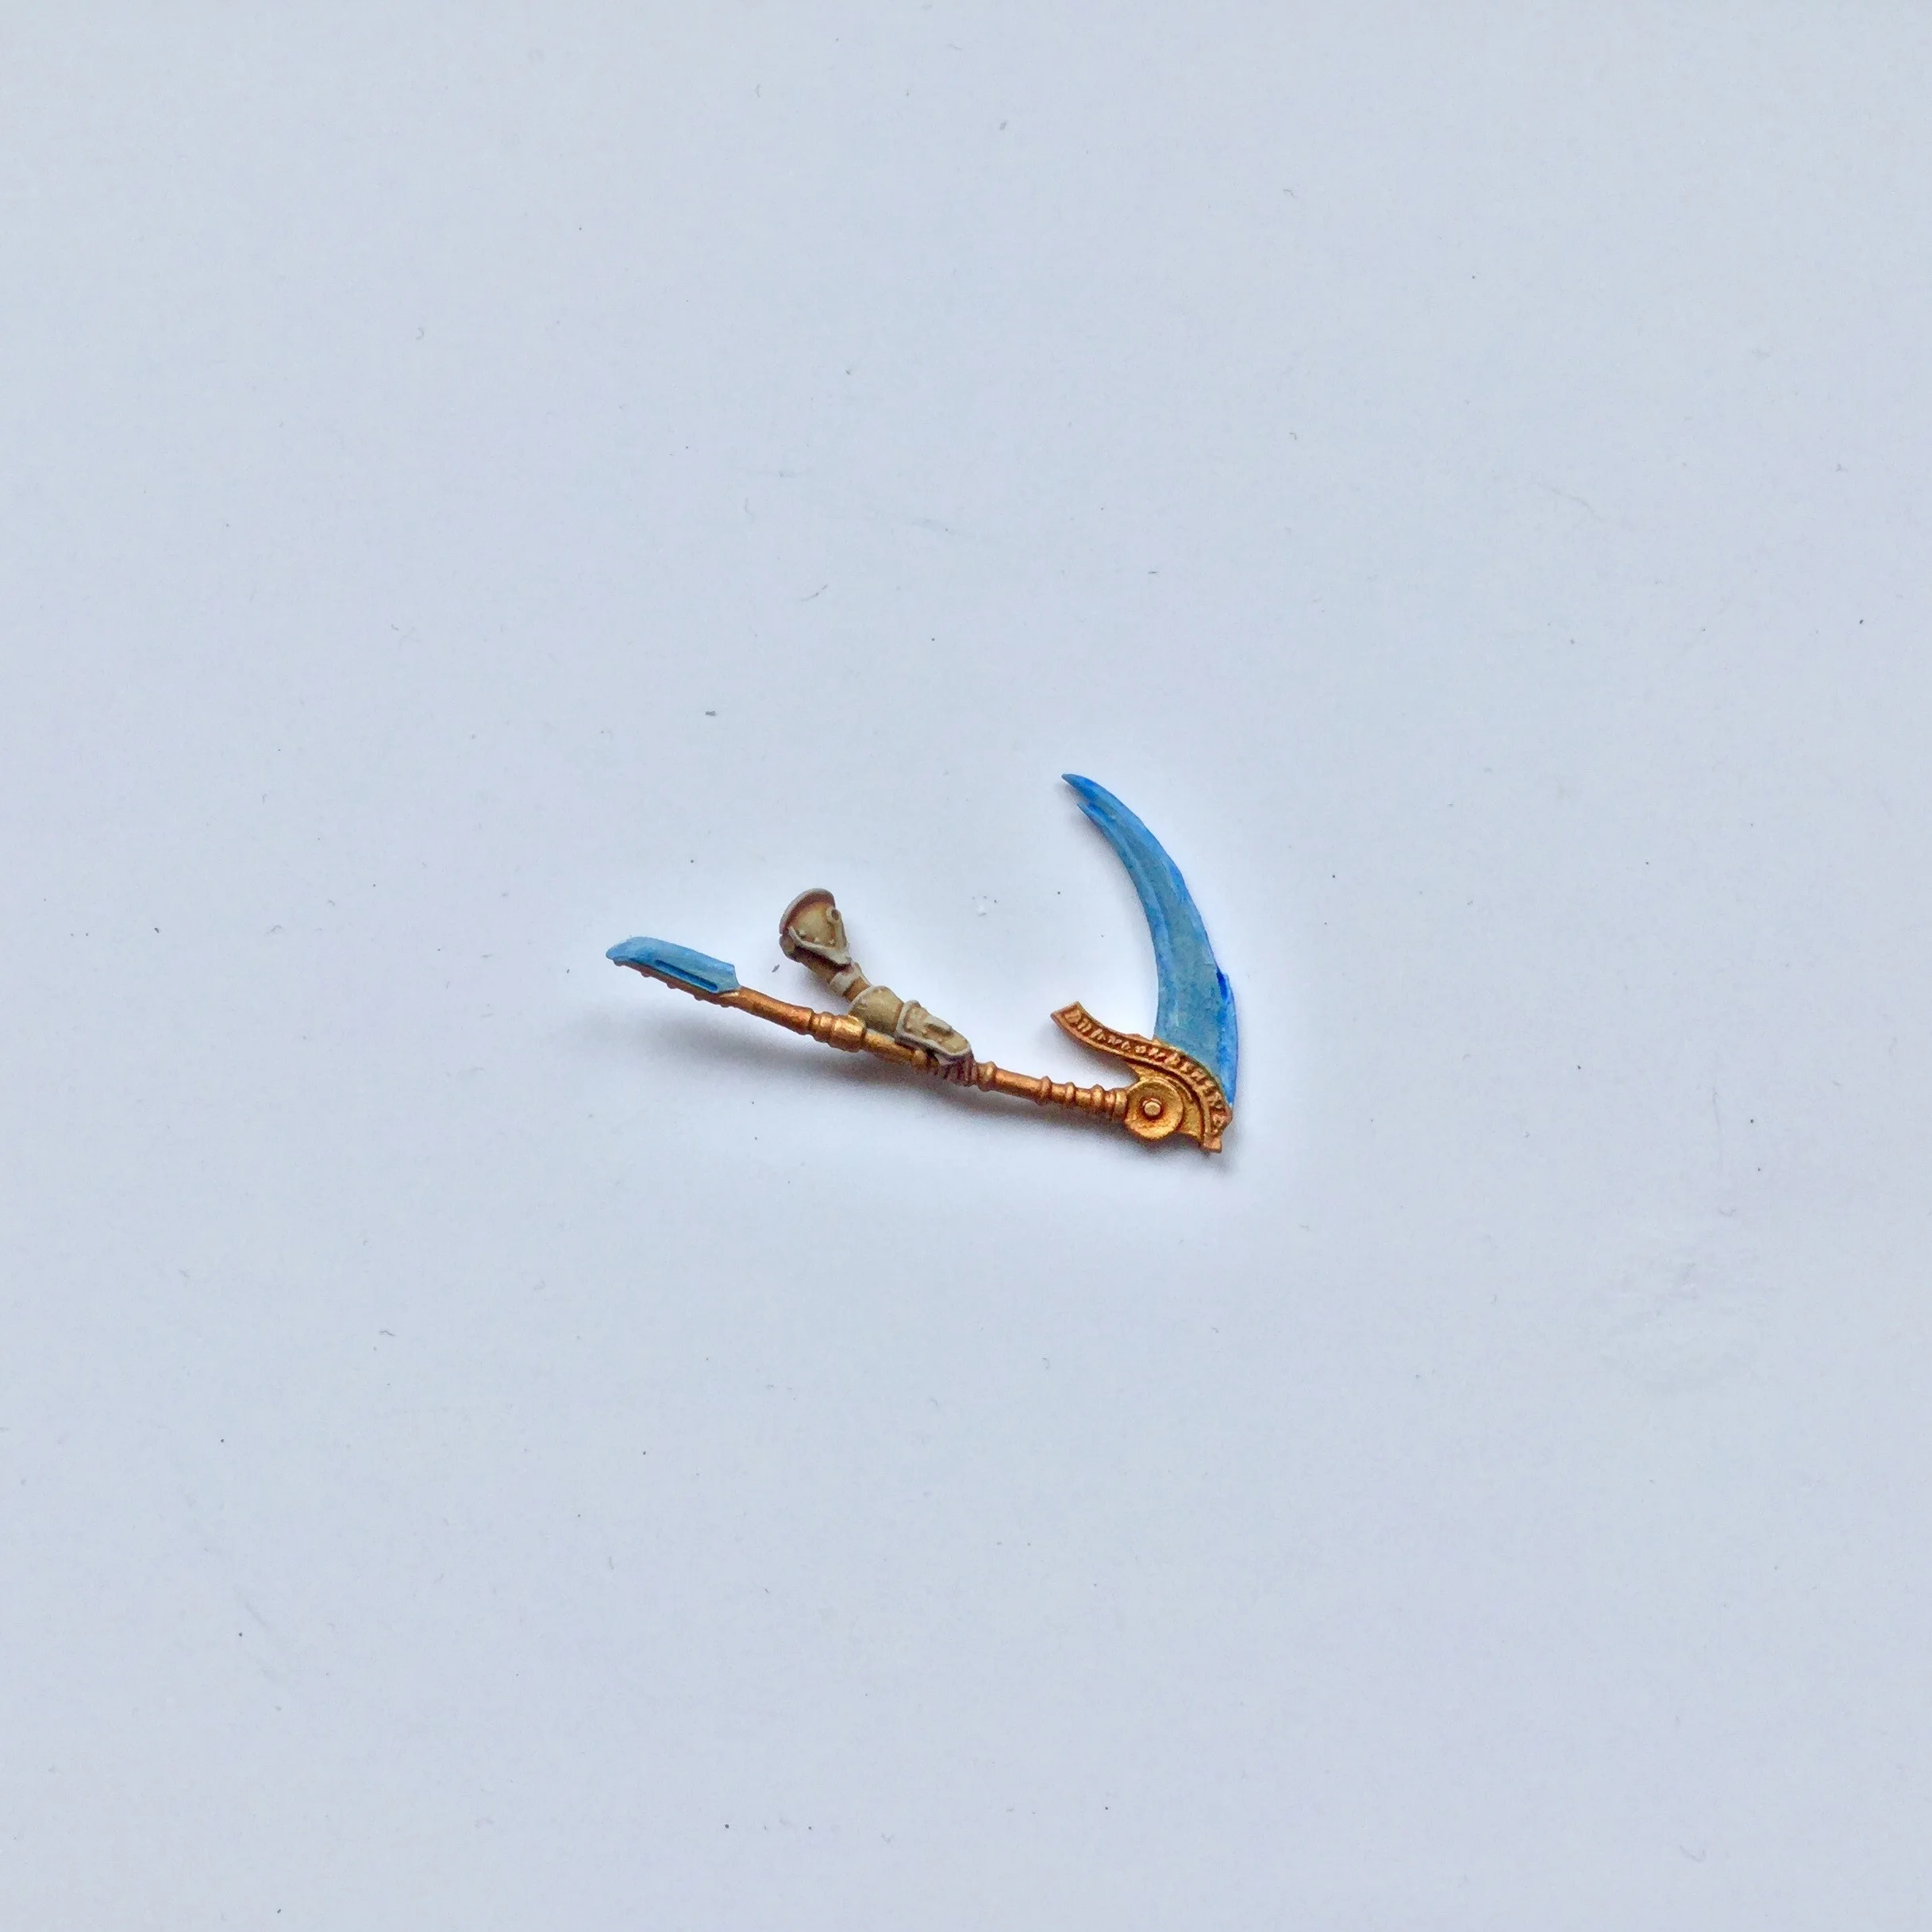
Strong Arm First – I prefer to paint my miniatures in pieces, this allows me easier access to all parts when painting. This is the first layer to go on, using my original base coat thinned out.
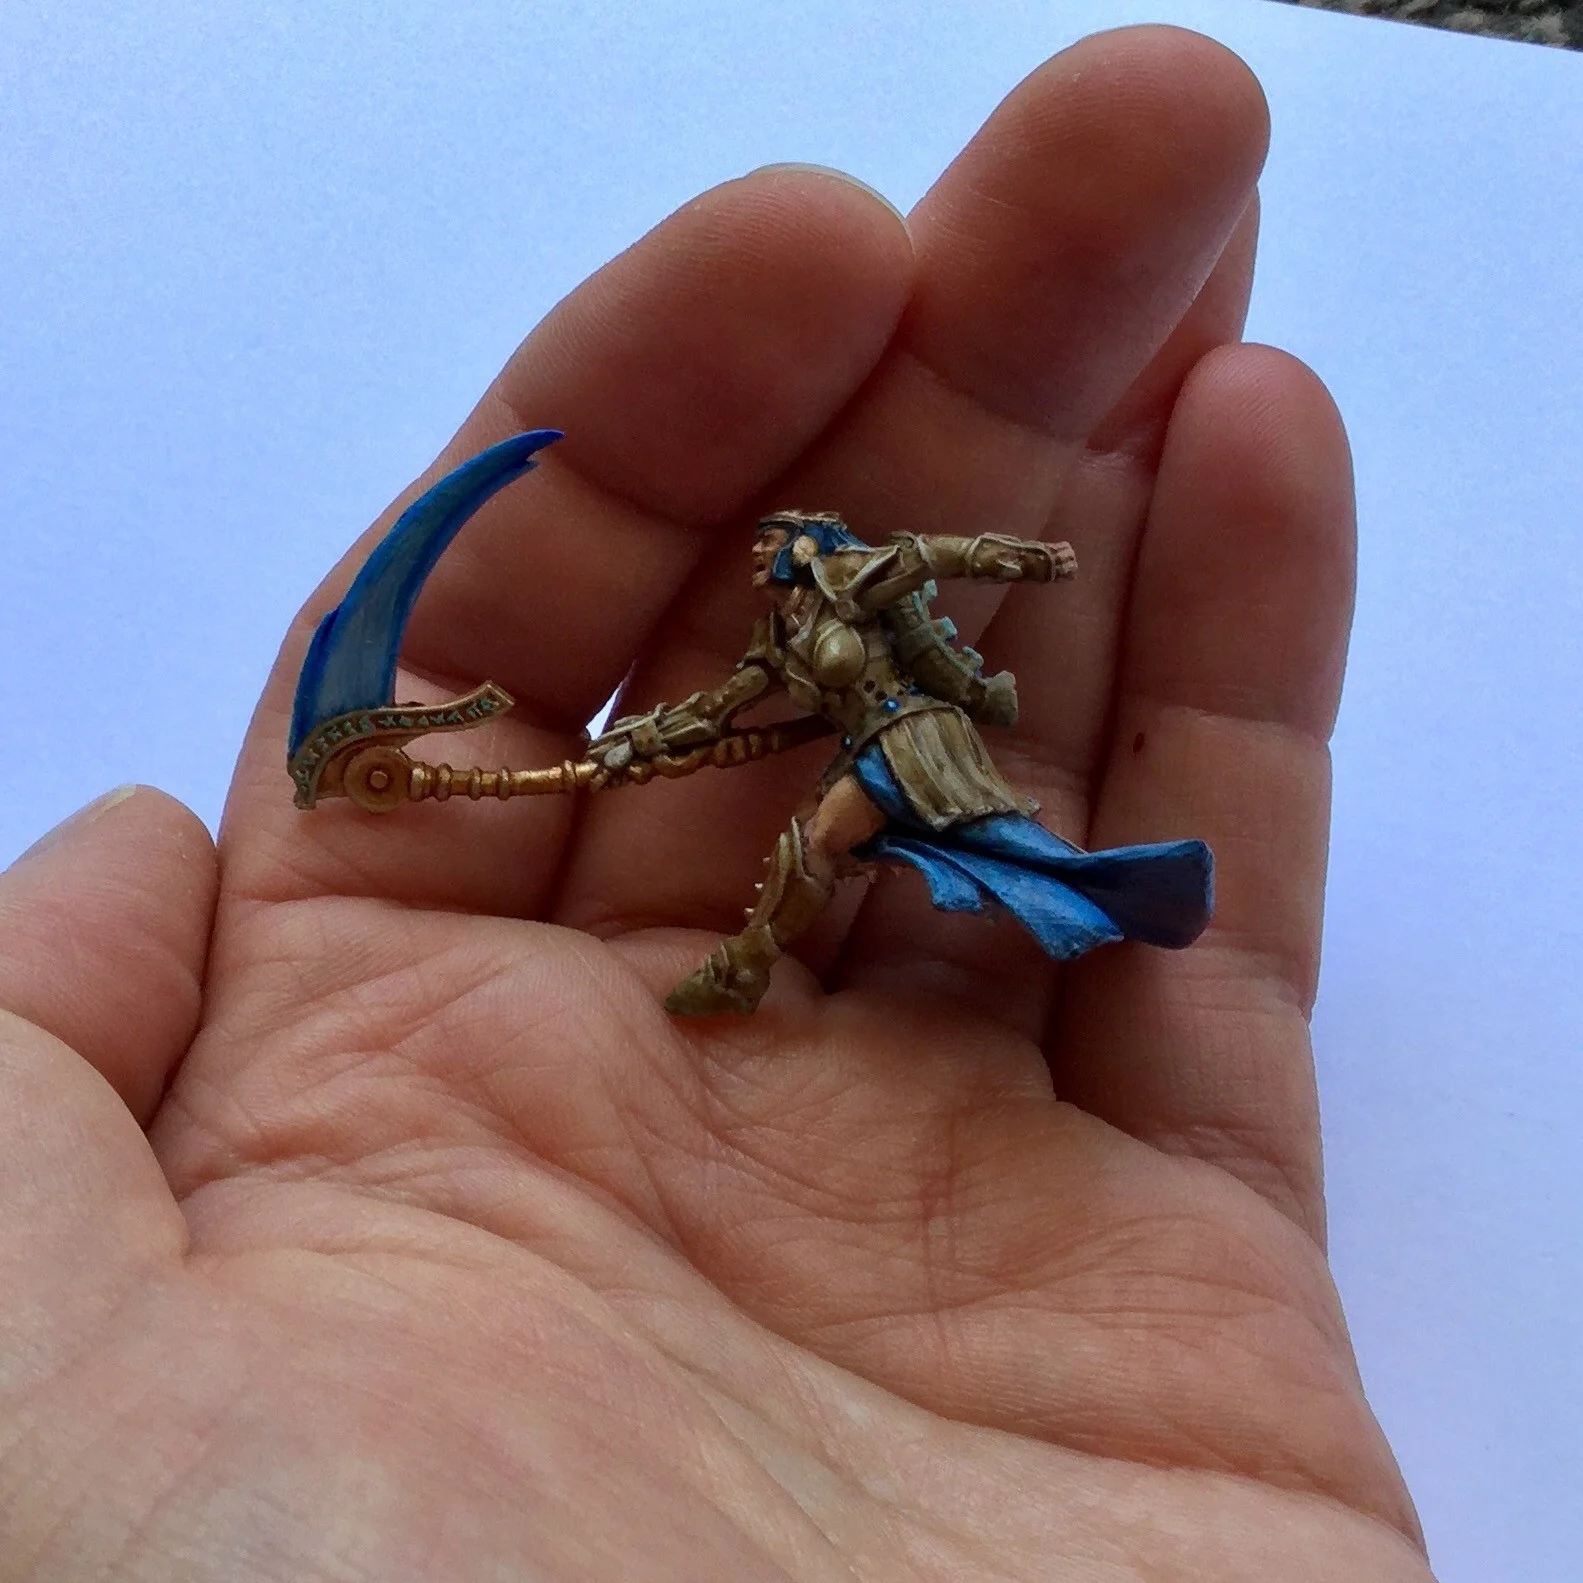
Nearly there – Nura is now finally glued together and I can pick out further details, like the slight shine of the jewels around her belt. Time for the odd touch up in some areas and then basing!
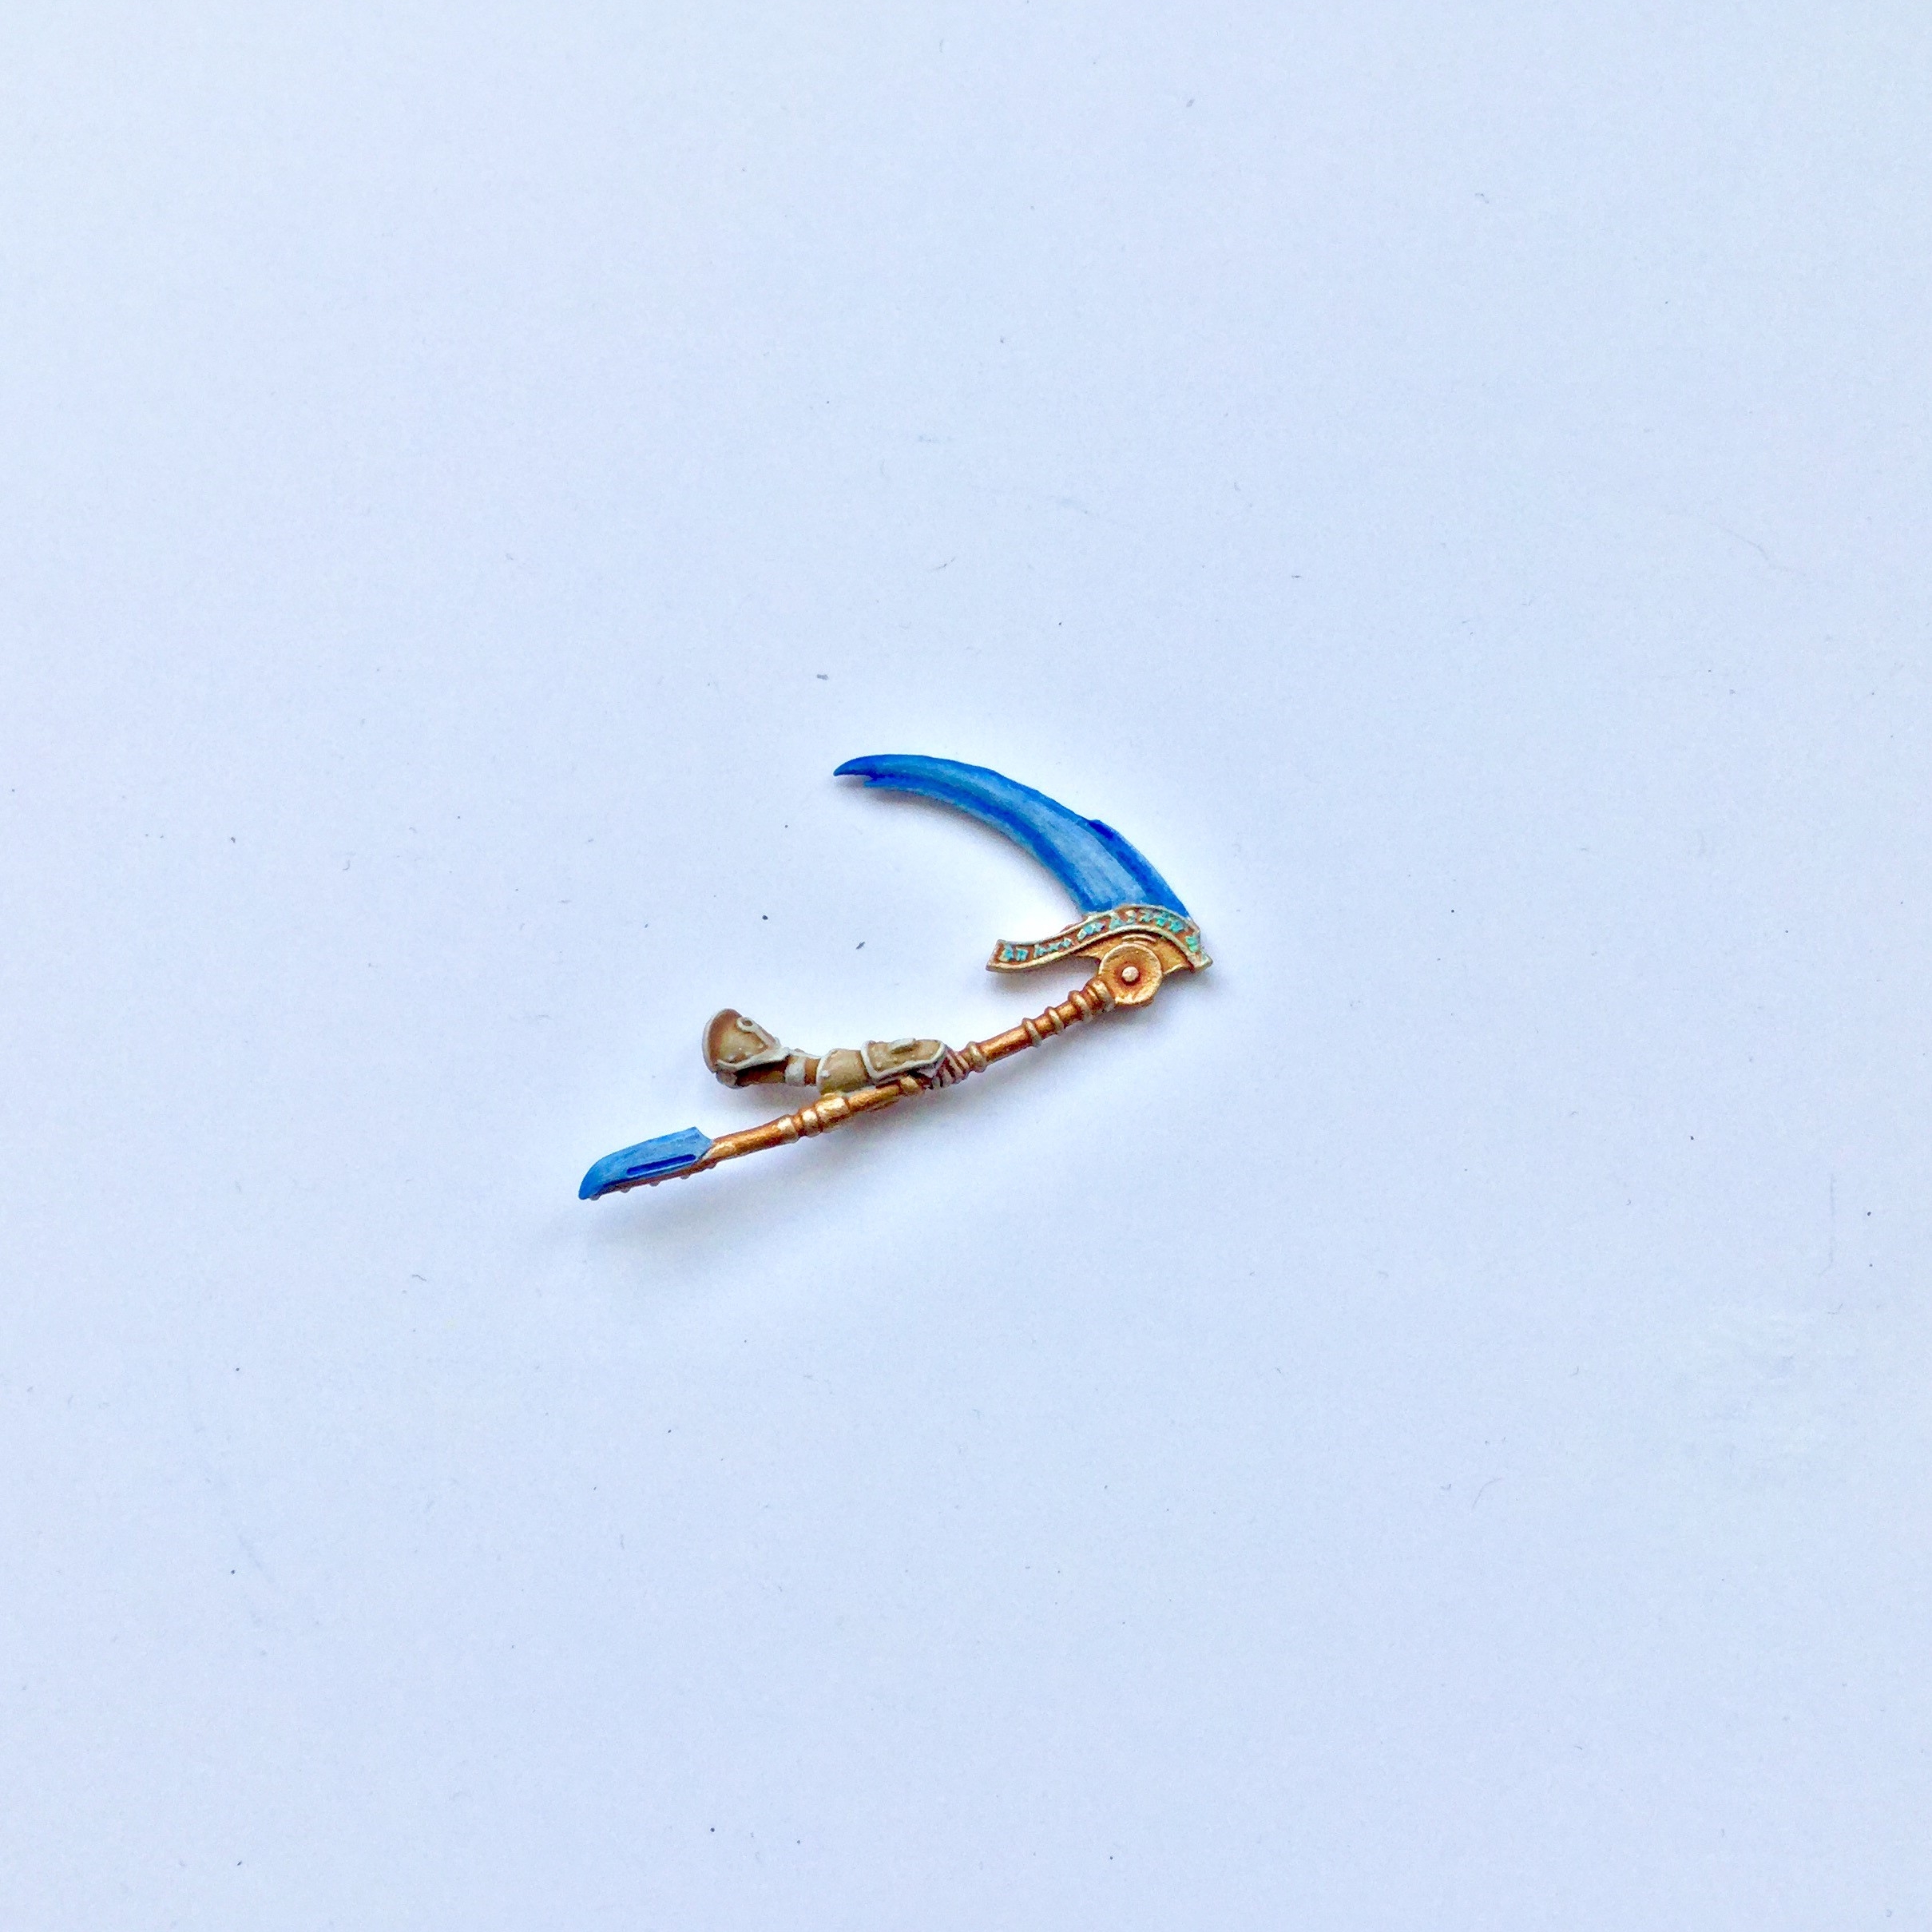
Devil in the... – Detail is starting to be picked out on Nura. Using my base colours again and thinning them out, plus further washes to darken even more recesses.
Like what you see? – Legendary Nura, all glued and in place on her base. She is a challenging miniature, but very enjoyable.
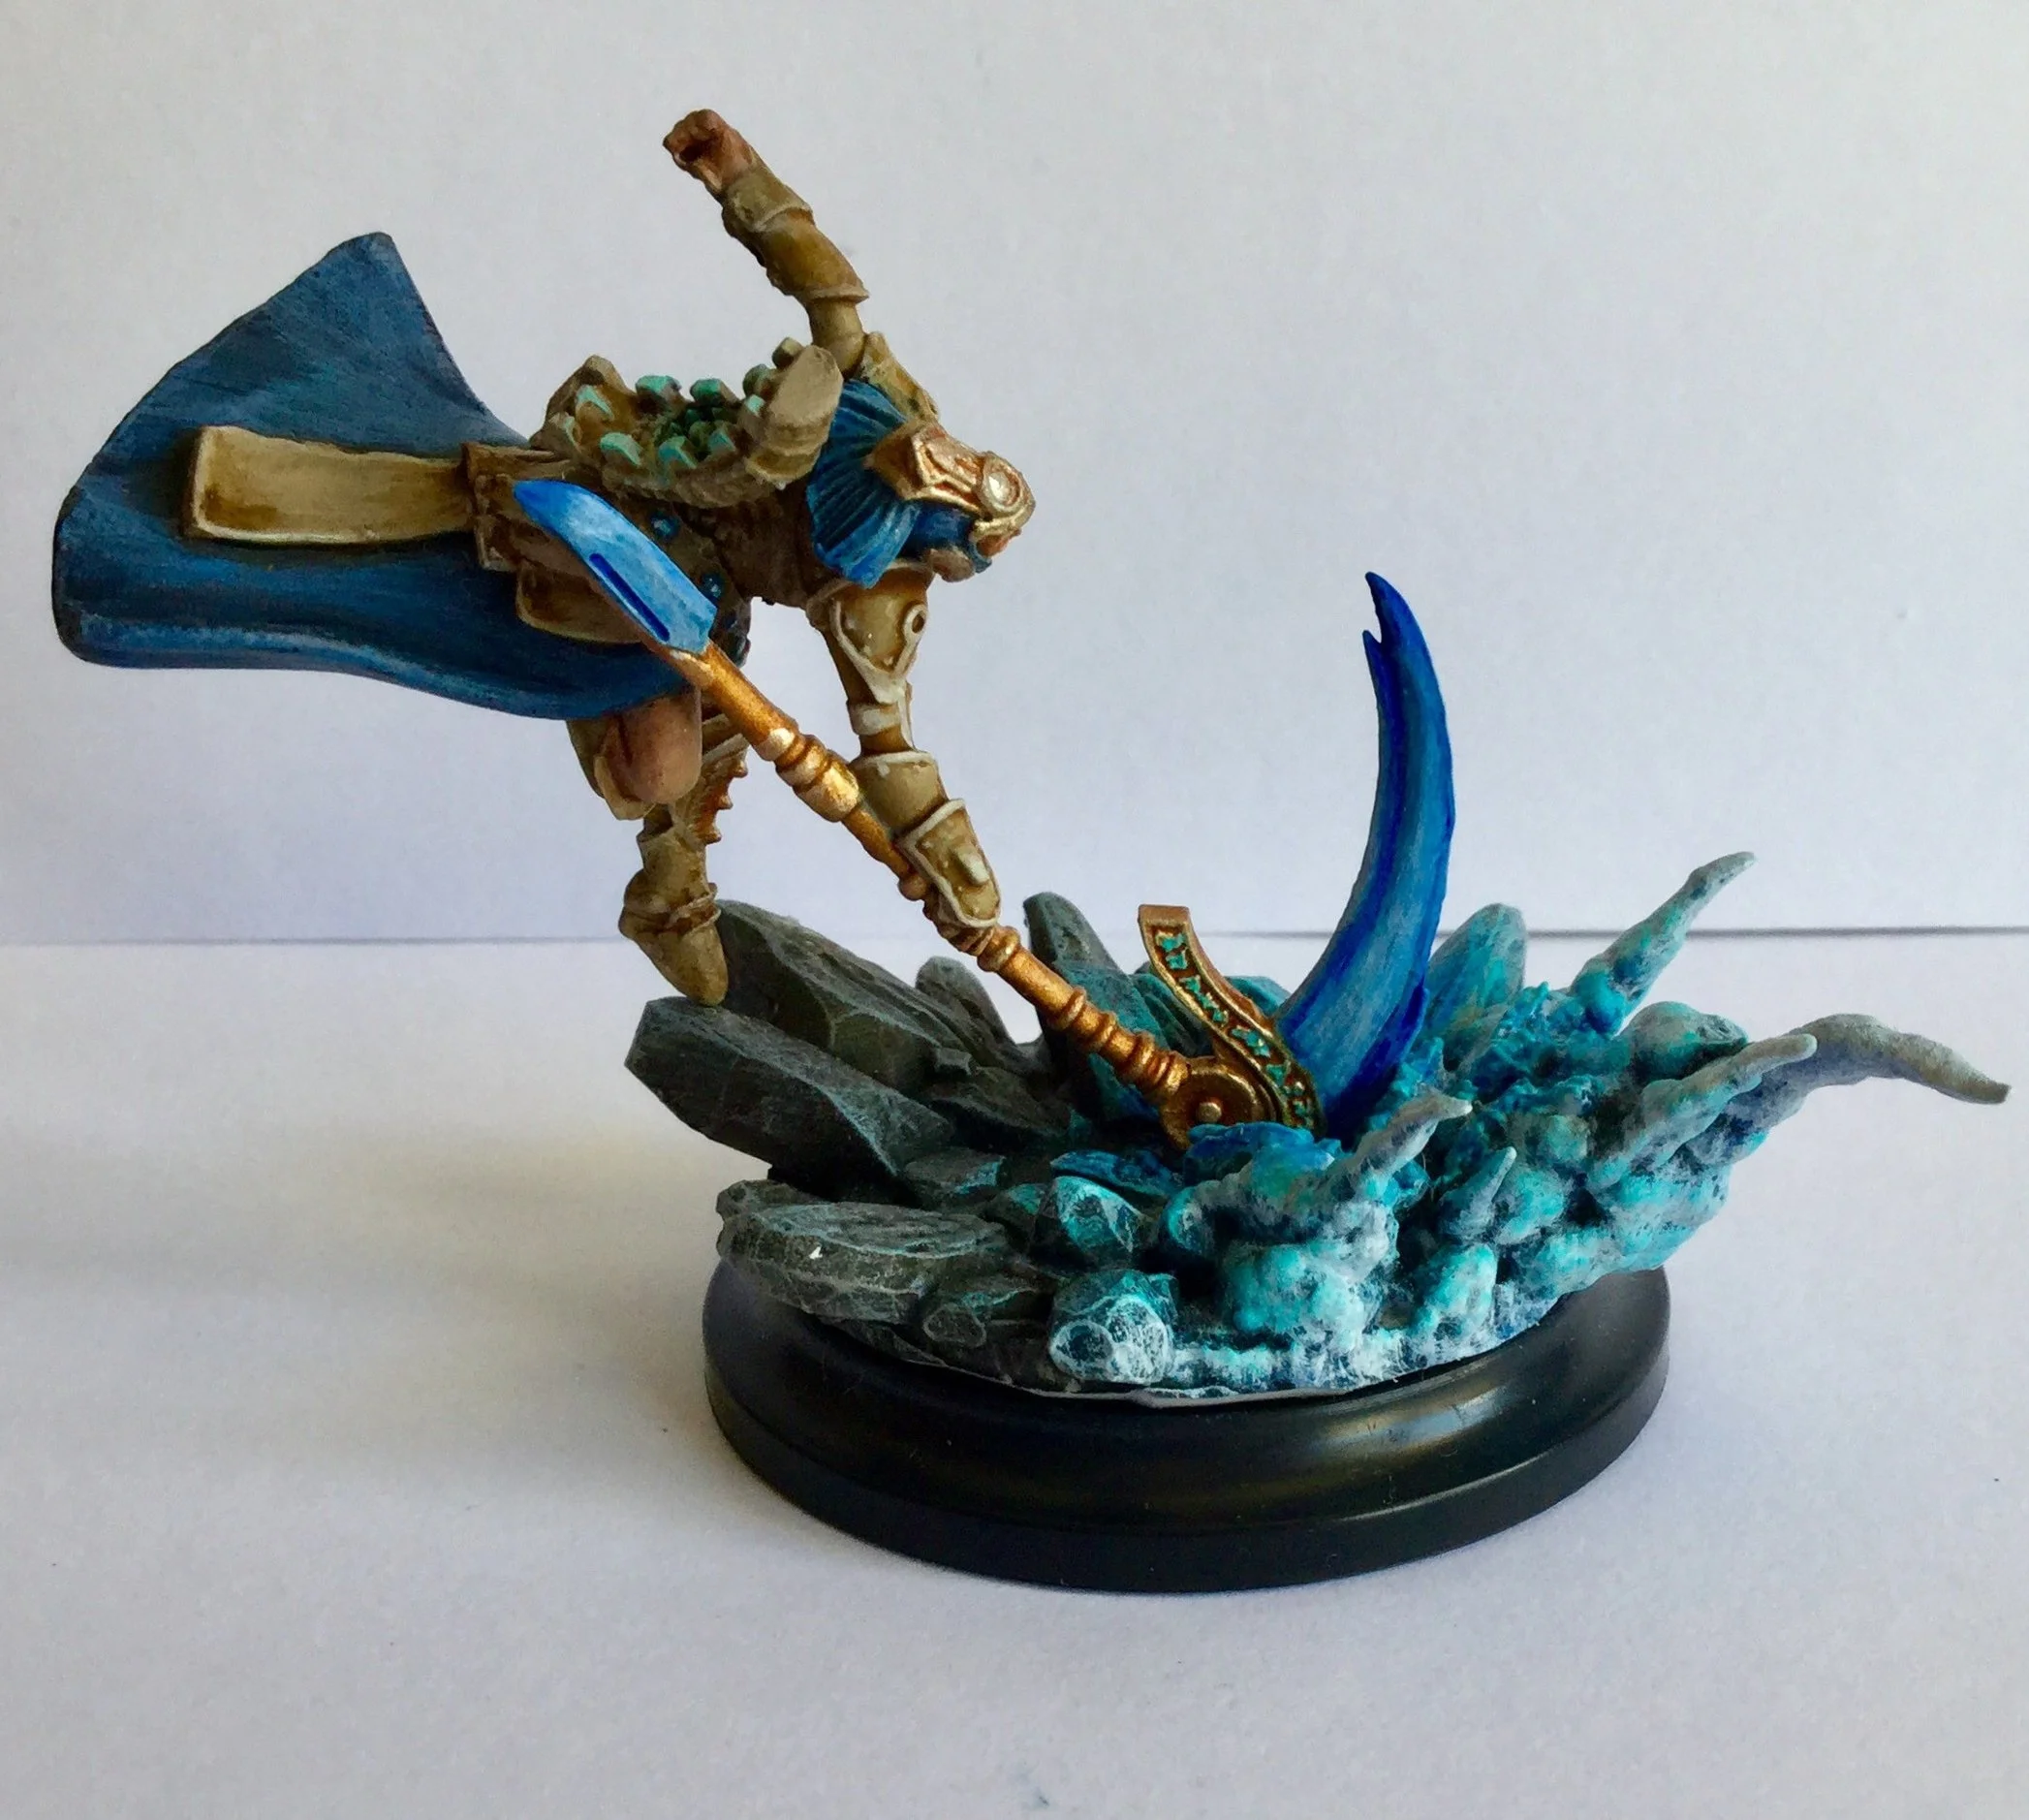
A different perspective – Legendary Nura from a new angle.