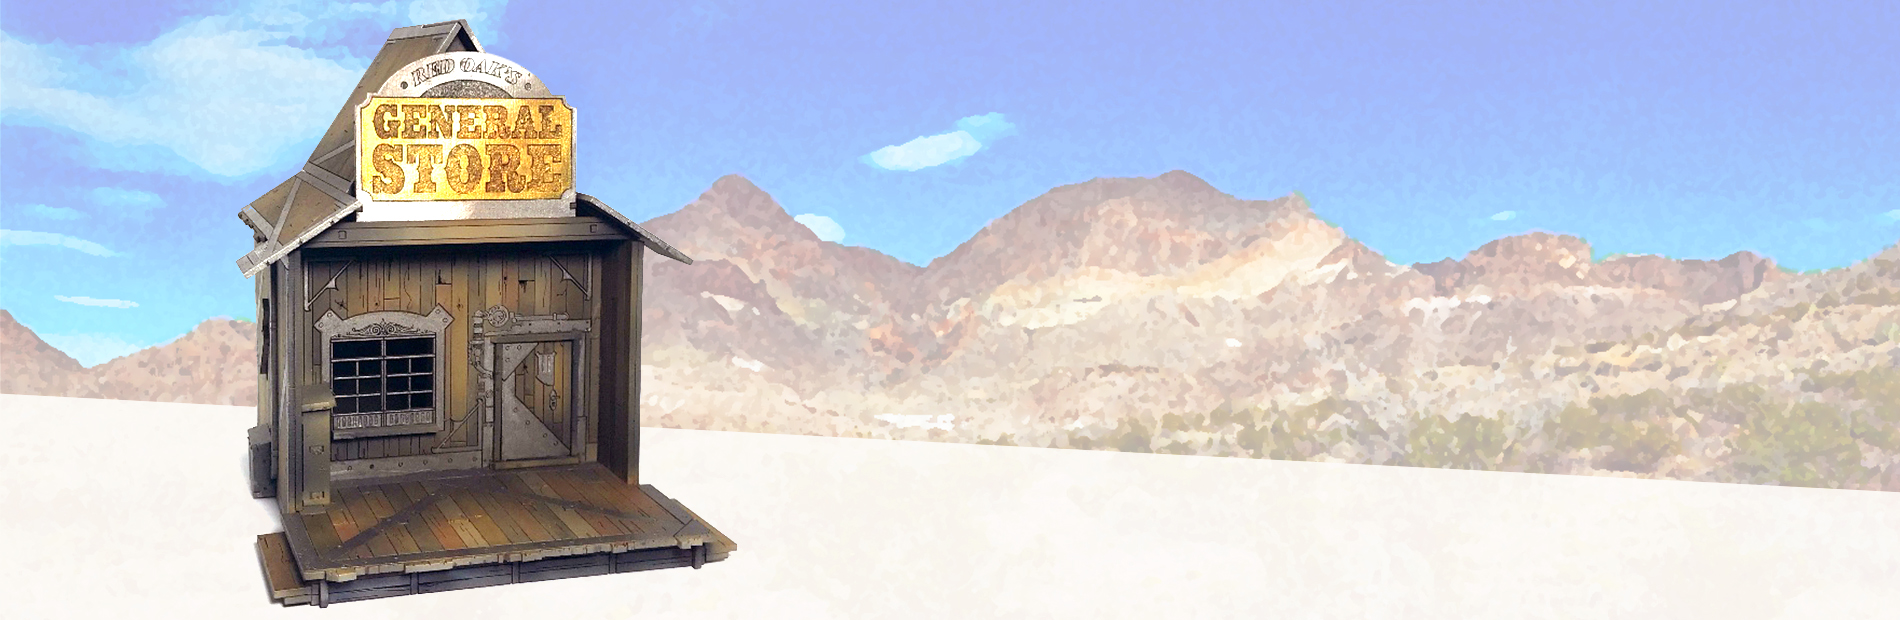
Here's a quick step by step on how I painted the awesome new Wild West Exodus terrain!
To kick off, I undercoated the model black. No photo here (who needs a photo of a black building, after all).
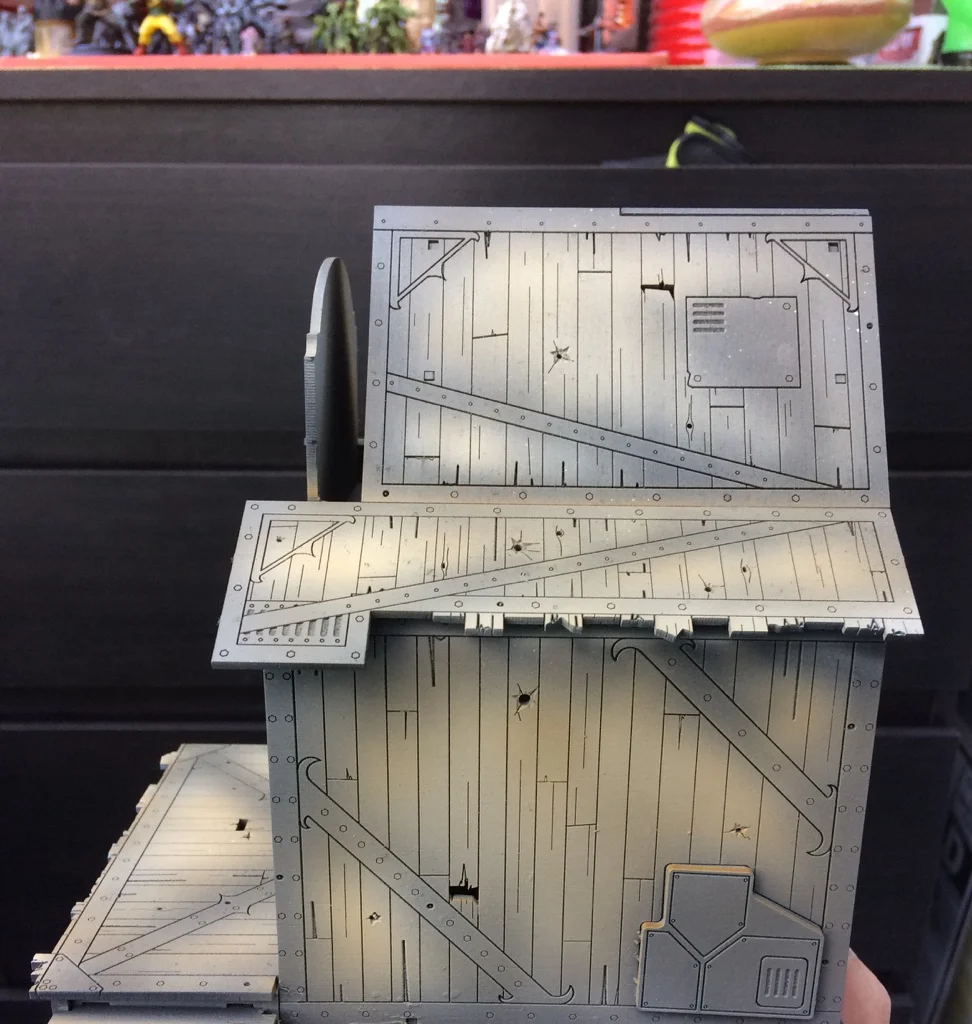
STEP ONE
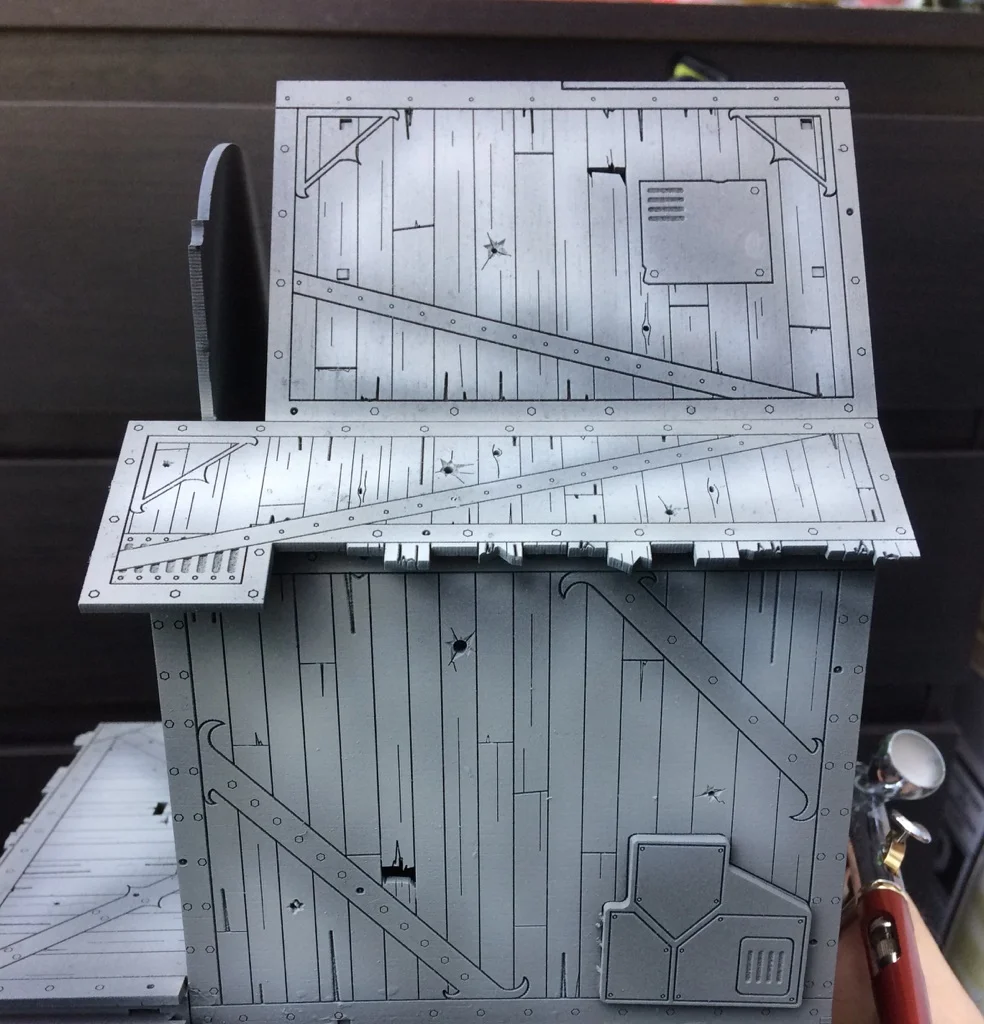
Build up 3D effects with grey.
I use an airbrush but you can get very similar effects using a spray can. If you're using a brush, get a big ol' one inch round and stipple on the paint in thin layers.
STEP TWO
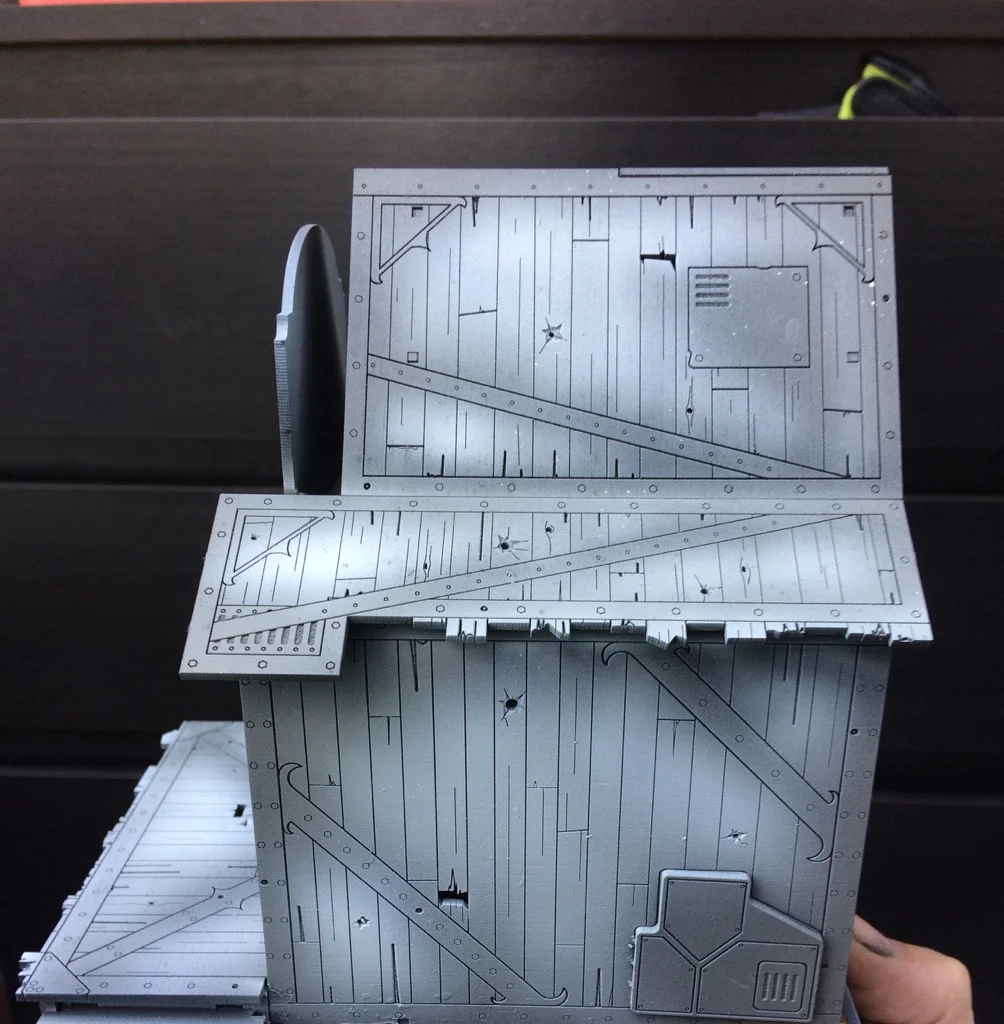
To increase the 3D effects, once again, I go in with white.
STEP THREE
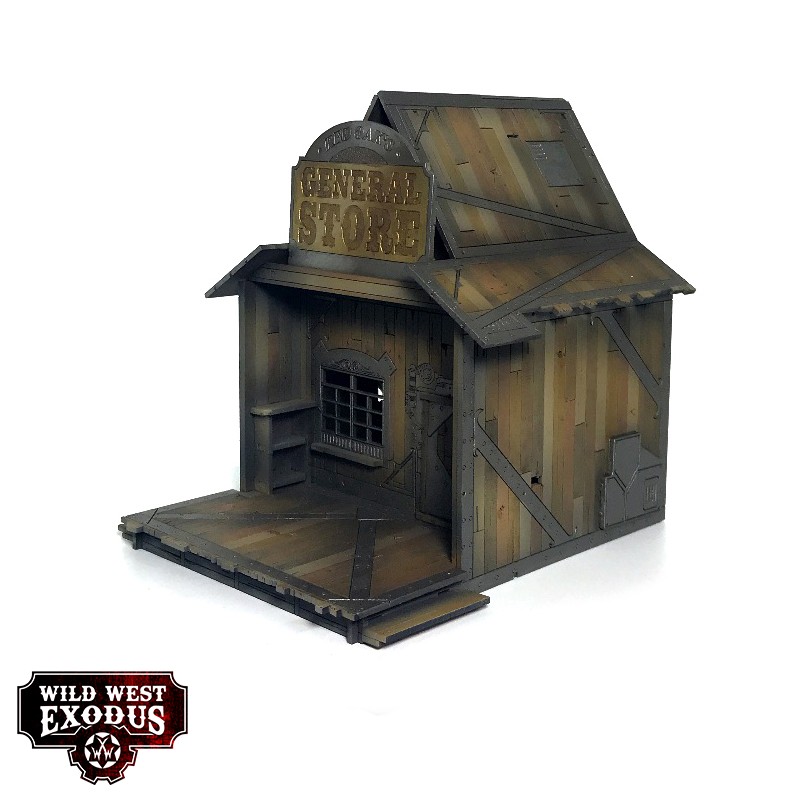
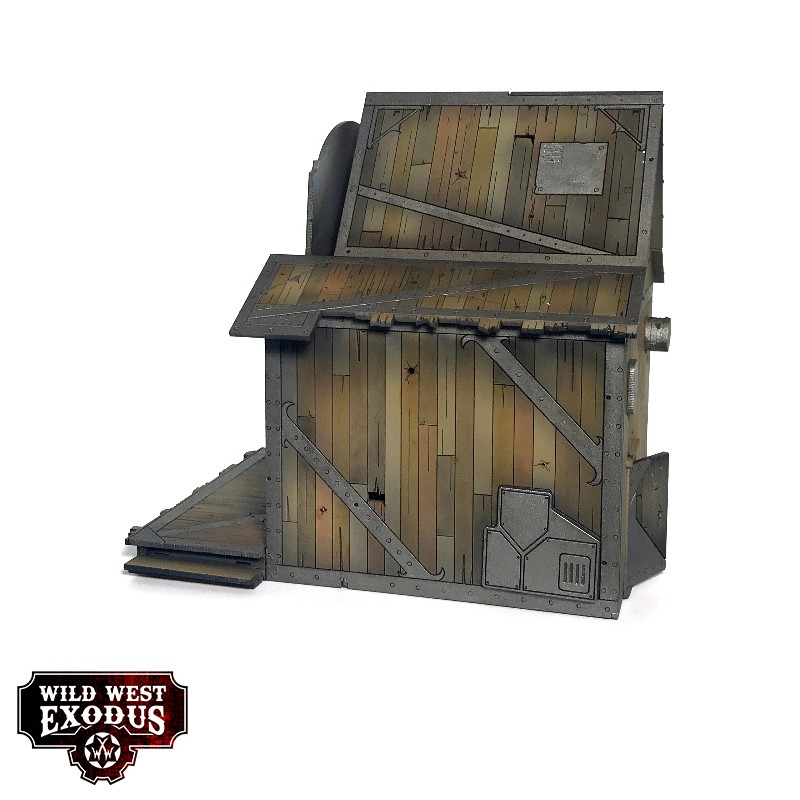
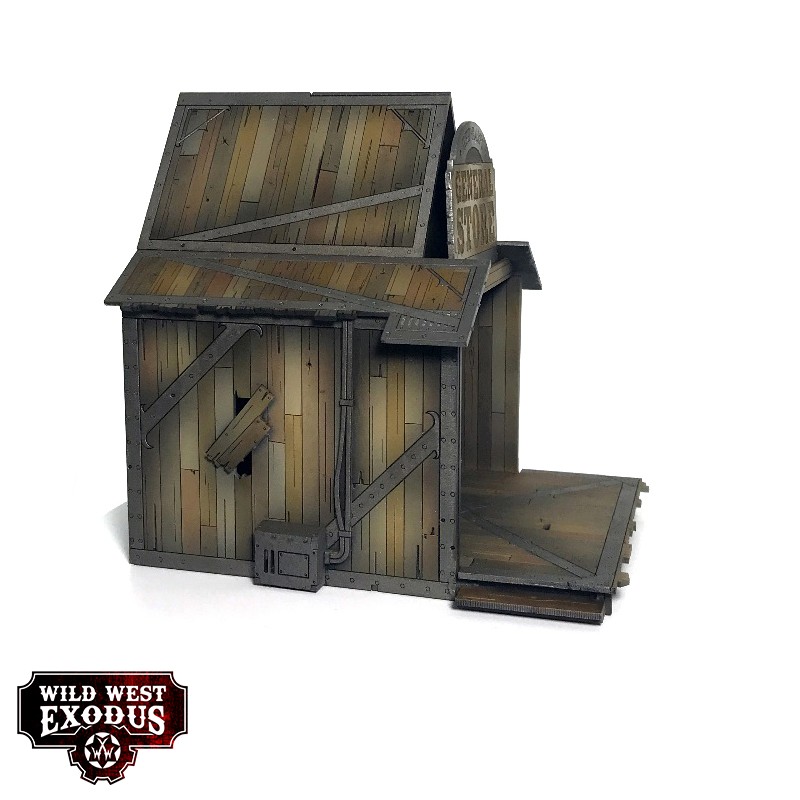
Glaze the entire model with a Sepia Wash (approximately 7 parts water to 1 part paint).
I repeat this three times for a deep colour shift. I am still using the airbrush here but, if you do not have access to one, you can purchase weathering sprays which achieve a similar effect or go in with that big ol' brush - just don't let the glaze pool up.
STEP 4
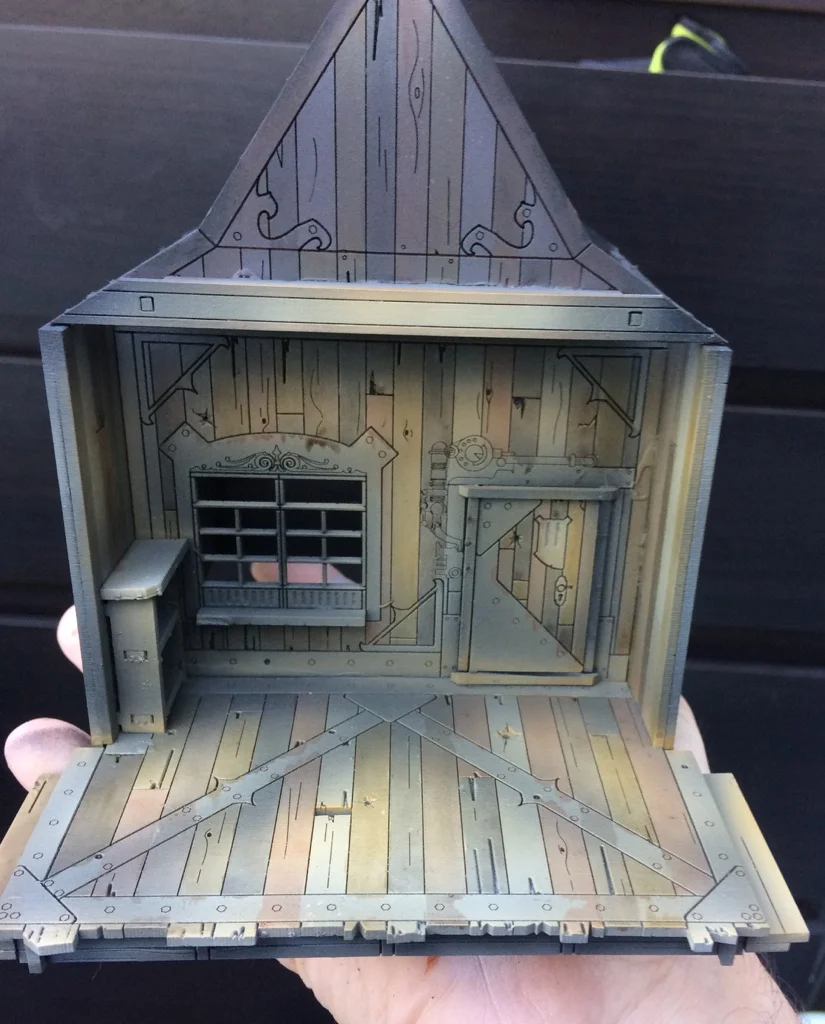
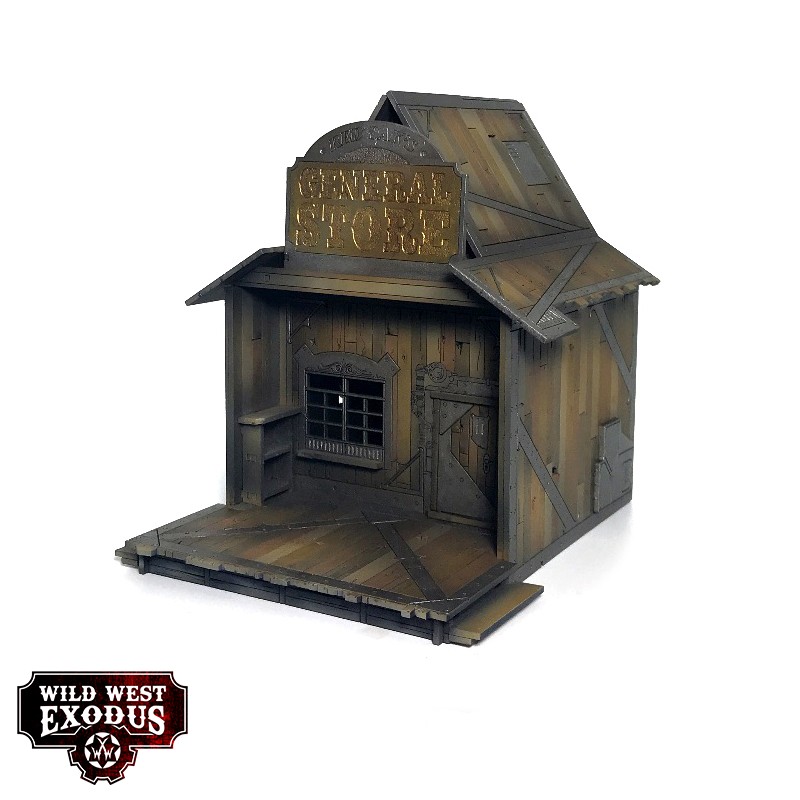
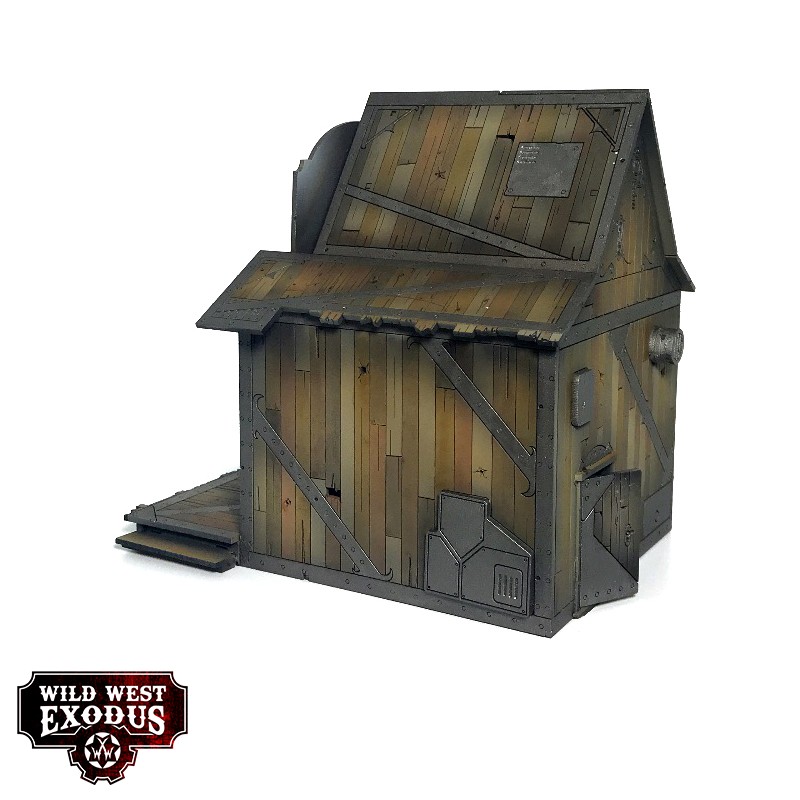
Grab a decent sized brush and pick out individual planks with a selection of different brown washes.
For this model, I used a red-brown, yellow-brown, dark brown and black brown. I tend to make my own washes from P3 paint but there are loads of great alternatives out there. Once again, don't let the wash pool up.
STEP 5

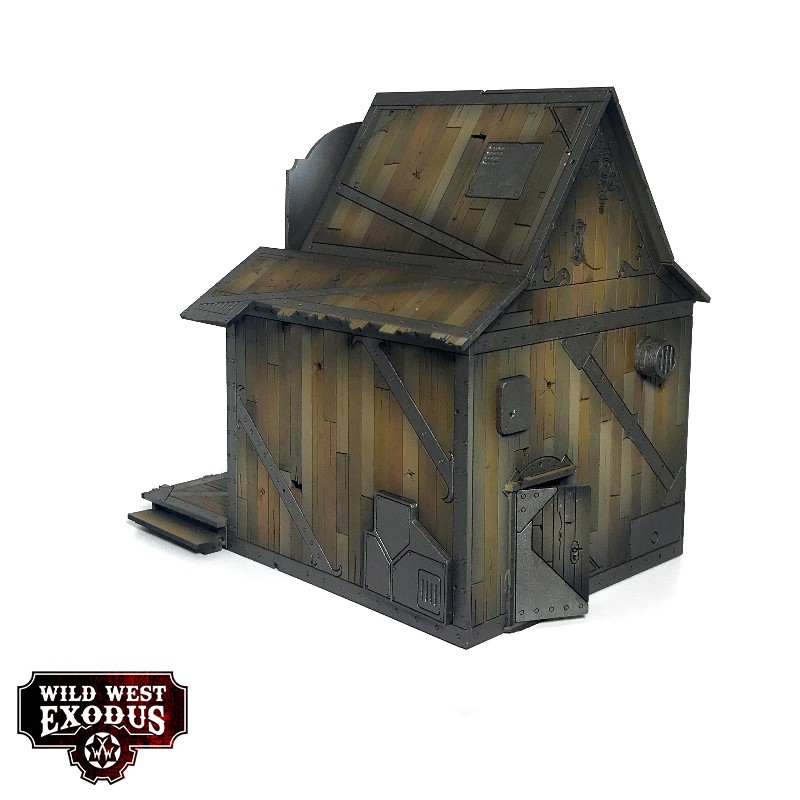
Pick out the metallic areas. Take your time as it's very difficult to clean off slips. All metallic areas were painted in P3 Pig Iron.
The Brass areas were painted in P3 Brass Balls.
YOU'RE ALL FINISHED
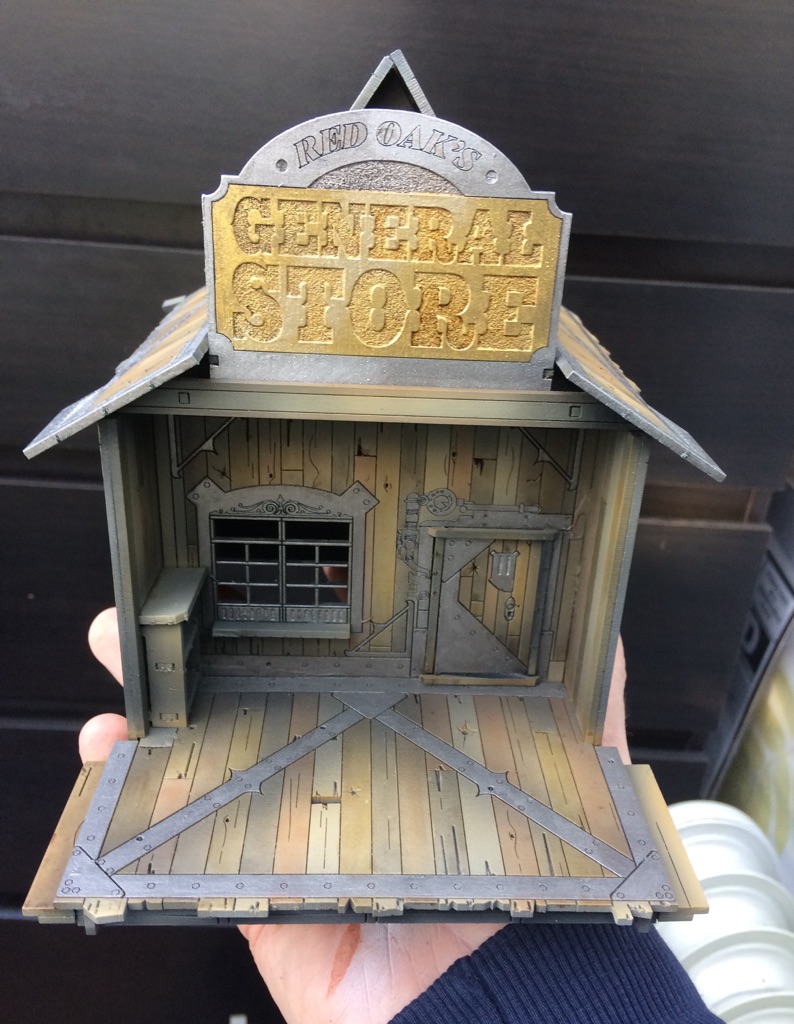

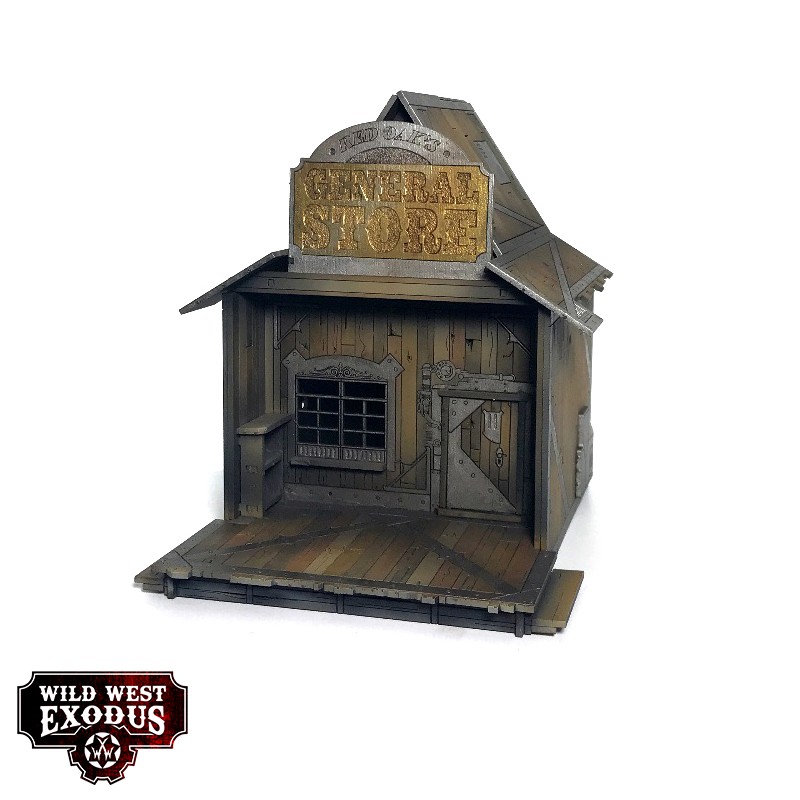
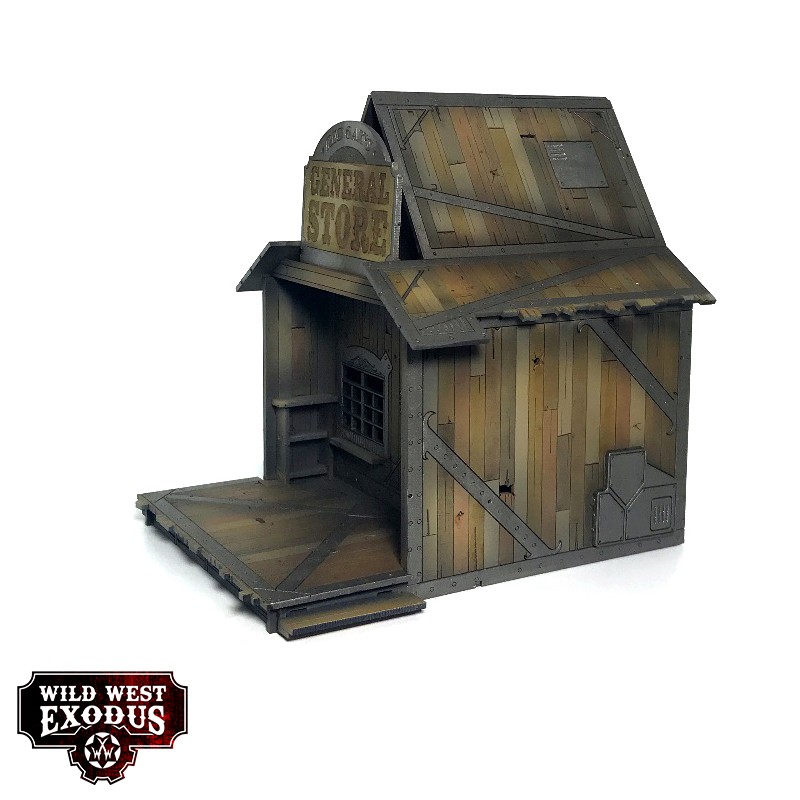


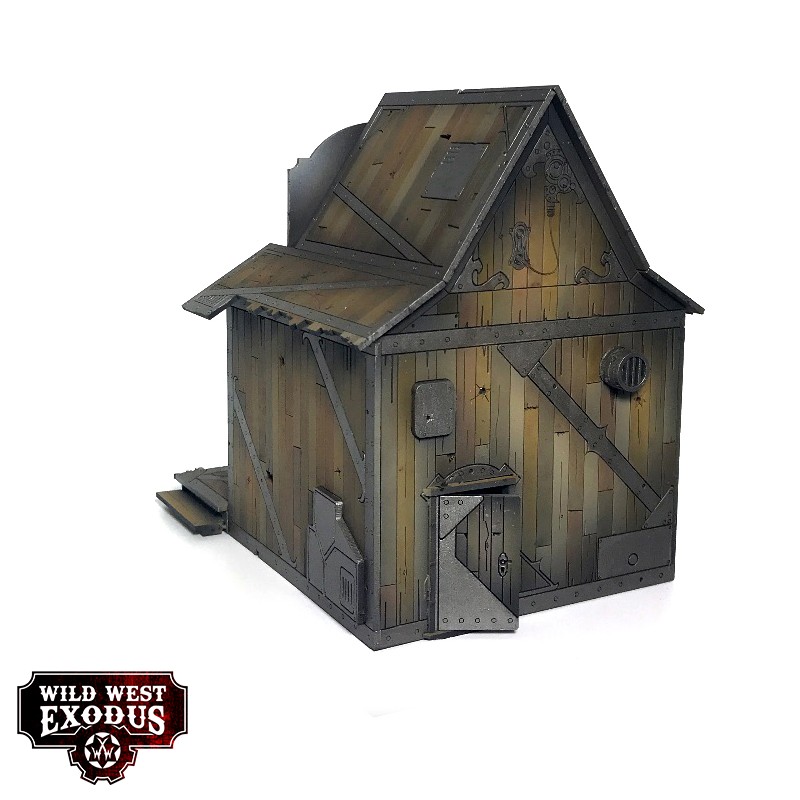
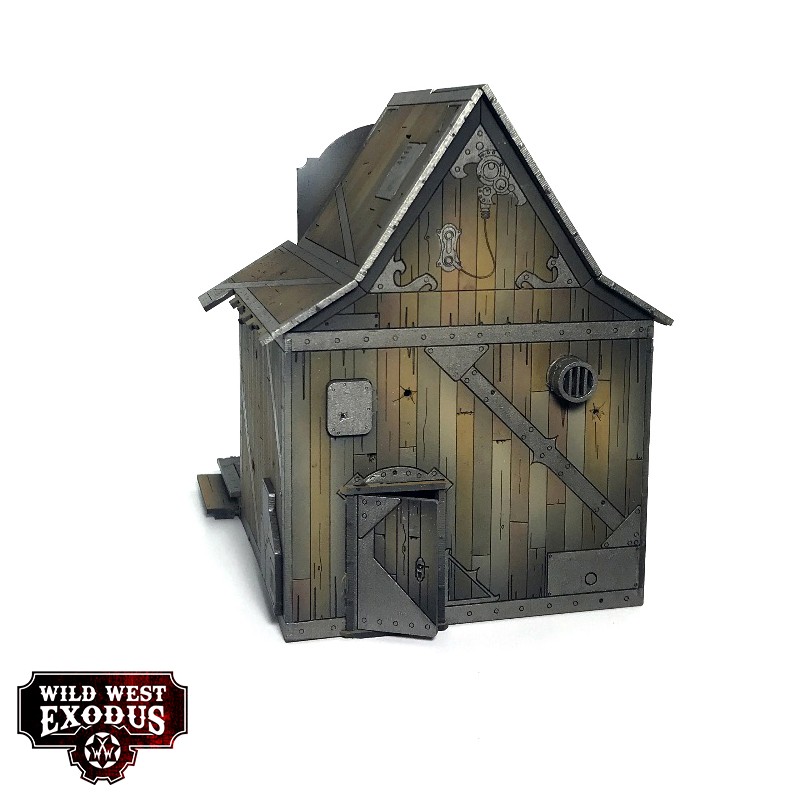
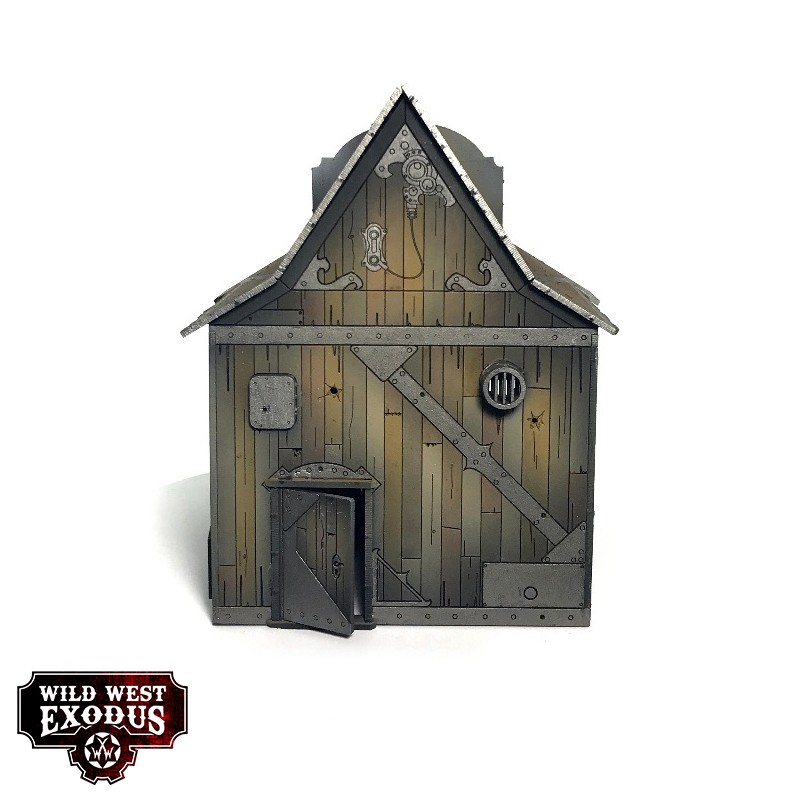
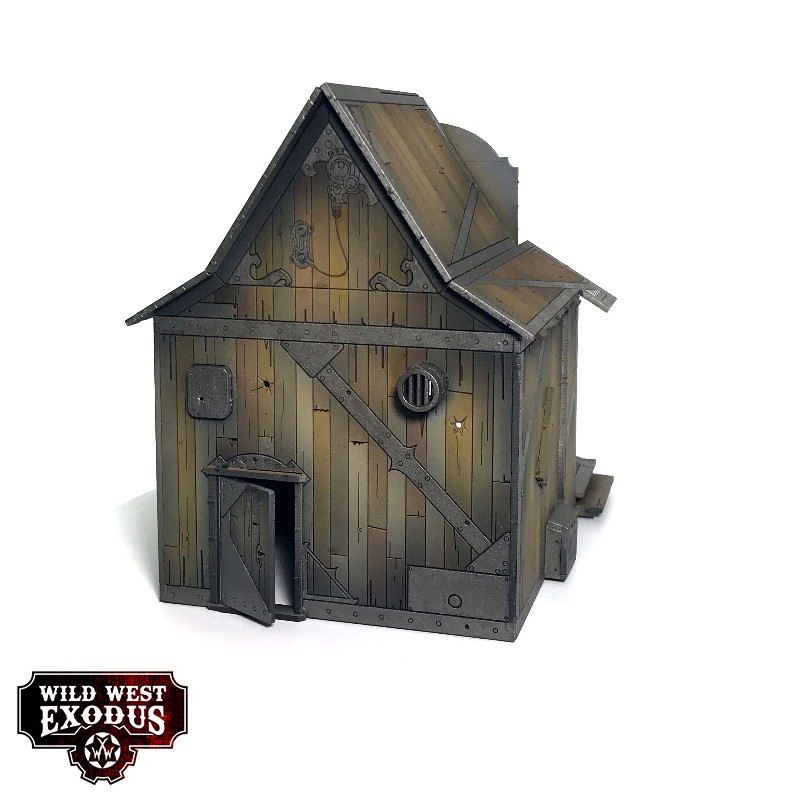
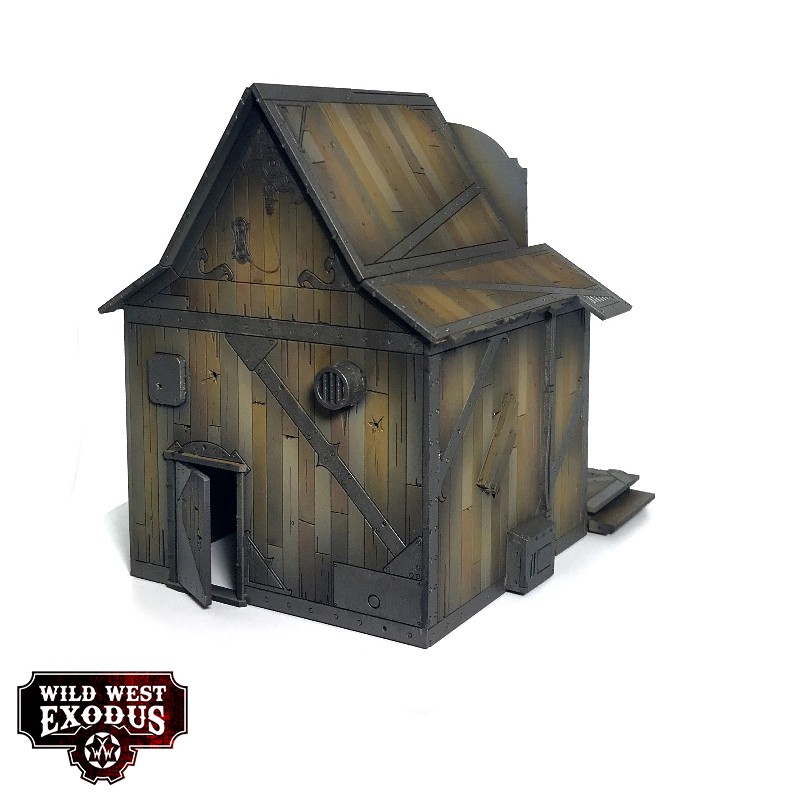
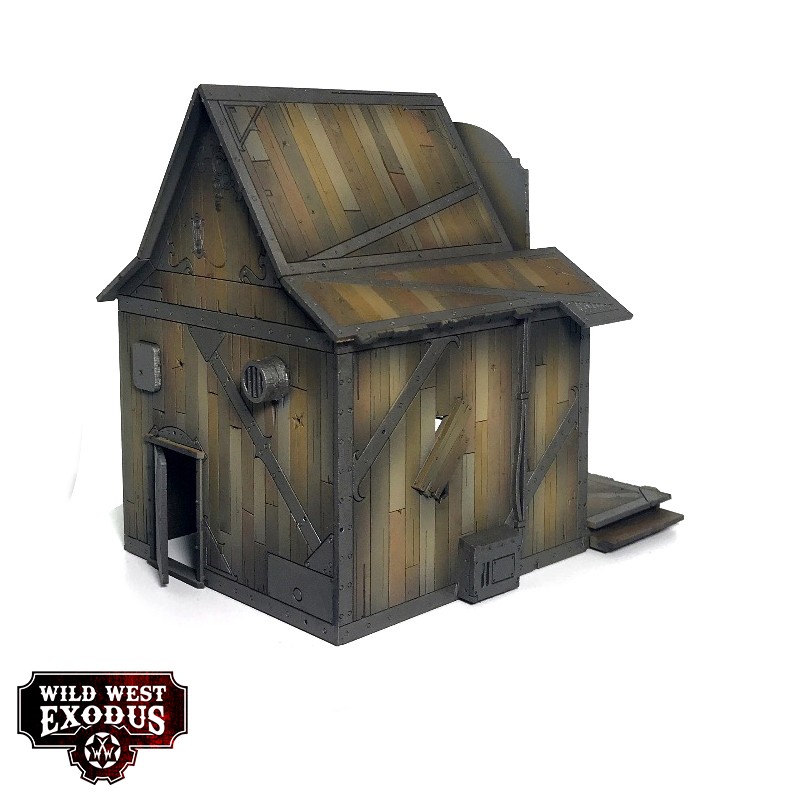
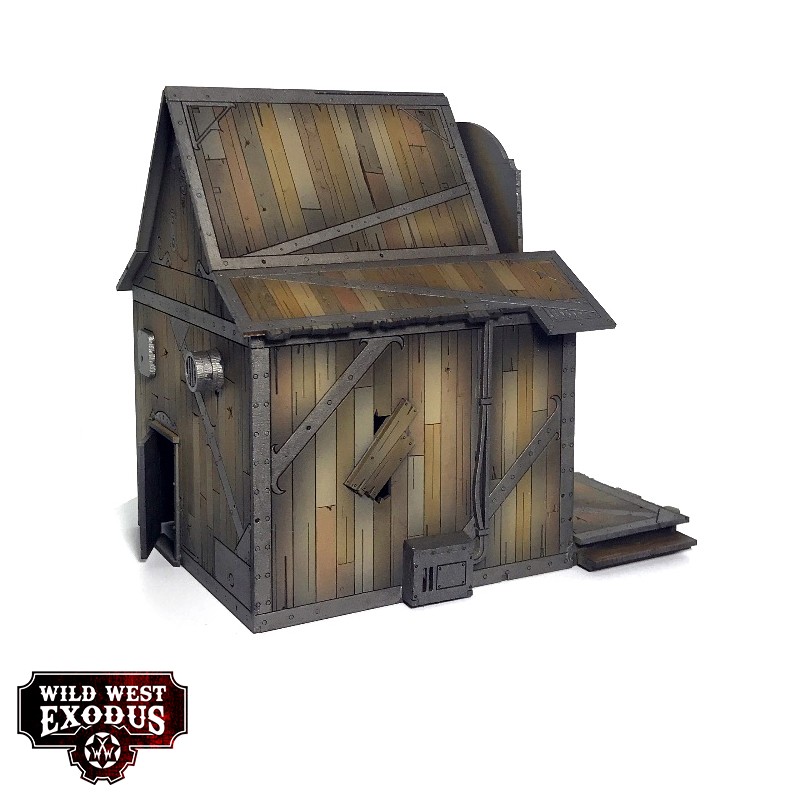
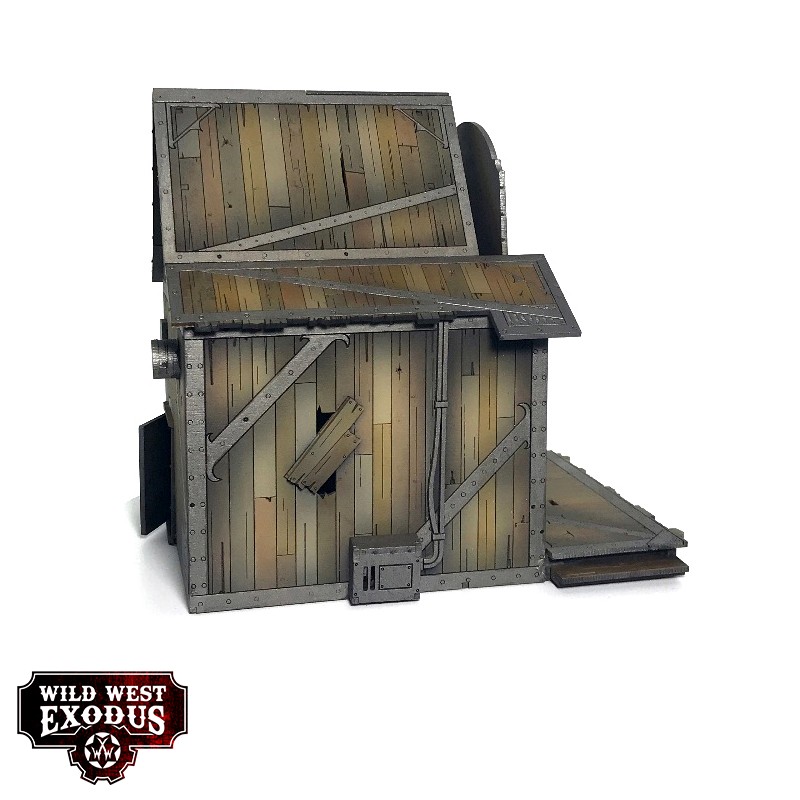
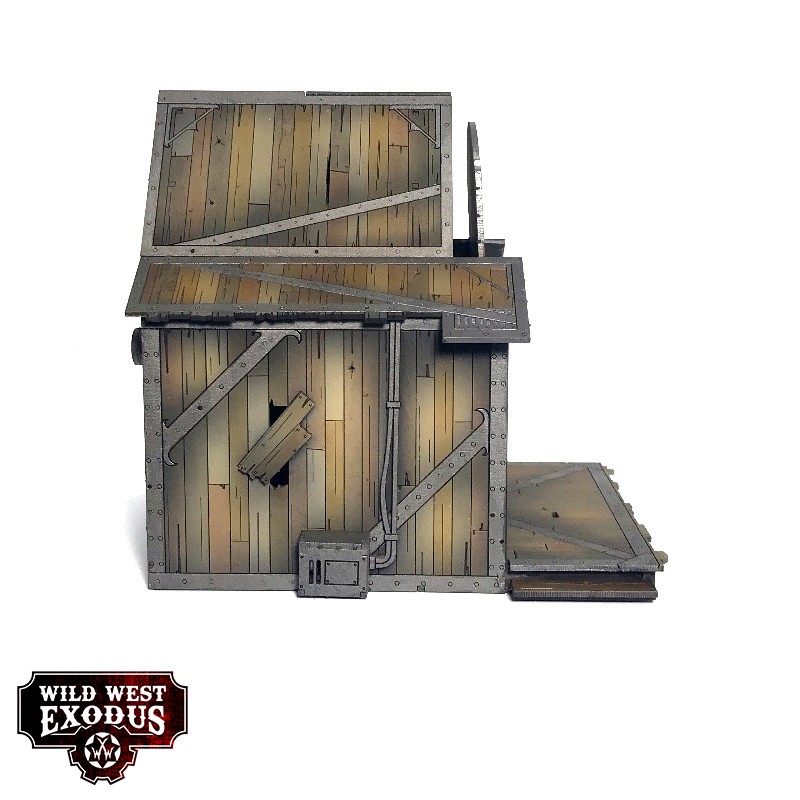

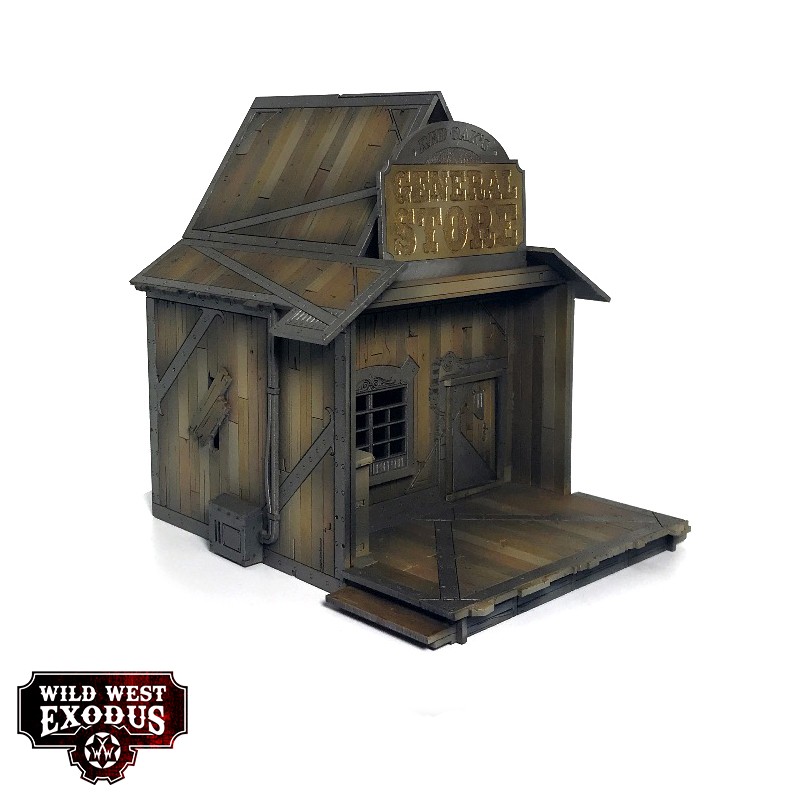
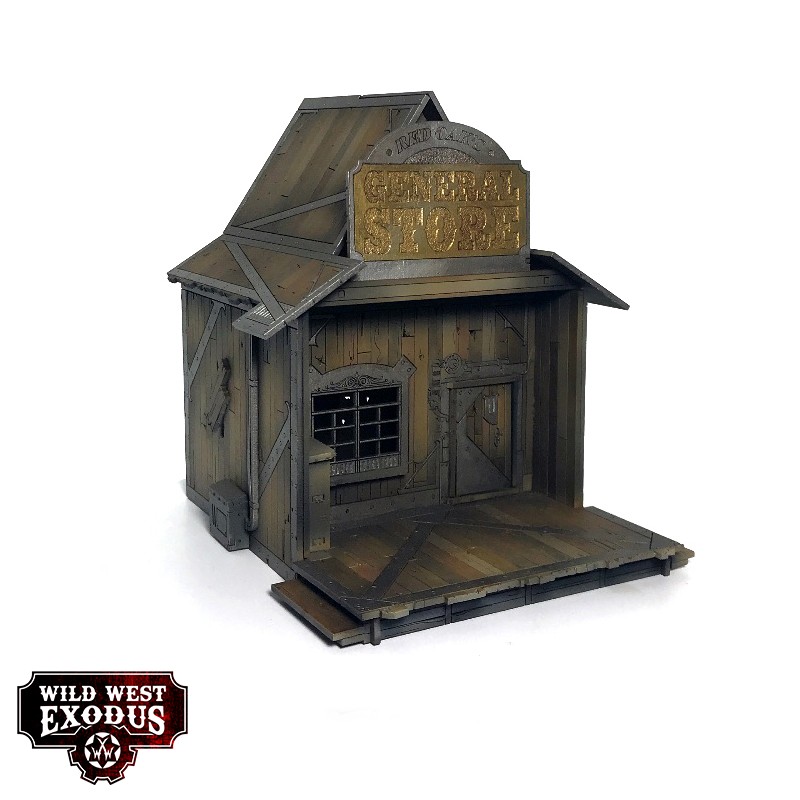
These should look great on the table top for now!
I'll be looking at how to take things to the next level with weathering and detailing next time.
Until then - happy paintin'!
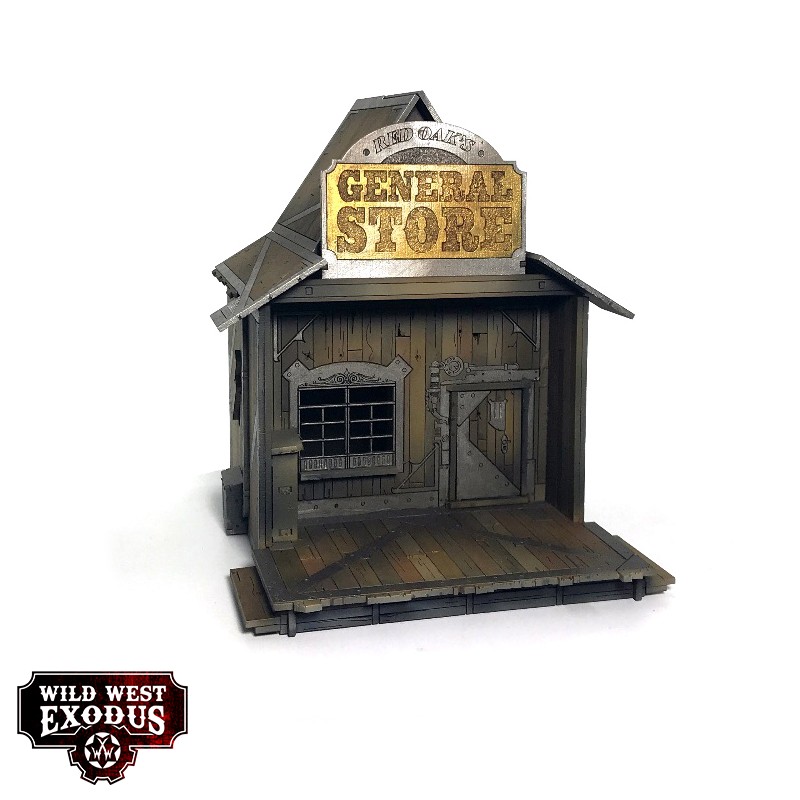
You can find all of the Red Oak terrain on our online store here, or from your regular FLGS or online stockist!