

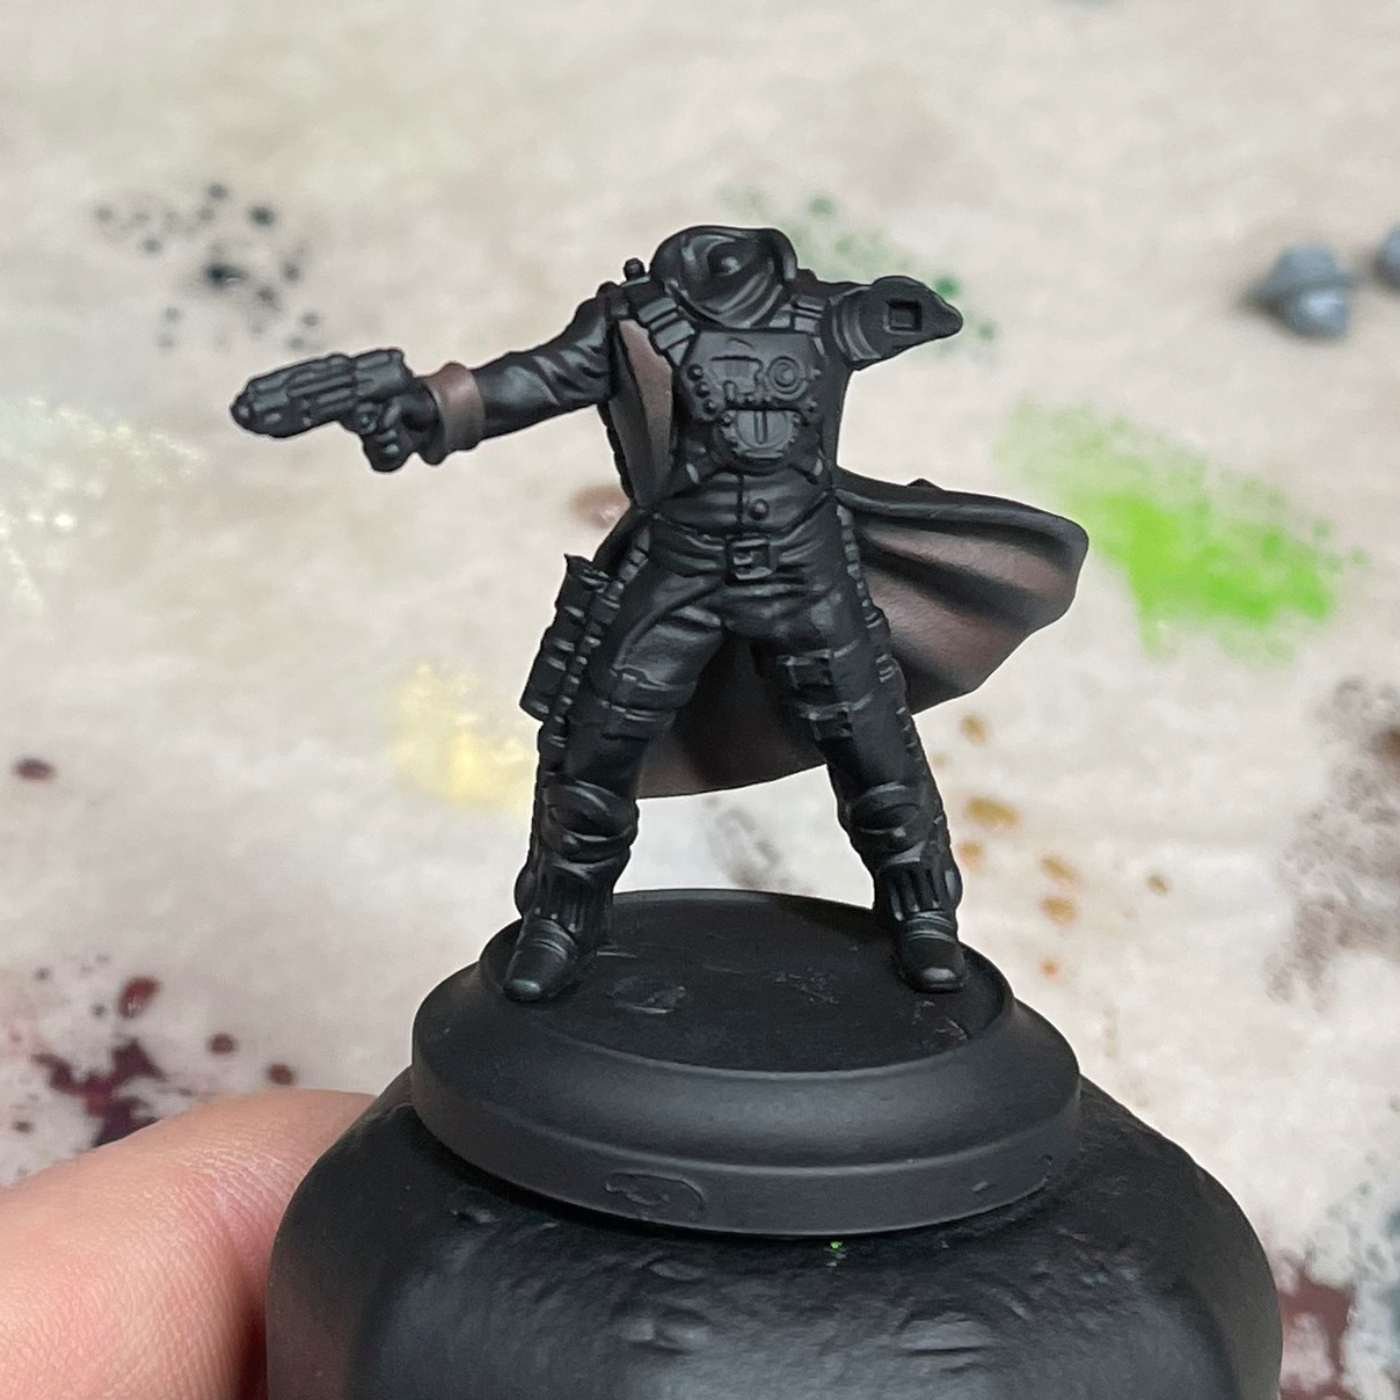
It’s that time again, step-by-step time! It’s the turn of everyone’s favourite portal-shunting Lawman, Carl Fredrickson.
Continuing work on the miniatures from his Showdown at Retribution box, Daz has taken the time to break down how he achieved the detailed look of his Carl Fredrickson.
So follow along to find out how he began to tackle painting Fredrickson, putting on his coat and pulling up his trousers. Look out for more to come on the method to achieve the full look in the future.


Coat Interior
Step 1: I began by painting the interior of the coat with a layer of Umbral Umber, applying this in three layers using heavy stippling.
Step 2: I added a spot of Menoth White Base to the previous mix for the first highlight. This was once again applied using stippling to leave a soft blend.

Step 3: I then added even more Menoth White Base to the mix for the final highlight (final ratio of 4:1). This was applied as before but in a glaze consistency. Afterwards, I applied a glaze of 50/50 Piggy Purple Ink and Sanguine Base mix to bring back a little colour.
Trousers
Step 4: The trousers were first base coated with Gun Corps Brown. As this is quite a light colour I applied it in 3 watered down coats to give a solid base to work from.
Step 5: To start adding separation around the strapping and deepen the shadows in the recesses, I made a wash of 50/50 watered down Piggy Purple and Sanguine Base. I blended this out by wiping any excess wash away with a damp brush.


Step 6: I began to deepen the shadows and outlined any details with a wash of Umbral Umber. I made sure to reclaim the largest areas back from the last step by applying broad highlights with Gun Corps Brown.
Step 7: For the second highlight, I added a spot of Menoth White Highlight to the Gun Corps Brown. I kept these soft and blended towards the highest points.
Step 8: The final highlight was applied with a 50/50 mix of Gun Corps Brown and Menoth White Base.
Black Leather
Step 9: For the black leather elements I gave them a base coat of 50/50 Coal Black and Thamar Black.


Step 10: I added a spot of Mouldy Ochre to the previous mix for the first highlight, applying it in quite a sketchy style to add a little texture. From here I added another spot of Menoth White Highlight to the previous mix for the last highlight, I then applied a thin glaze of the base coat to smooth out any blends.
Buckles and Piping
Step 11: The metal areas surrounding and running along the sides of his legs were given a base coat of Greatcoat Grey.
Step 12: I applied sharp edge highlights to all metallic areas with Underbelly Blue. This is time-consuming but essential for the non-metallic metal process.
Step 13: Next, I used Frostbite to apply another edge highlight. This time I focused on the highest points and corners.
Shirt


Step 14: To start with, the shirt was given a base coat of Menoth White Base. Then, I used a very thin wash of Turquoise Ink to shade the recesses.
Step 15: Once the recesses were shaded, I used a 50/50 mix of Menoth White Base and Menoth White Highlight for the first highlight.
Step 16: The final highlight I applied was just Menoth White Highlight.
Brown Leather and Gold


Step 17: I used a 50/50 mix of Sanguine Base and Bloodtracker Brown to base the belt. After this base coat I applied a wash of Umbral Umber to pick out the details.
Step 18: For the belt and button I used a 50/50 mix of Umbral Umber and Heartfire to base the gold parts.

Step 19: For the first highlight I added more Heartfire to the previous mix to bring it to 3/1. For the final highlight I applied Menoth White Highlight to the golden areas. I also applied the first highlight to the belt by adding Skorne Red to the base coat.


Step 20: I added a spot of Menoth White Base to the previous mix for the next highlight on the belt. To this previous mix I added some Mouldy Ochre for the final highlight.
Step 21: To finish up I used a thin glaze of Brown Ink to blend the highlights and finish the belt.
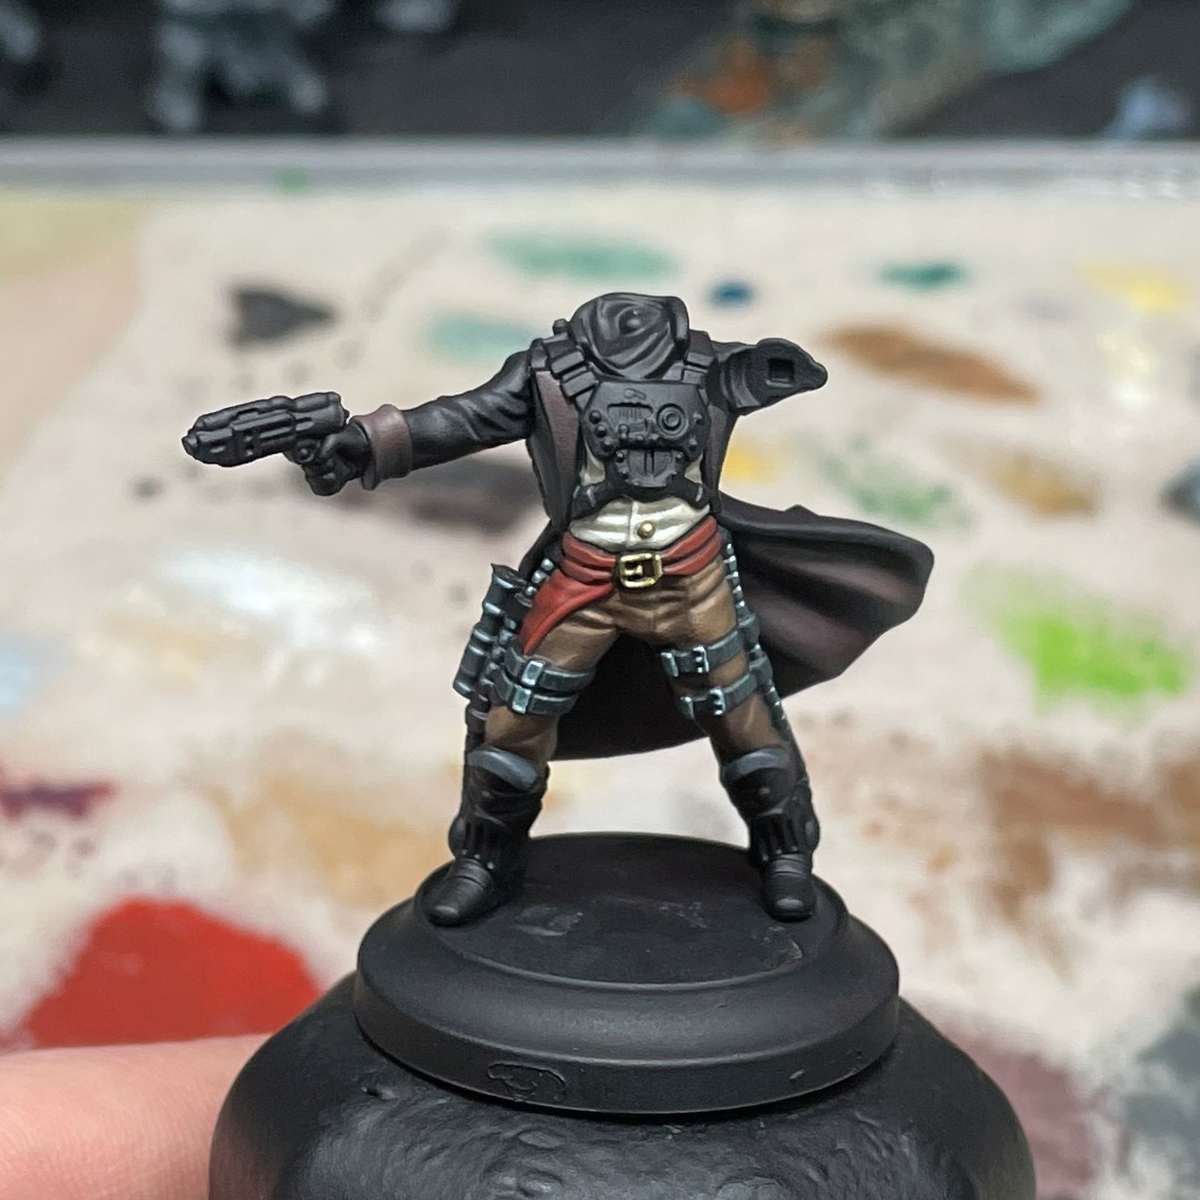
And, we’re done for now!


A great start to Carl Fredrickson from Daz, making great progress on his clothing and getting ready to paint up his armour and weaponry soon.
Make sure to keep an eye out for future step-by-steps on Daz’ Carl Fredrickson as well as new releases on the Warcradle blog. Also make sure to follow us on Facebook, Twitter and Instagram to stay up to date with all we have to offer.