
It’s time for another Step-by-Step here on the Warcradle Studios blog, and we are excited to reveal the first painting tutorial for the American faction - the Union!
Daz has been busy painting, as usual, bringing us all another one of his Step-by-Step guides for Dystopian Wars.
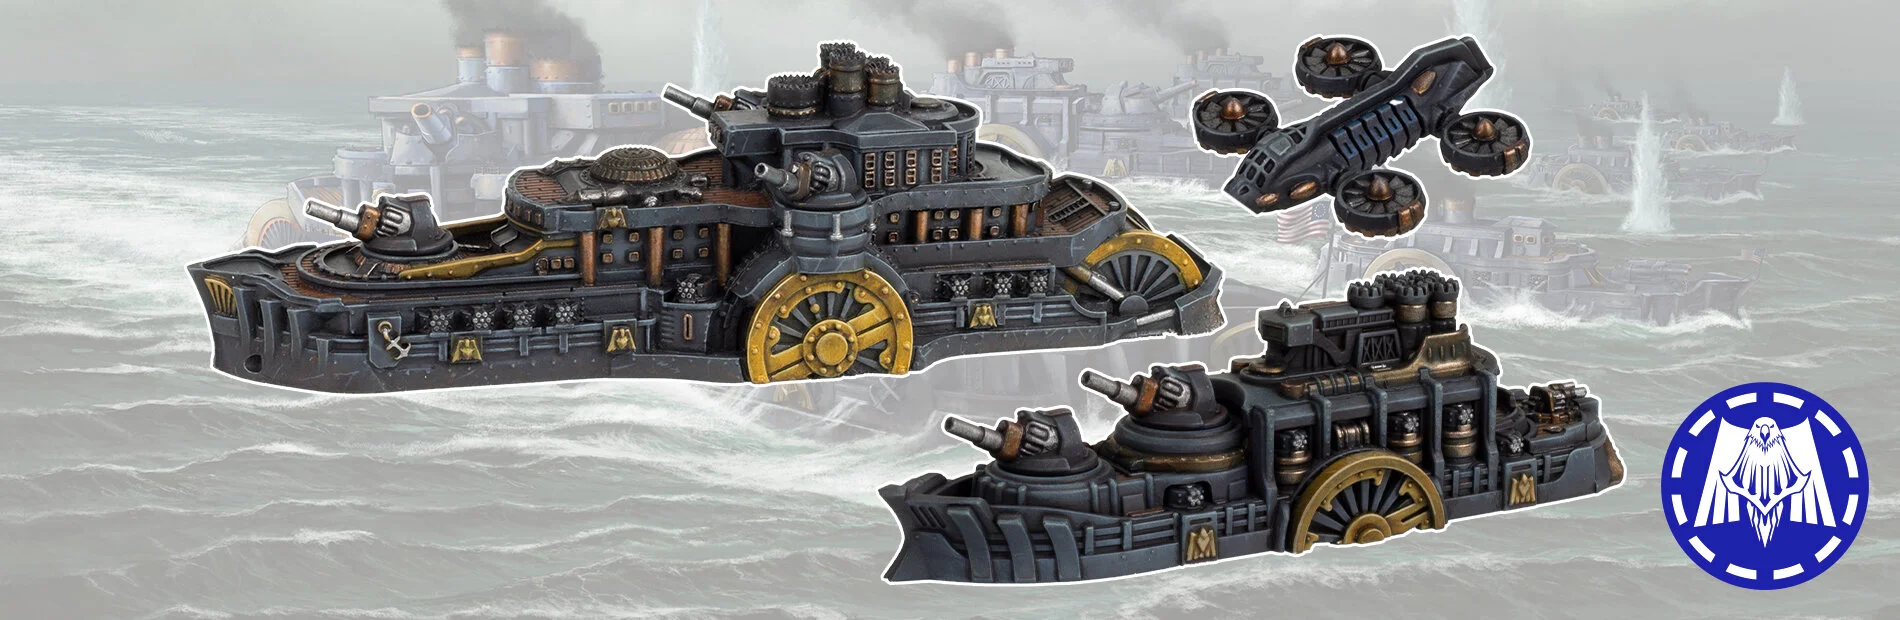
Have you got your hands on the Constitution Battlefleet Set? If you decide you need reinforcements, you can also pre-order the Union Frontline Squadrons now from your FLGS or Wayland Games online!
Follow the steps below to get your vessels painted up, ready for the tabletop.
Step 1 - The model was given a base coat of 50/50 blue/black (P3 Exile Blue/Thamar Black) over a black undercoat. I used an airbrush for speed but you can achieve the same effect with a heavy wet brushing.
Step 2 - The first highlight is a 50/50 mix of blue/blue grey (P3 Greatcoat Grey/Exile Blue), applied from the side using an airbrush. A good solid dry brush will achieve a similar effect.
Step 3 - The second highlight was applied with an airbrush from above using pure blue grey (P3 Greatcoat Grey). A light dry brush from above, brushing downward will achieve a similar result.
Step 4 - The final highlight is applied directly downwards around the edges of the ship to catch any high points. I used a 50/50 mix of Blue Grey/White (P3 Greatcoat Grey/Morrow White). I carried on with the airbrush but once again, dry brushing will achieve a similar result.
Step 5 - The model was given a coat of gloss varnish, then a medium density wash of 50/50 Blue Ink/Black Ink (Vallejo Game Ink), watered down a further 50% was applied over the entire model. Thanks to the gloss varnish, you can use a damp brush to wipe the mix from any flat areas, remove excess and guide it cleanly into any recessed detail before it dries.
Step 6 - To counter the deep shade in the previous step, I edge highlighted the entire model with thinned down ivory (P3 Menoth White Highlight). This is very time consuming but strangely relaxing, and the end results are worth the effort, as the high level of detail on the model literally pops out.
Step 7 - I blocked the decking in using an Orange Brown (P3 Bloodstone). At this point you might get some of the brown on the grey. Don’t worry, just grab a damp brush and wash it into any recesses to crest a nice rusty effect. This rust wash can be applied anywhere you feel needs some gentle weathering.
Step 8 - I highlighted the planks using a mid orange ochre (P3 Bogrin Brown).
Step 9 - I decided to use a mixture of True Metallic Metal (TMM) and Non Metallic Metal (NMM) techniques on the gold areas due to the scale of the model. Needing to knock the “glittery” effect of the TMM back a little, my base coat was a 50/50 mix of Gold and Orange Yellow (P3 Rhulic Gold/Meaty Ochre). To get a solid coat I repeated this process twice.
Step 10 - I added a little pure yellow (P3 Cygnus Yellow) to the mix for the first highlight and applied this to the large flat areas of gold and the edges.
Step 11 - I added a little bone (P3 Menoth White Base) to the previous mix and picked out any details (rivets etc).
Step 12 - All edges and any flat areas facing upwards were given a highlight of pure bone (P3 Menoth White Base).
Step 13 - I picked out any bronze detailing with P3 Molten Bronze mixed with a little dark green/blue (P3 Gnarls Green). I repeated this process twice to get a solid coat.
Step 14 - I washed the bronze areas with thinned down Brown Ink (Vallejo Game Ink) to deepen the tone a little and further knock back the glittery effect of the metallic paint.
Step 15 - I washed down the bronze areas again, this time with a 50/50 mix of blue/green ink watered down a further 50%.
Step 16 - I made a mix of 50/50 Molten Bronze and P3 Cold Steel to highlight the bronze areas. I concentrated on the edges and large flat areas facing upwards.
Step 17 - At this point I wanted to add some weathering to the metallics, so I applied some fine scratches and edge highlights across all the metallics with ivory (P3 Menoth White Highlight).
Step 18 - The bronze areas were given a final shade of 60/40 black/green ink watered down a further 50%.
Step 19 - To finish, I used the previous mix to apply some weathering across the model and picked out edges of important detail like the bridge, the prow and the weapons.
And we’re done! I used this process to paint all the miniatures from this set and, after completing them, I must admit that I think I’ve found my fleet of choice...
Did you like the paint scheme Daz chose for the Union fleet? Make sure to share your progress and painted fleets in the official community channel for Dystopian Wars, The Sturginium Lounge!
You can keep up to date with recent releases and more on Warcradle Studios Facebook, Instagram and Twitter.