Paints Used
P3 Greatcoat Grey
P3 Beaten Purple
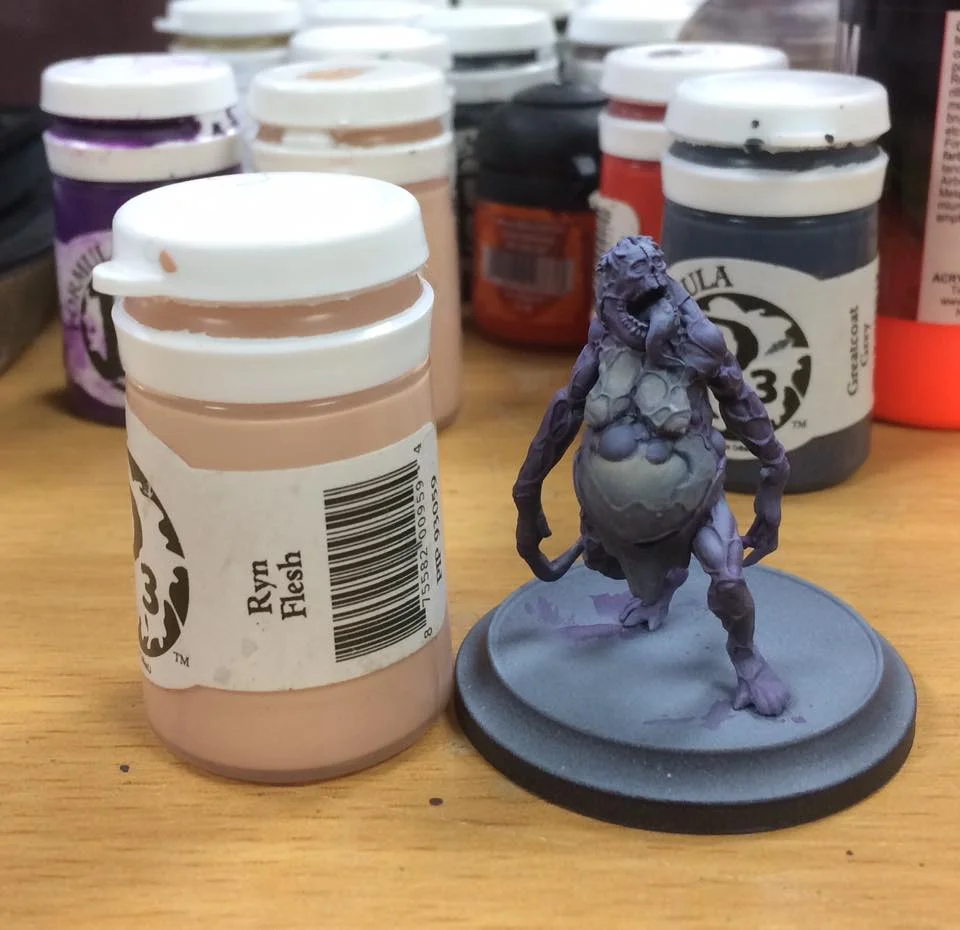
P3 Ryn Flesh
P3 Menoth White Highlight
P3 Morrow White
Good morning, gunslingers - it's time for today's Daz's Daily!
So, today's five minute tutorial is dedicated to zombie/infected/Hex skin tones.

The model is given a zenithal undercoat - this is not essential but it really helps you understand where the highlights and shadows are gonna go.

A shade of beaten purple is laid over the model. I water the paint down 3-1 to achieve this. You can change the final look of the model by going on with a different colour at this stage. A green wash will make the model look more rotten, a red wash will make it look more sore… experiment and have fun!

The basic skin areas are blocked in with grey. This is watered down 3-1 and feathered out towards the shadowed recesses.

Ryn Flesh is added in equal amounts to the grey for the first highlight. This will be glazed on so I'm watering down around 6-1 and applied to the top halves of bulges and muscles.

More Ryn Flesh is added to around 2-1 with the grey. This is glazed on again focusing on the top third of the areas we previously highlighted.
Pure Ryn Flesh is glazed onto the top quarter of the previous area. Because the glaze is so thin, you can push the pigment to wherever you want it and get a seamless blend.
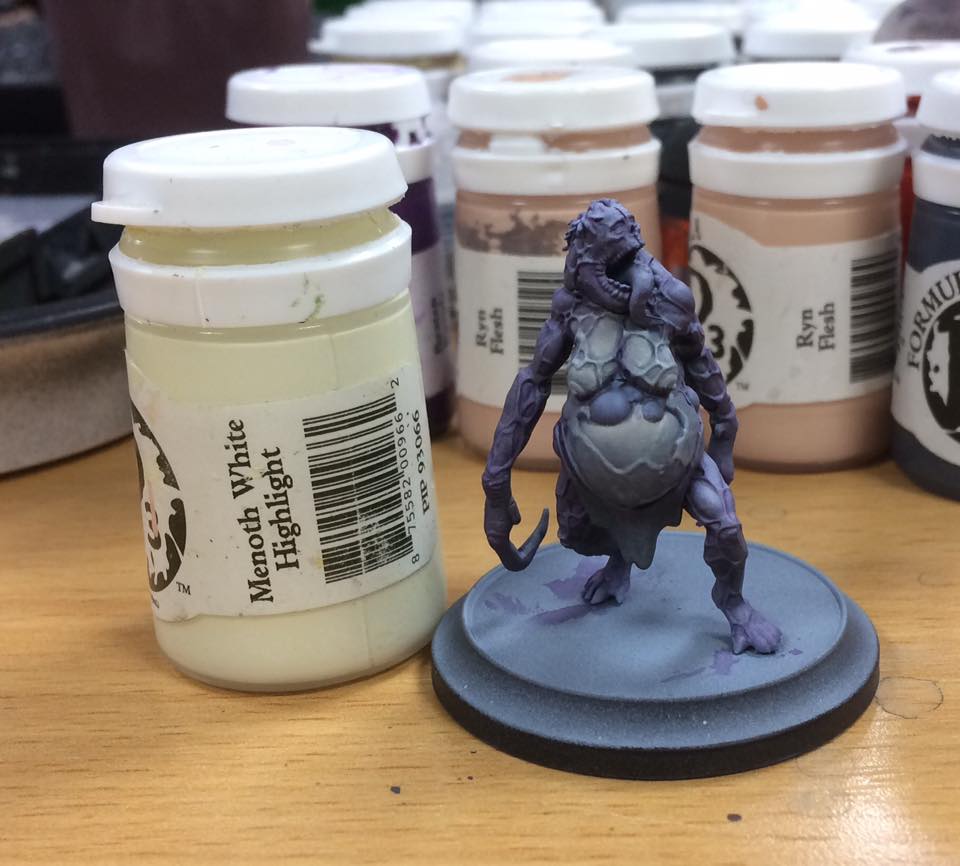
The veins are picked out with Menoth White highlight.

Small spot highlights are added with pure white to veins and any area our highlights meet shadows. Keep this thin and fine to give a nice contrast - and that's it!