Paints Used
P3 Khador Red Highlight
P3 Idrian Flesh
P3 Morrow White.
P3 Mouldy Ochre
P3 Umbral Umber
P3 Menoth White Highlight
P3 Meridius Blue
Hello, gunslingers!
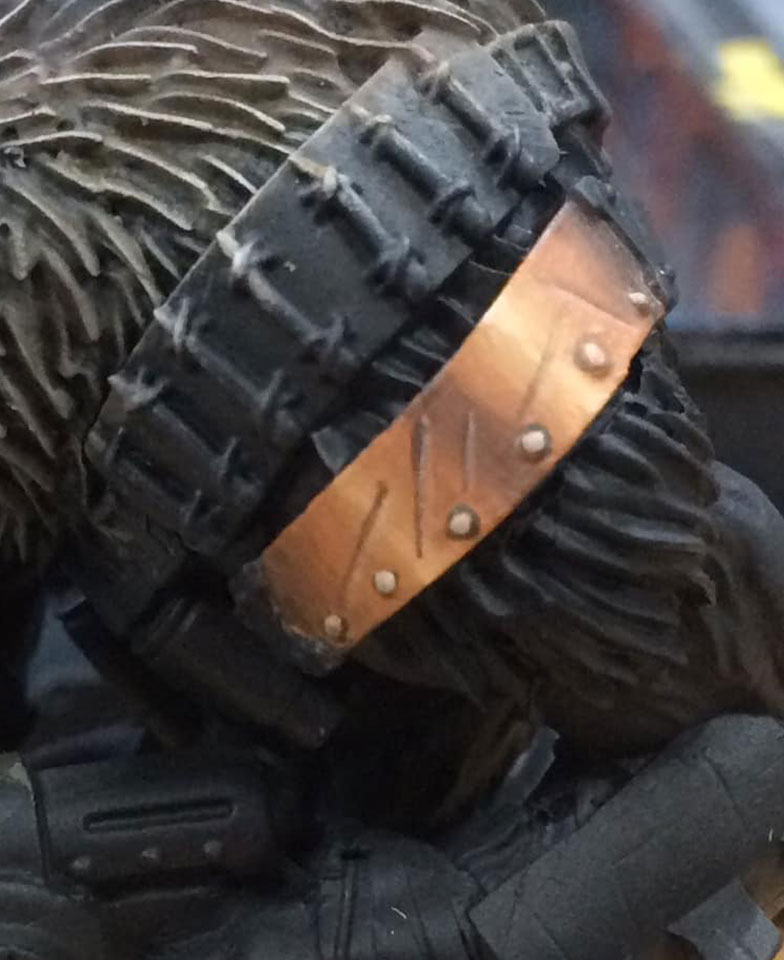
Today's Daz's Daily covers Copper NMM - if you combine this tutorial with the bone armour tutorial you've pretty much got an Order painting guide.

The area is basecoated 50/50 Khador Red Highlight/Idrian Flesh.
Keep this mix wet as we'll be using it again later.

Light bars are blocked in by adding a touch of Mouldy Ochre to our previous mix.
I've used two light bars here - the bigger the area, the more light points there will be.
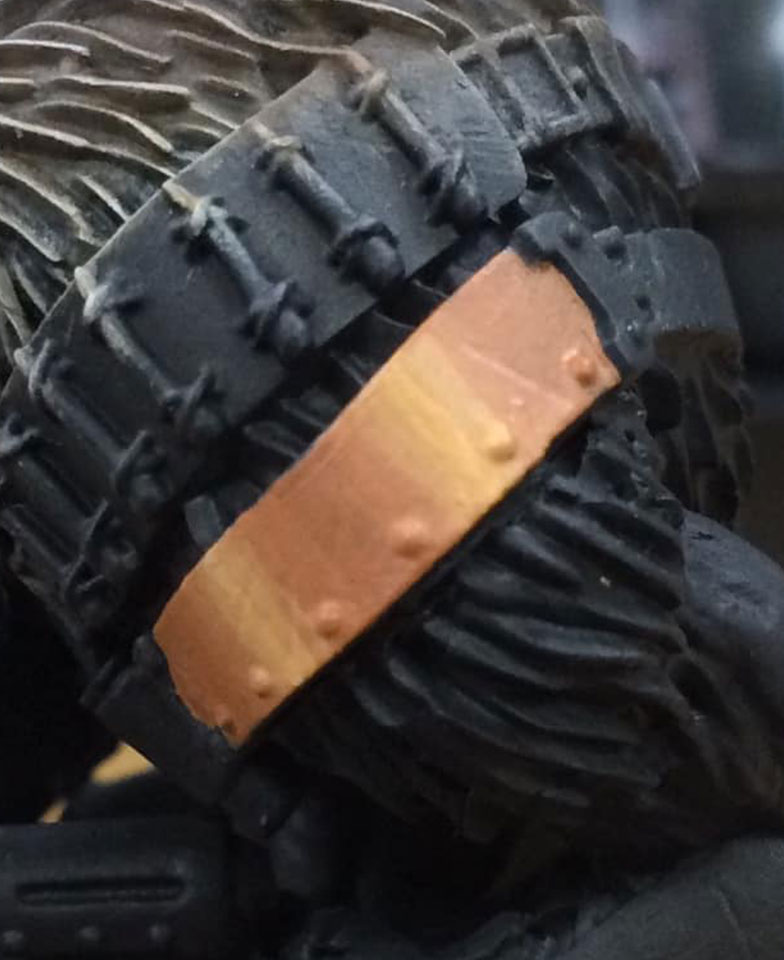
Once again, a touch more Mouldy Ochre is added to the previous mix and the centre of the light bar is blocked in with a little feathering on the edges to blend.

A touch of Morrow White is added to our previous mix and painted into the centre of the light bar.
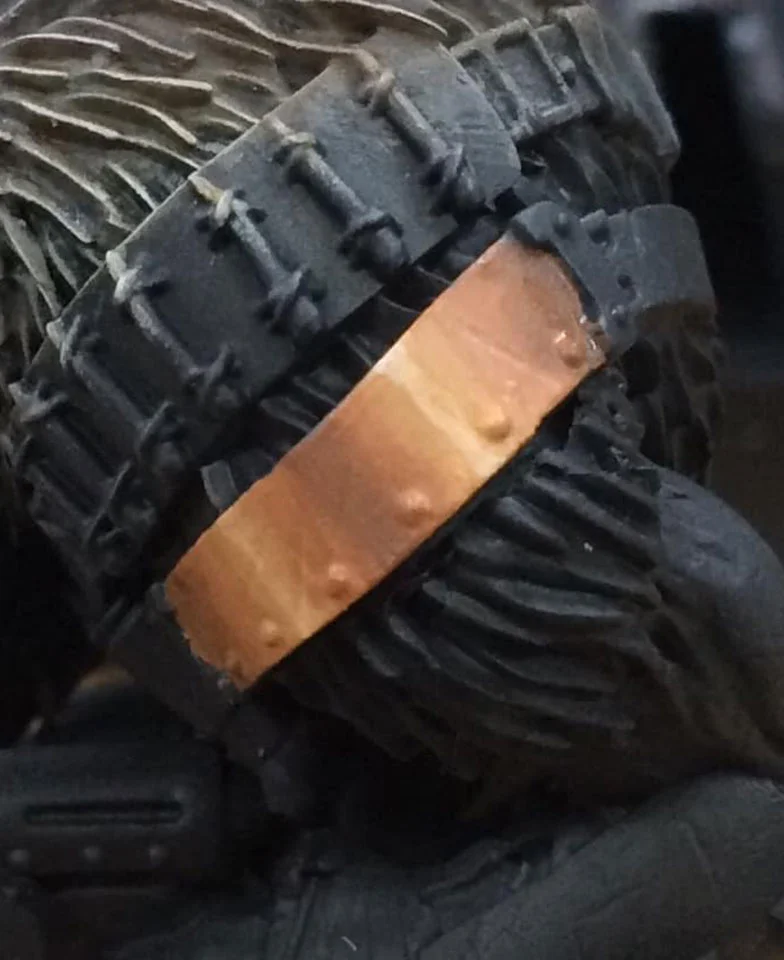
We begin our shadows by adding a touch of Umbral Umber to our basecoat mix. This is blocked in between our light bars and towards the edges of the plate.
Pure Umbral Umber is blocked into the centre of the shadow bars with a little feathering to blend.
At this stage we also pick out the rivets and any dents or scratches with Umbral Umber as well.

We go back to our earlier highlight mix and pick out the rivets and the edges of any damage.
The whole area receives two glazes of our original basecoat mix to help blend our transitions.
The more you repeat this stage the smoother the end result will be!
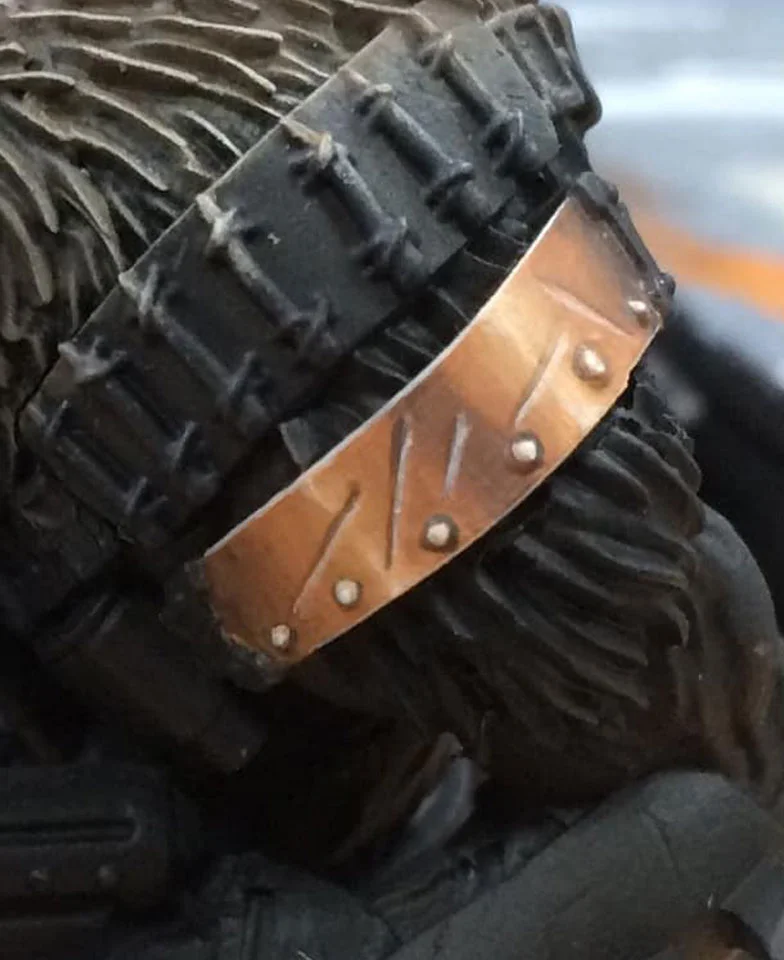
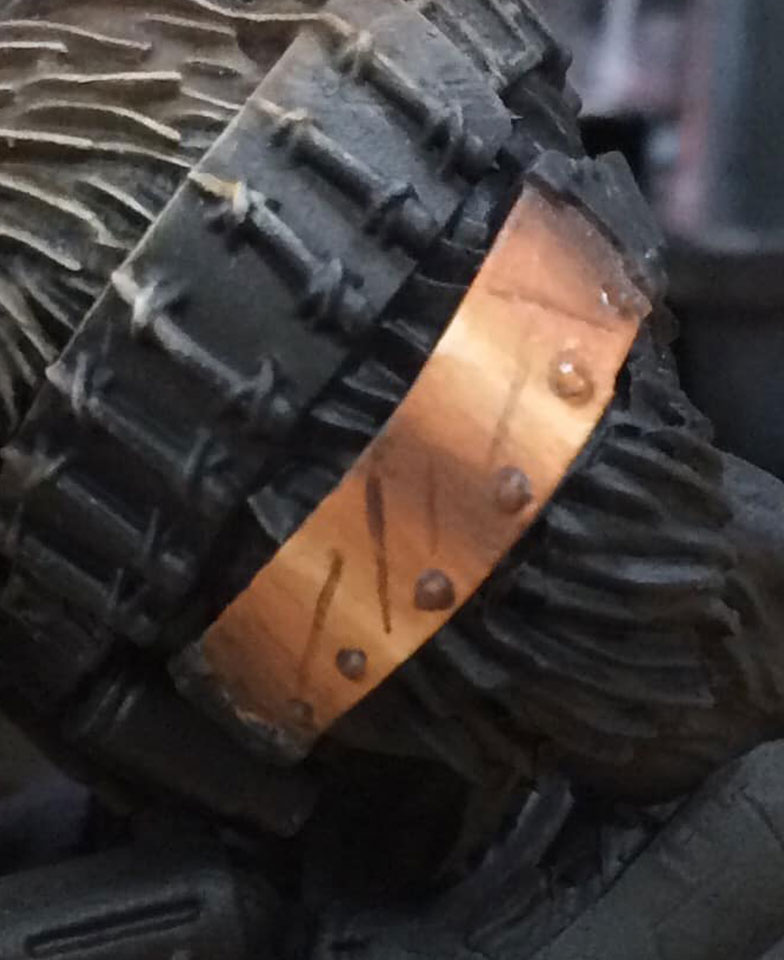
The rivets, scratches and perimeter of the plate are edge highlighted with Menoth White Highlight.
You can call it job done at this stage!

I've added a little verdigris using a glaze of Meridius Blue, focussing on the rivets and scratches with a few spots here and there to break up any jerky blends... weathering is your friend when it comes to speed painting!