Good morning Gunslingers!
It's Daily time....
Today's tutorial looks into the mysterious world of painting black. We've already had a look at cracked black leather so today we're going to take a look at soft warm black (ideal for clothing) and cold hard black (ideal for armour or weapons).
I used the following
P3 Paints for the warm black -
Thamar Black
Menoth White
P3 paints for the cold black -
Thamar Black,
Coal Black
Morrow White.
Instructions with the pics as usual!
Paint Comparison - Black and a dark bone.

Model is undercoated black

First highlight is 3/1 Thamar Black/Menoth White Base. This was watered down around 75/25 and applied to the upwards facing folds.

The second highlight is 2/1 Menoth White Base/Thamar Black. This was again watered down around 75/25 and applied to the upwards facing folds but leaving a little of the first highlight showing.

The third highlight was a very thin (5/1 water to paint) layer of Menoth White Base. I wanted this to be very subtle as the cloth shouldn't be shiney.

The whole area was glazed with Thamar Black (10/1 paint to water mix) to tie everything together and remove any harsh lines. Job's a good'un!

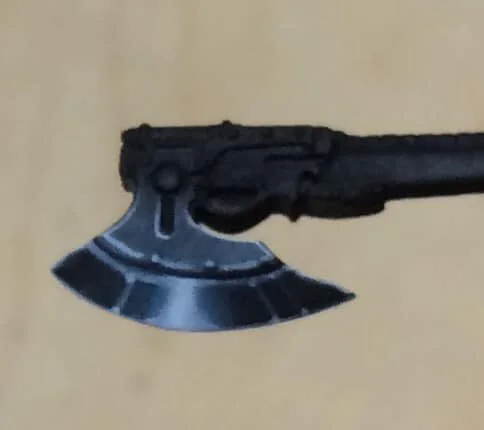
Paint Comparison: Black, Blue/Black and White.

Undercoat Black.

First Highlight is 50/50 Coal Black/Black. This was applied to the flat panel above the blade and in the centre of the blade itself.

Pure Coal Black was used for the next highlight. This was applied a little further down the panel and a little more towards the centre of the blade.

A little white was added for the next highlight, around 1/3 White to Coal Black. I also began watering down the paint a lot more at this stage, around 5/1

A little more white is added, around 3 parts Coal Black to 2 parts White. This was applied as a rough edge highlight everywhere and towards the centre of the blade. I also added a few light flares and scratches at this pint with the same mix.

Pure white was used to edge highlight and fix the centre of the blade. This was watered down around 5/1 as I'll be neatening everything up in a bit.
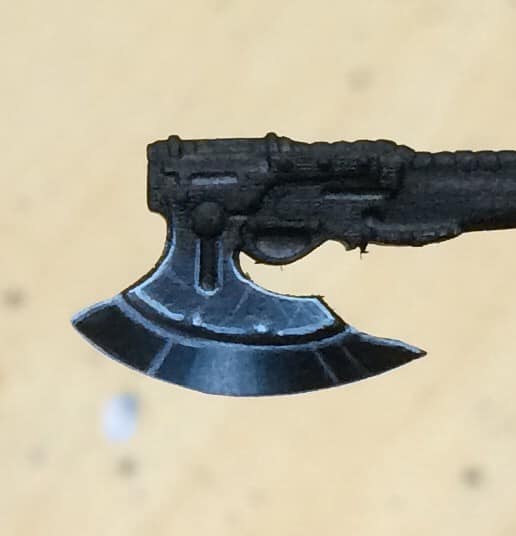
A glaze of Thamar Black was applied to the whole area to tie everything together.

The edges were picked out in pure white, as was the centre of the blade. I also added some light spots where our highlight lines cross. And we're done!