

When looking for inspiration on how to paint your next project you can often be overwhelmed with different techniques and paint schemes. It doesn’t have to be this way!
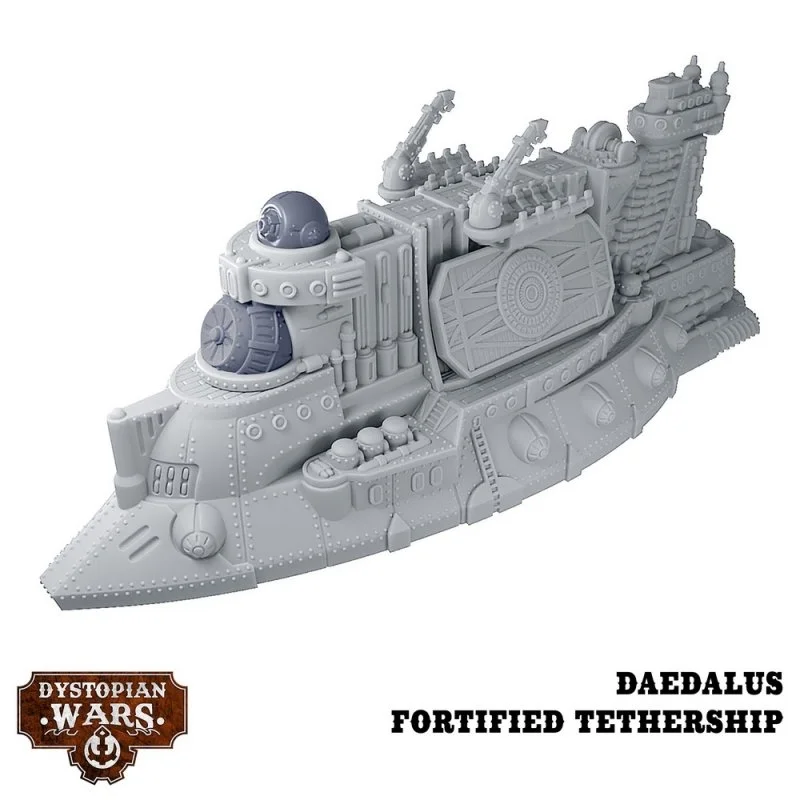
Daz is back once again, showing you how he achieves his amazing Enlightened paint job in this first of two step-by-steps on the Daedalus Fortified Tethership from the Icarus Battlefleet Set. Follow the steps below to get an easy to achieve effect on miniatures that still looks incredible on the tabletop.
The paints listed are P3 paint unless stated otherwise.
Grey Metal
Step 1 - To start basing the miniature I applied three layers of Ironhull Grey with my airbrush, focusing in on the larger, flat areas.
Step 2 - Adding 50% Underbelly Blue to the previous colour, I continued to use the airbrush for the first highlight and boosted the separation of the large flat areas. Make sure that the upward-facing parts get a solid layer.
Step 3 - I gave the whole miniature a coat of Vallejo Gloss Varnish to seal in the previous steps.
Step 4 - As this is such a large miniature (what an oxymoron!) with lots of different elements I made sure to outline everything with watered down Thamar Black (75% water, 25% paint). I concentrated on adding depth to high detail areas like the pipework and scaffolding. Although a little time consuming this will make the details "pop" later on down the line.
Step 5 - Time to apply my trusty weathering mix (3 parts Bloodstone, 1 part Vallejo Orange Fluro, 6 parts water) across the entire miniature. Once applied I removed any areas of pooling with a damp brush. I then repeated this process three more times to increase the depth of this effect.
Pipework
Step 6 - To begin with the pipework, I basecoated them with Coal Black. This blue/black colour will be a mellow counter for the orange rust and deep-red bronzes we'll be applying later on.
Step 7 - The first highlight was a 50/50 mix of Coal Black and Moldy Ochre that I sketched on roughly.
Step 8 - Next, I added a spot of Underbelly Blue to the previous mix for the final pipework highlight.
Step 9 - For the scaffolding I made a 50/50 mix of Molten Bronze and Amethyst Rose to use as a basecoat. This colour gets used quite a lot across the miniature so I made up a small batch to save time and maintain continuity, which is where a wet palette comes in handy. Once this was dry I applied a thin wash of 50/50 Blue and Brown Ink.
Decking
Step 10 - To start with the decking, I made a 50/50 mix of Umbral Umber and Amethyst Rose for the basecoat.
Step 11 - Next up, I added around 50% Moldy Ochre to the previous mix and applied the first highlight on the decking. At this stage I'm just adding separation to the planked areas so you don’t need to worry about being too neat and tidy.
Step 12 - I shaded the planks with the same blue/brown wash I used on the bronze areas in step 9. Once dry, I applied this to the decking and the superstructure once more to aid in definition.
Gold
Step 13 - I made a mix of 50/50 Rhulic Gold and Bloodstone for the basecoat of the golden areas. Adding a spot of brown to this mix will give the metallic gold better coverage.
Step 14 - Adding 50% Radiant Platinum to the previous mix, I applied this as a highlight to the golden areas.
Step 15 - The final step in this first part was to apply a wash of Caspian Flesh Wash to shade the golden areas.
And we’re done! A great looking miniature that no-one would be upset to field on the tabletop, that's for sure. Paint up the side panelling, apply it over the scaffolding and send your Daedalus out to sea.
Keep your eyes peeled for part 2 of this guide, going that extra mile to add all those tiny little details that really make Daz’ Enlightened ships pop!

For news on latest releases make sure to check out the Warcradle blog and follow us on Facebook, Twitter and Instagram.