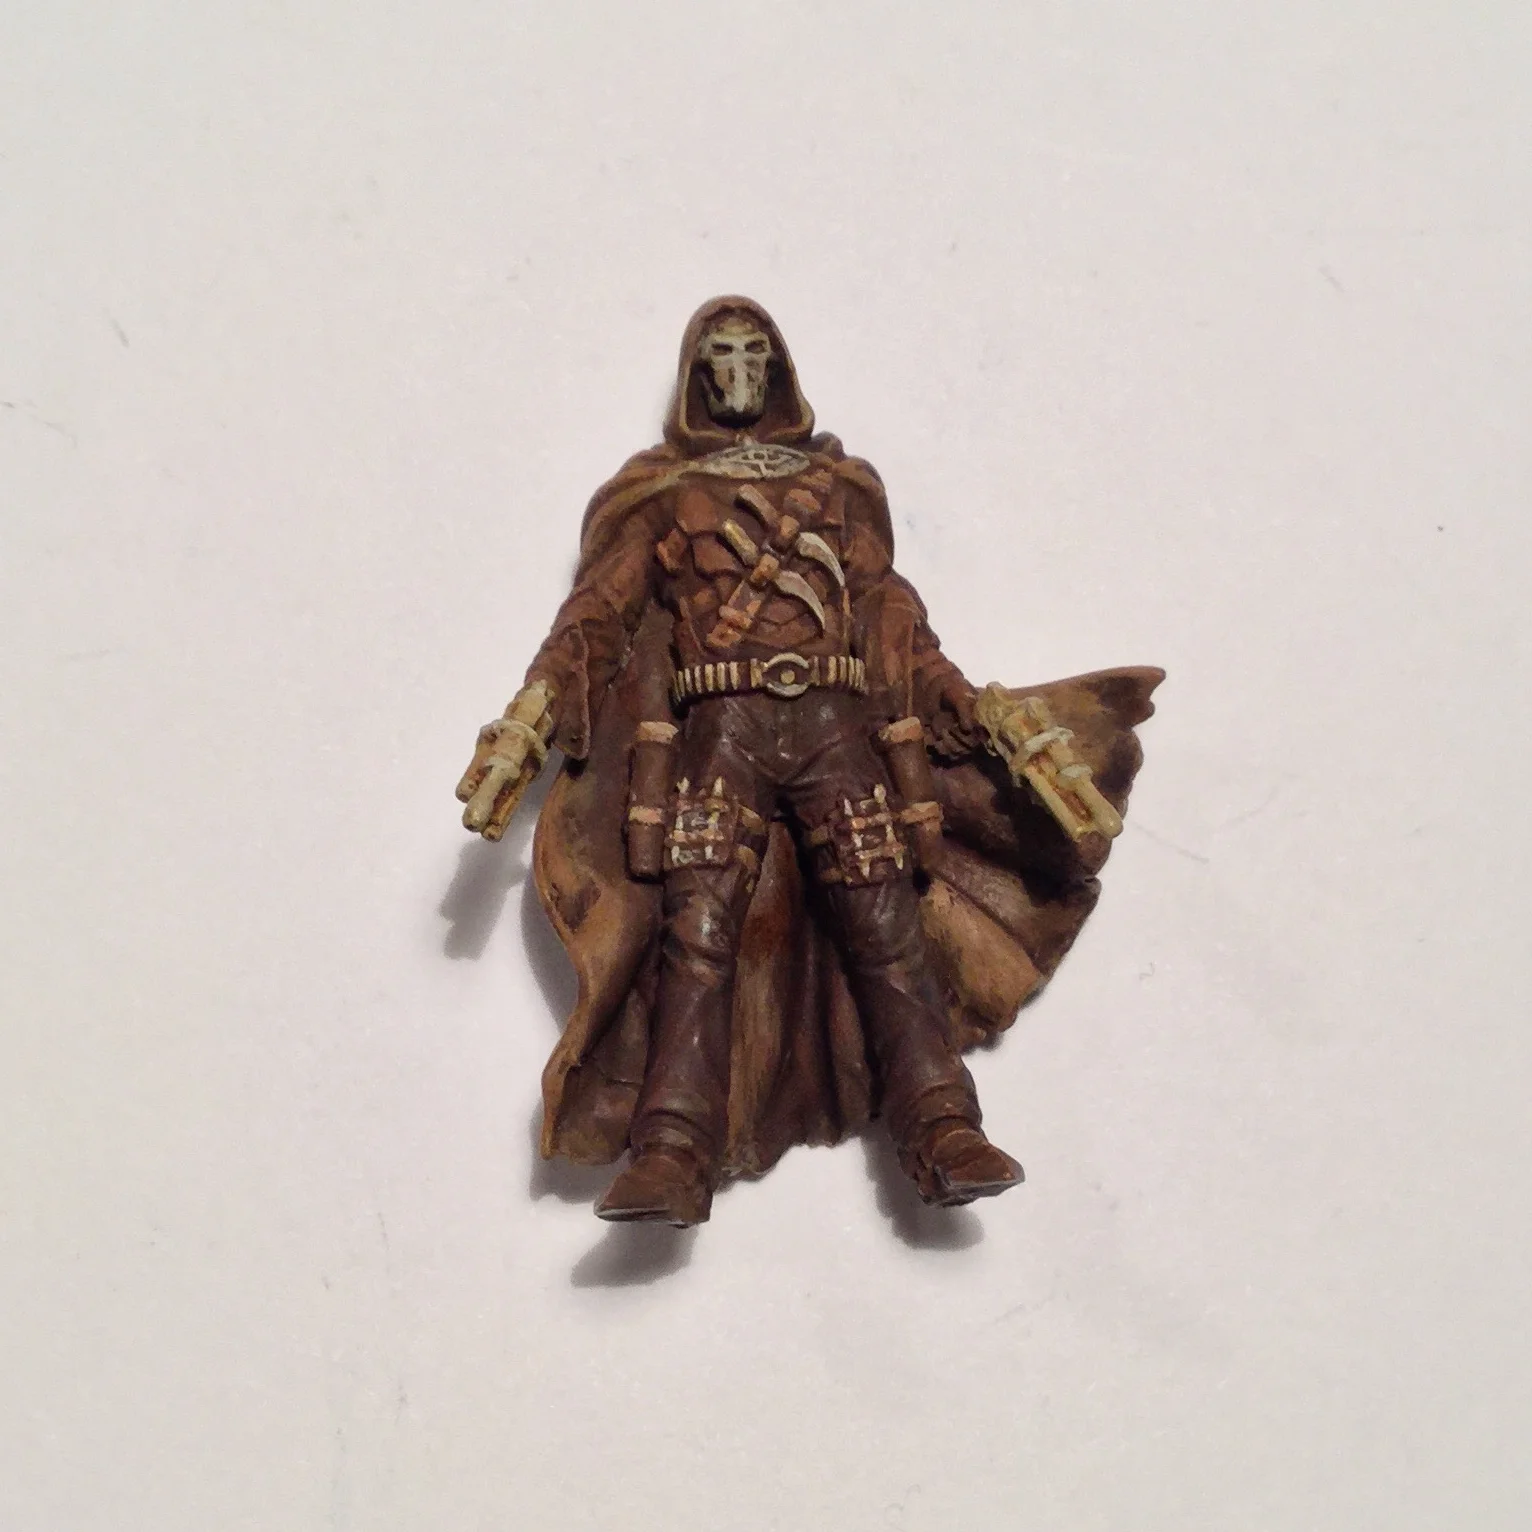
I felt that, on this occasion, I wanted to do something slightly different from what is classed as the norm, a mixture of Wild West and Steampunk.
My inspiration came from watching films based around westerns with outlaws and the small, dusty old town with ‘Wanted’ or ‘Reward’ posters dotted around them. Therefore the muted browns and sepia colours seemed to be natural choices. Hopefully, I have achieved this with using just a few colours on my palette and either darkening them or lightening them in the according places in order to make them look like an old photograph.
I hope my gallery gives you some ideas of your own.
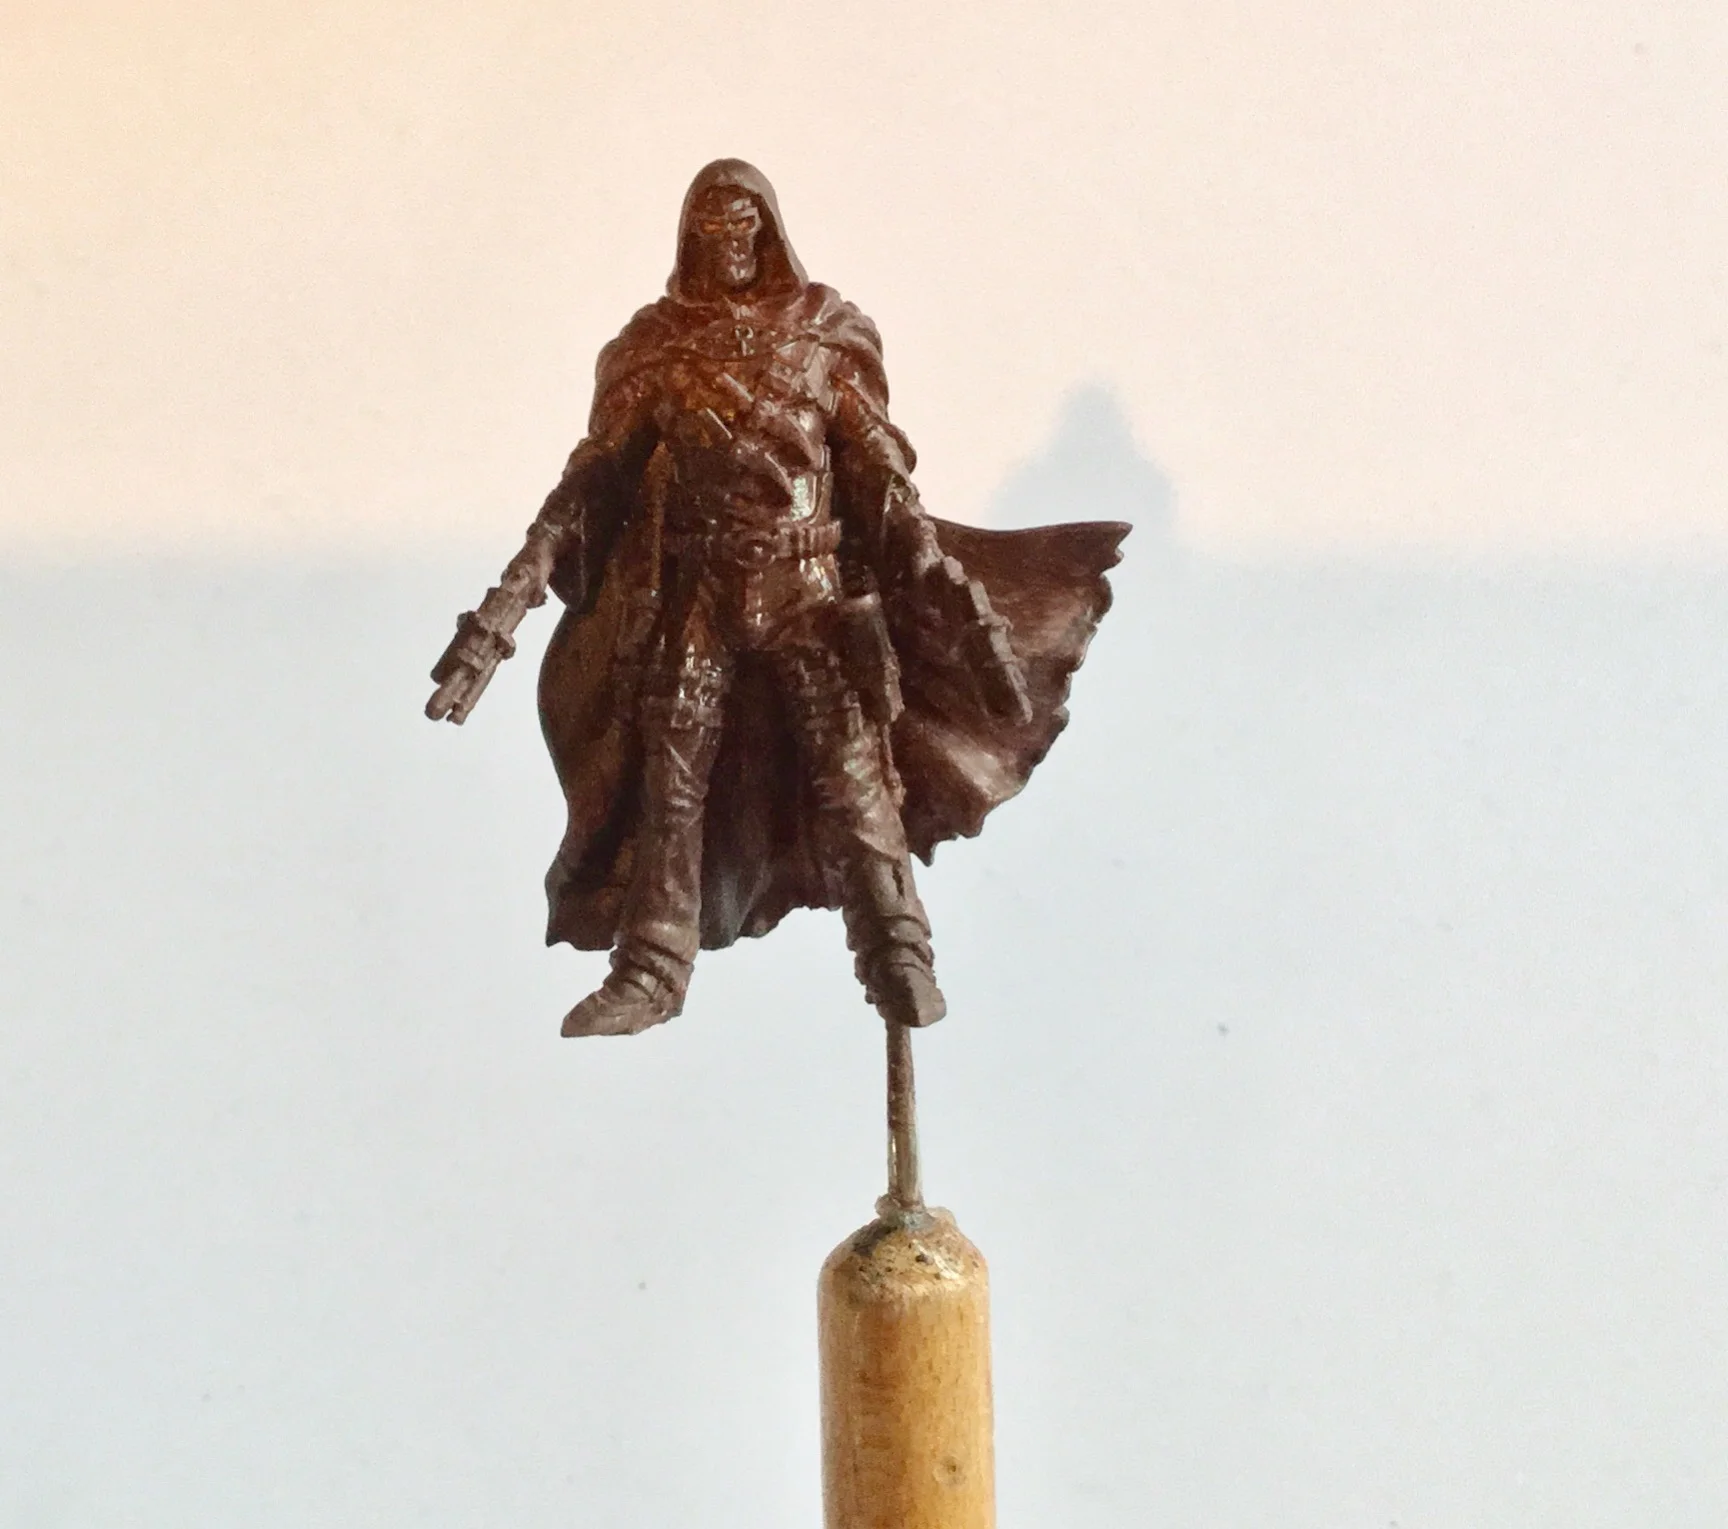
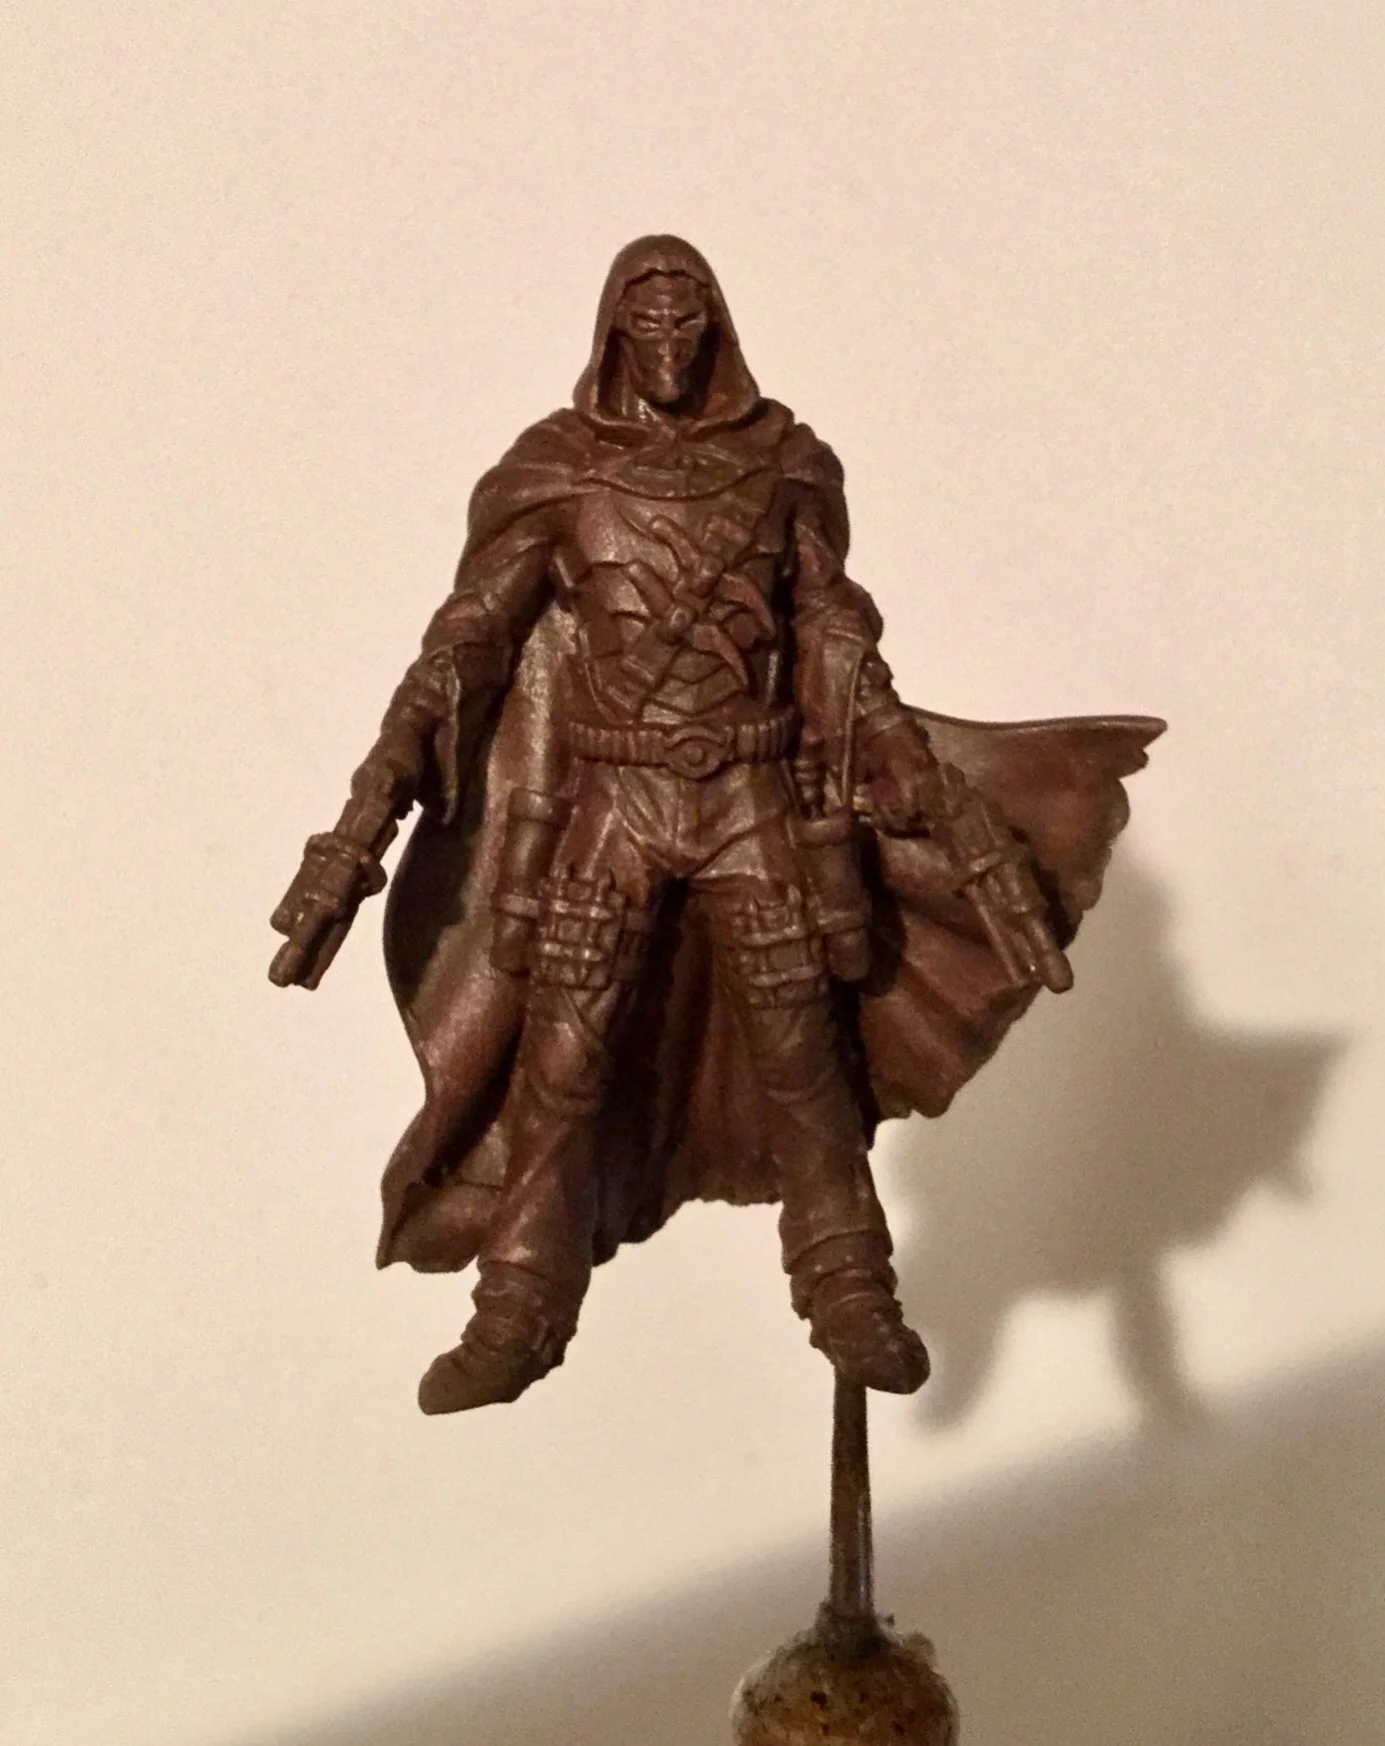
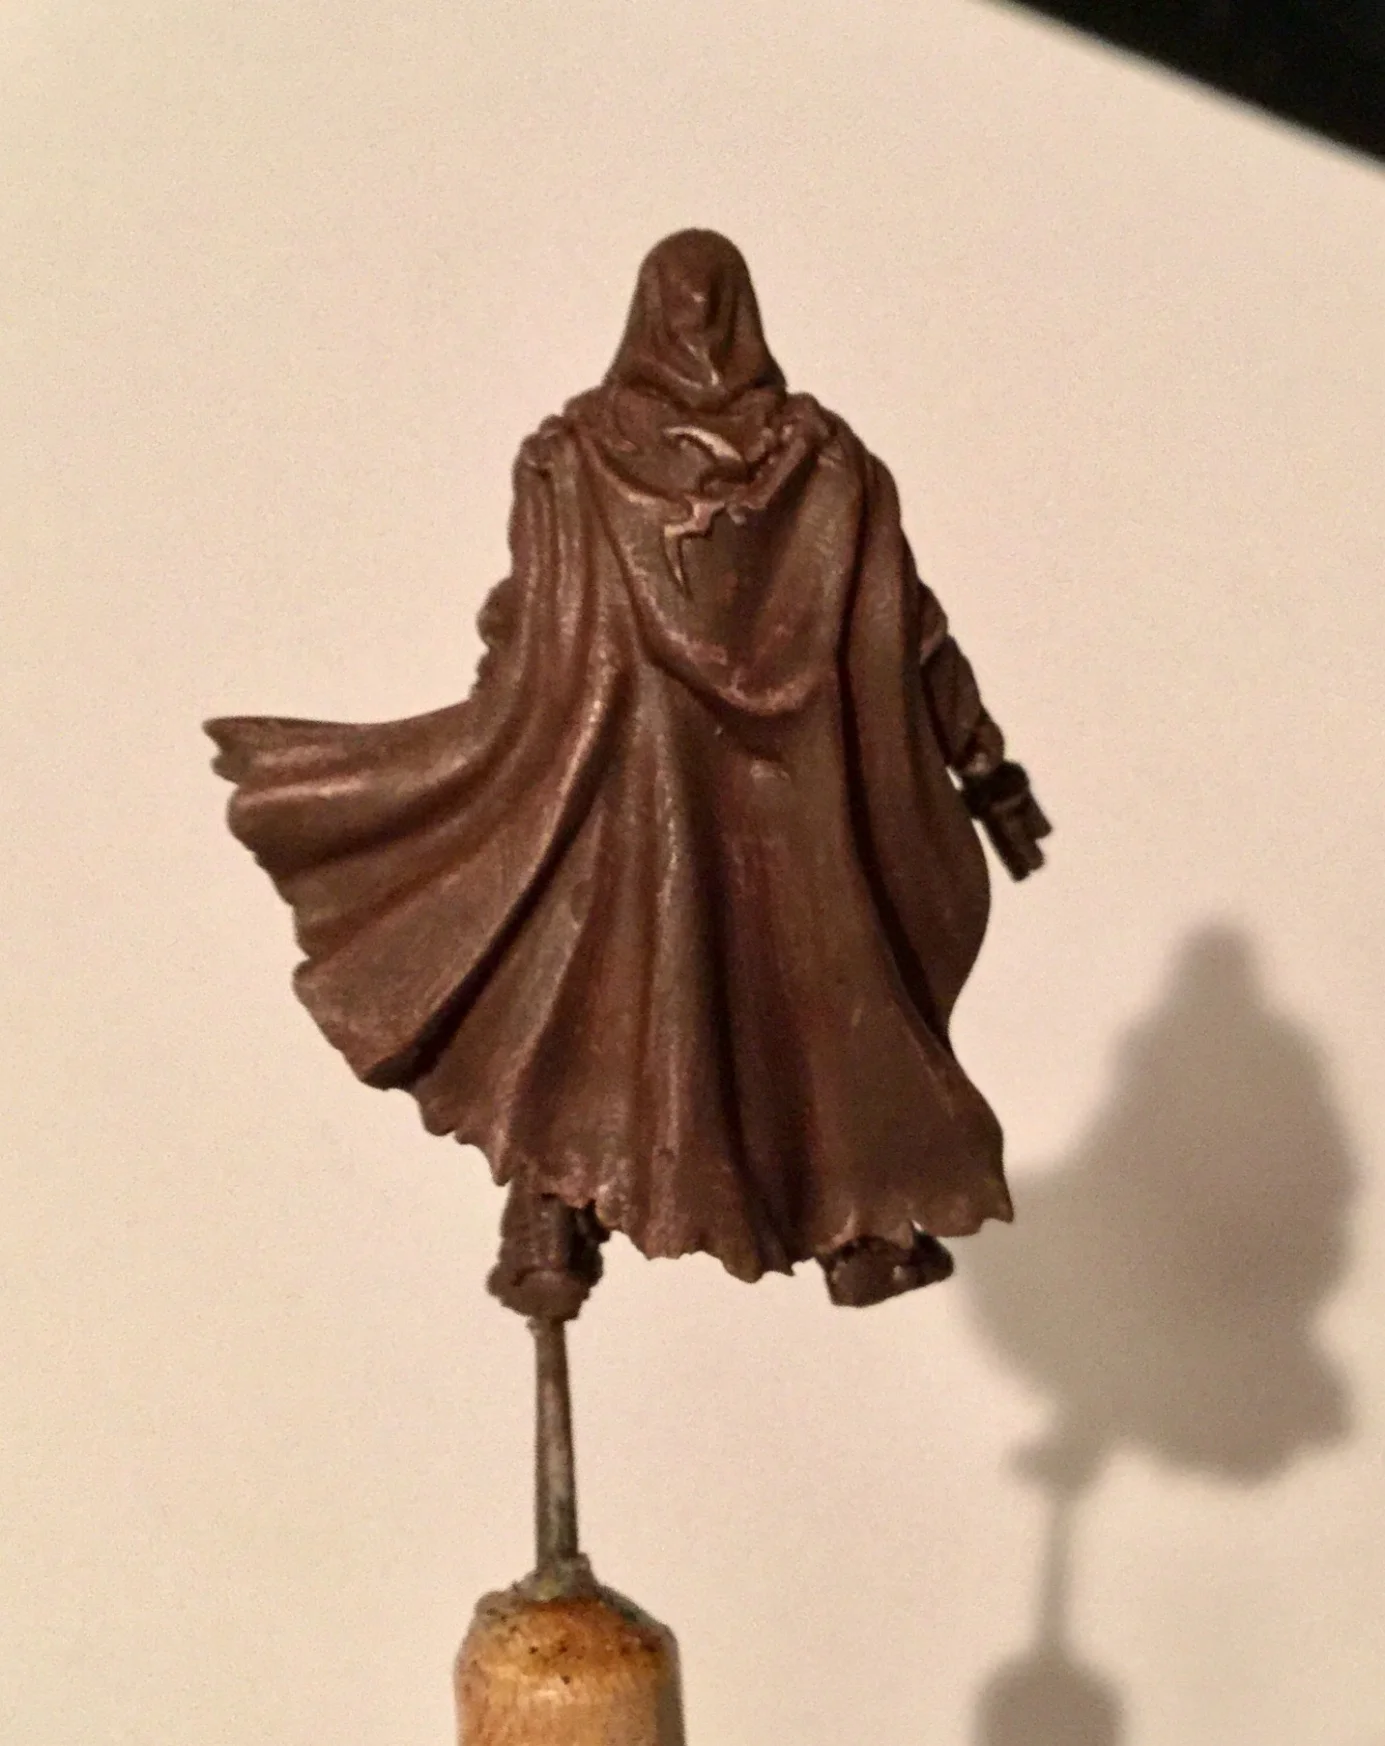
First, as always, I applied my base paint colour to Slayn.
Using a wash I then covered the primed mini in order to get some darkness into the recesses of the miniature, this will help me pick out certain details later.
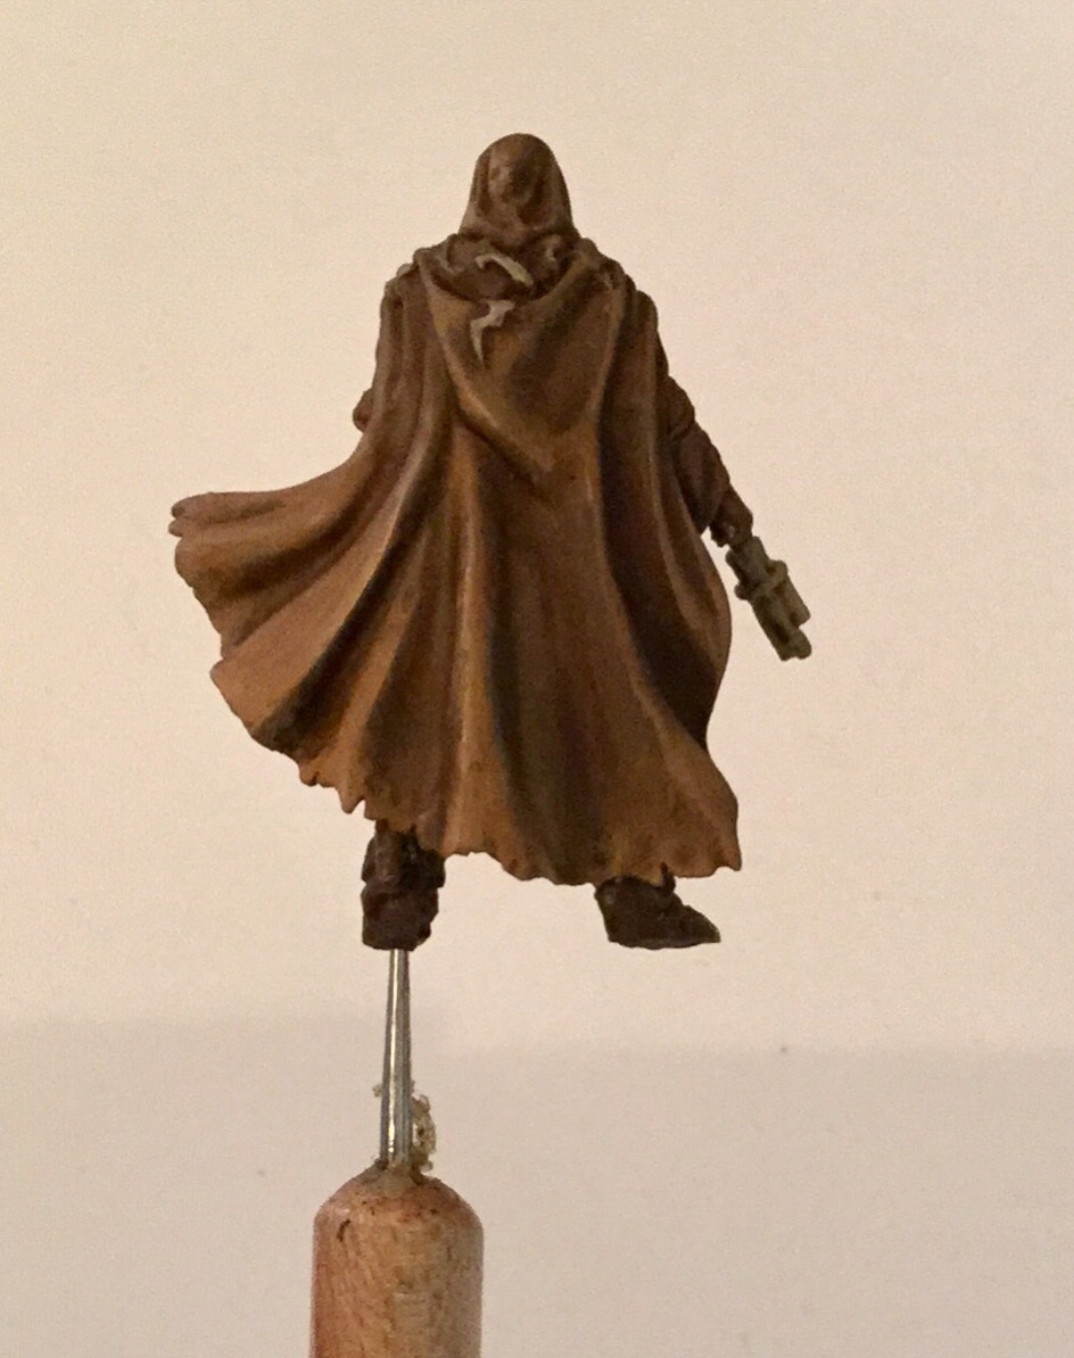
My first layers of colour now for specific areas, these are mixed colours from my selection of brown to cream and blended in between. I am trying to keep the darkest recesses of the miniature still dark to show the contrast between light and shade. I have painted his weapons cream but have then washed them in Sepia tone to try and highlight the details a little more.
Further highlights are added in the lighter areas of his mask, belt and weaponry, whilst trying to keep the muted colours in place. It is so much easier when using different colours as I feel there are set patterns to painting, the miniature has now got a range of 10 scales of brown from dark to light in order to try and give different focal points. He is done for now.
His base is fairly straight-forward being wooden floorboards. I use the same principals as the miniature, starting with my base colour, wash, highlight, wash again in areas and then highlight again.


